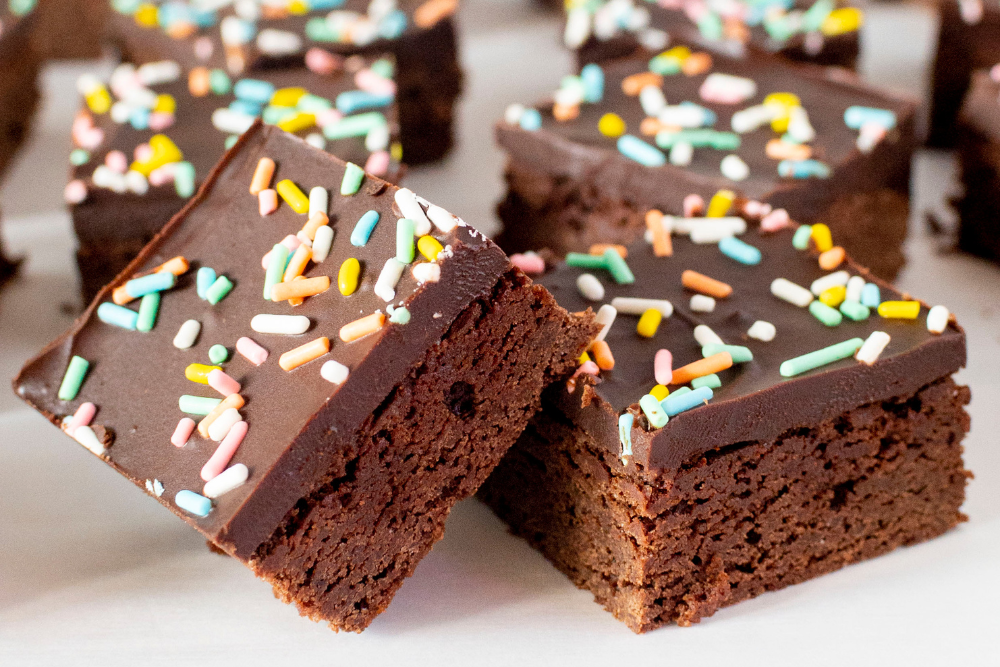
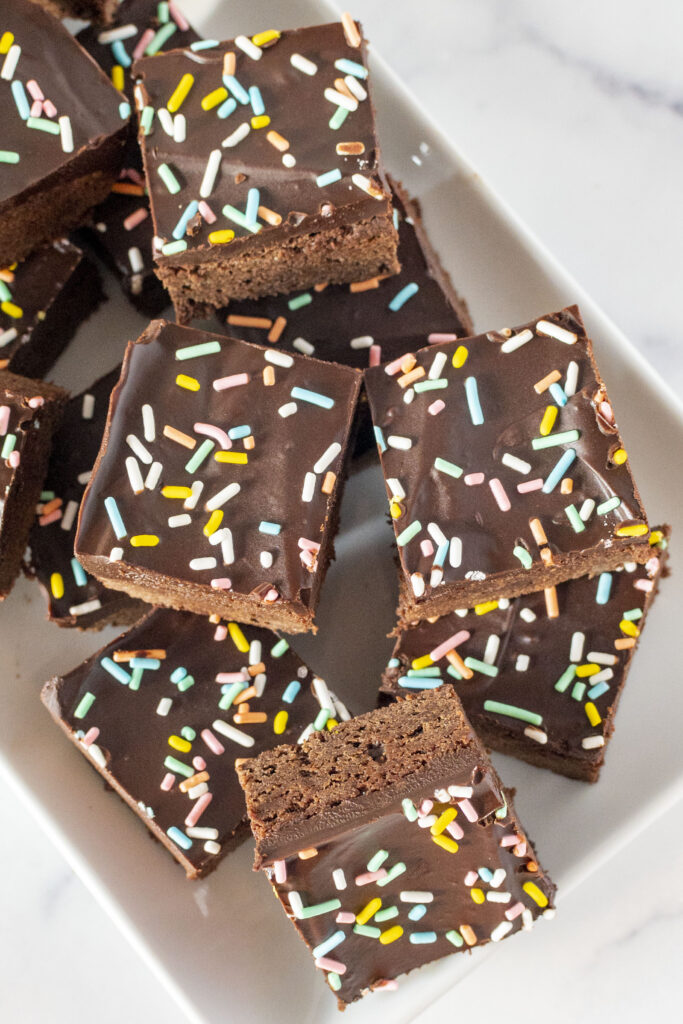
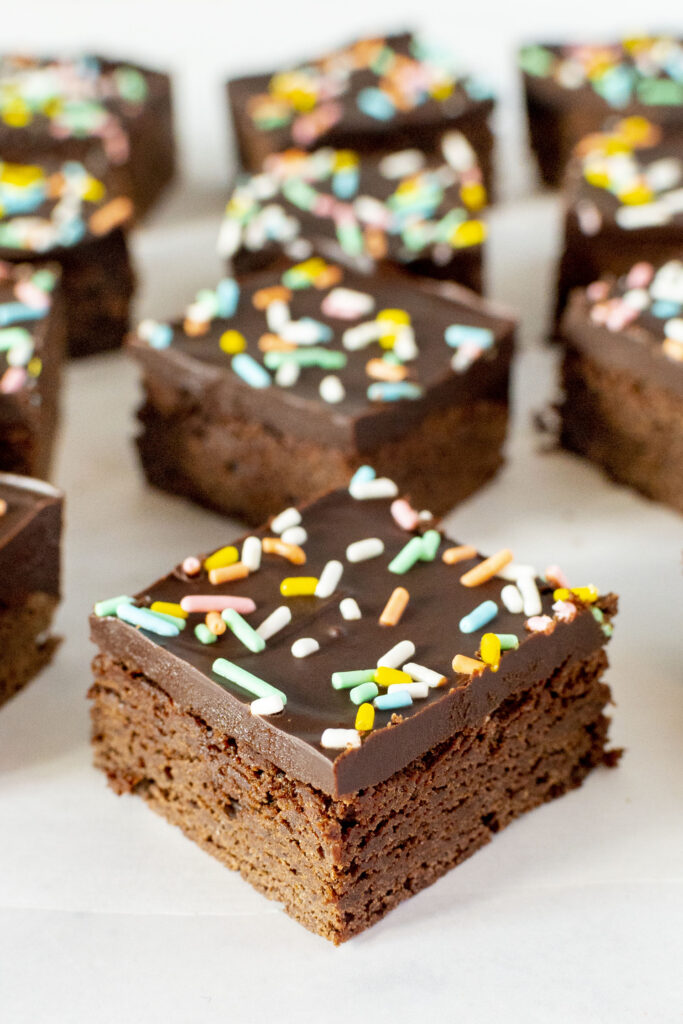
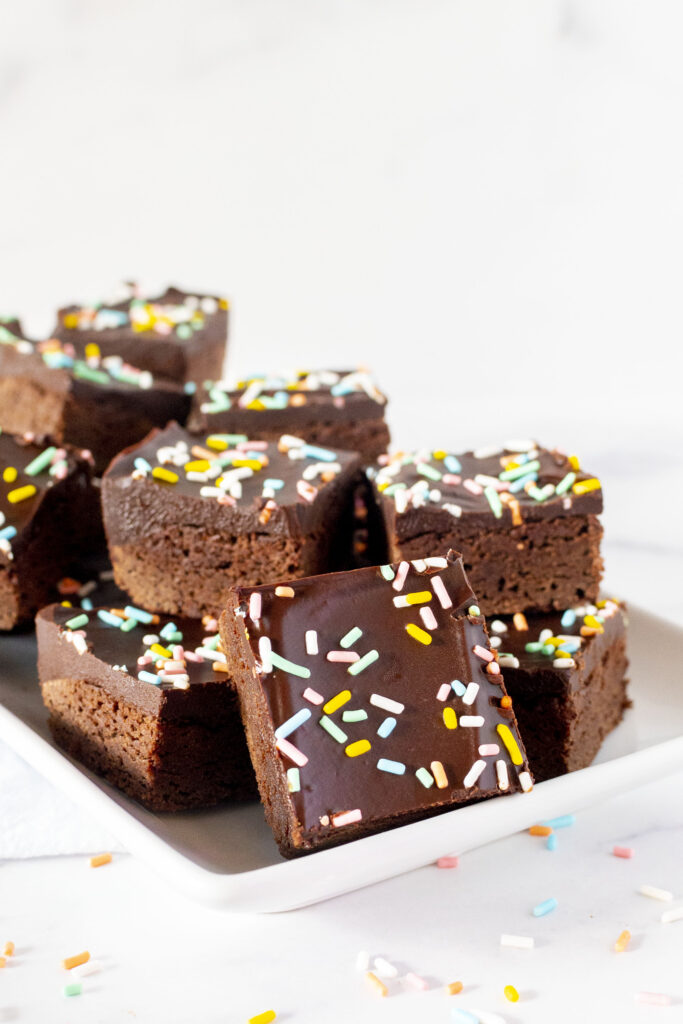
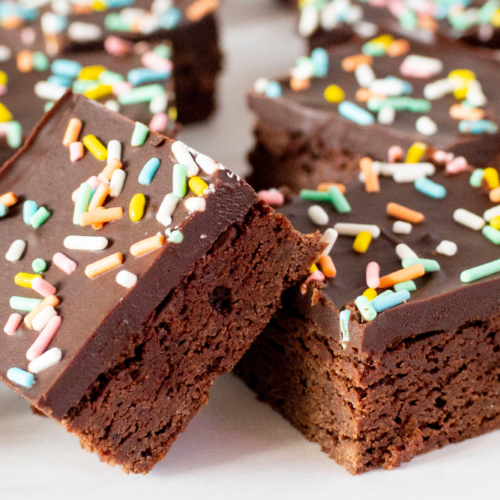
My copycat gluten-free cosmic brownies consist of a chocolate brownie coated with fudge icing and topped with rainbow sprinkles for a gluten-free alternative to this classic Little Debbie treat. This post contains affiliate links. Please see my disclosures.
Chances are, sometime in your childhood, you enjoyed a Little Debbie Cosmic Brownie. These sweet square-shaped snacks are simple chocolate brownies topped with decadent chocolate ganache and rainbow-colored candies or sprinkles.
Unfortunately, Little Debbie Cosmic Brownies are made with wheat flour so they’re not gluten free. They’re also made with artificial ingredients, dyes, and preservatives, but that’s a story for another day!
I found it surprisingly easy to recreate a gluten-free version of this classic childhood treat at home with my trusty Bob’s Red Mill 1-to-1 Gluten-Free Flour and a few other baking essentials. The only items I needed to buy were a fresh carton of heavy whipping cream and colorful sprinkles.
Before baking, make sure all your ingredients are free from gluten, a protein found in wheat, rye, barley, and sometimes oats. There are many surprise products that contain gluten, so read labels carefully.
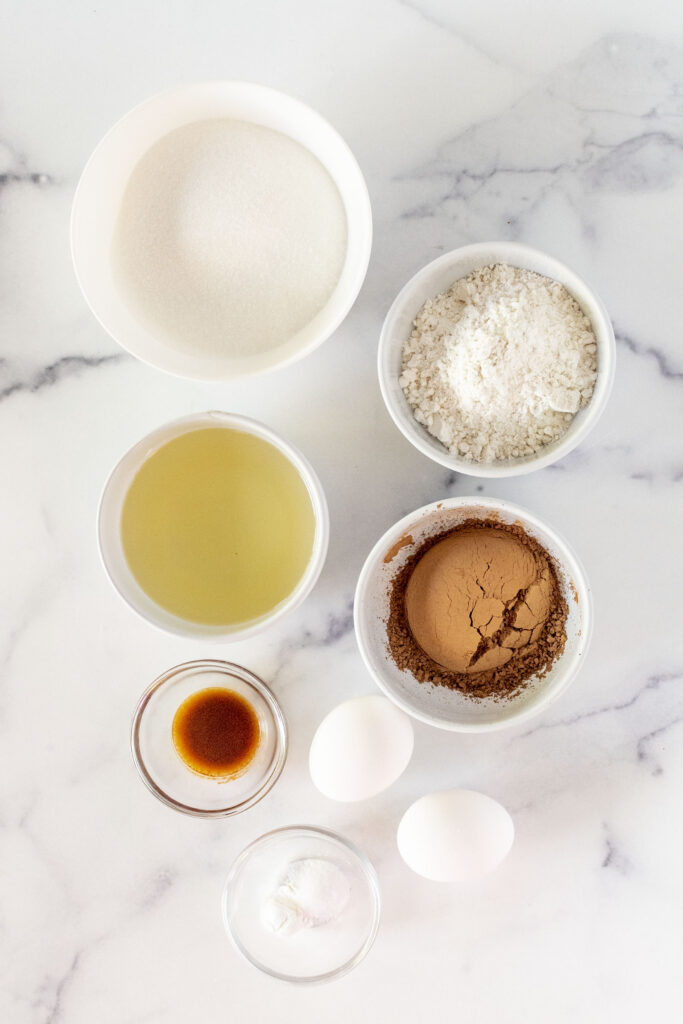
Ingredients for Cosmic Brownies
To make gluten-free cosmic brownies, you’ll need the following ingredients:
- 1/2 cup Bob’s Red Mill 1-to-1 Gluten-Free Flour (74 grams)
- 1/3 cup gluten-free cocoa powder
- 3/4 cup granulated sugar
- 1/4 tsp salt
- 1/4 tsp baking powder
- 2 large eggs at room temperature
- 1/2 cup coconut oil or vegetable oil
- 1 tsp vanilla
To make the chocolate ganache topping, you’ll need the following ingredients:
- ½ cup heavy whipping cream
- 1 ½ cups chocolate chips
And, of course, you’ll need sprinkles for decoration. Most sprinkles do not contain gluten ingredients, but unfortunately, few are labeled gluten free.
The sprinkles that come with Funfetti icing are labeled gluten free, and I love using them on top of my gluten-free cosmic brownies. But any old sprinkles (made without gluten) will do. (Read my list of gluten-free sprinkles.) Or you could also use colorful candies like M&Ms or Sixlets.
How to Make Cosmic Brownies
To make gluten-free cosmic brownies, combine the flour, cocoa powder, sugar, salt, and baking powder in a medium bowl.
In a separate bowl, whisk together the eggs, oil, and vanilla, then add the wet mixture to the flour mixture and mix the batter with a spatula until a smooth brownie batter forms.
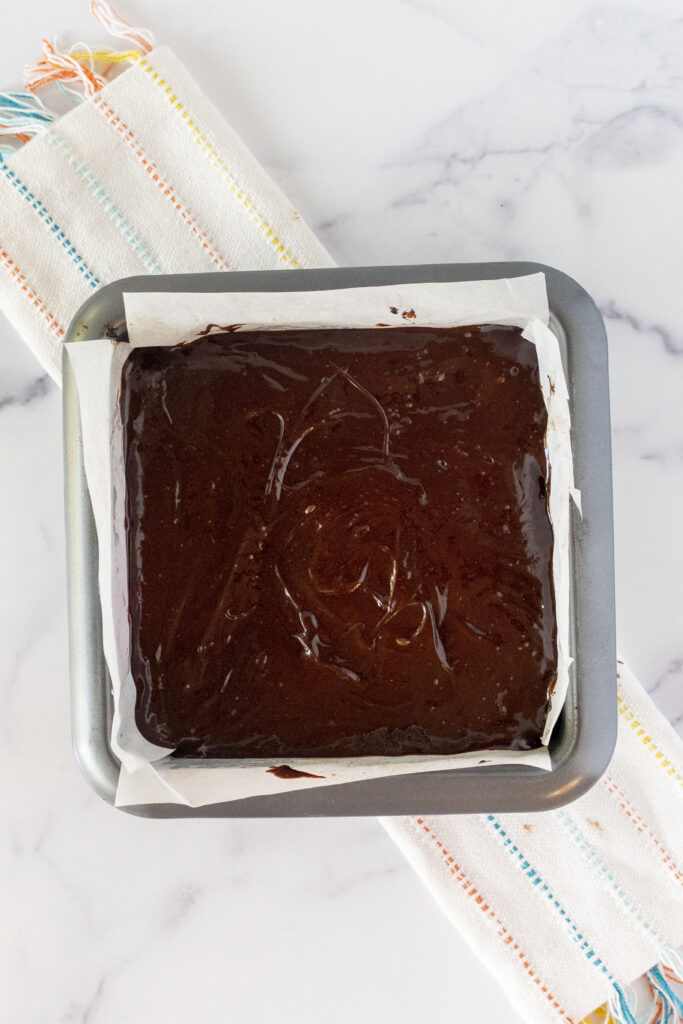
Add the batter to a greased and lined 8×8 baking pan. Be sure to spray the baking pan with cooking spray, then line it with parchment paper. I use two pieces of parchment paper to fully cover the pan and all four sides as you can see in the following photo.
Add the brownies to a 350º F preheated oven and bake for about 25 minutes until the batter is set. Remove the brownies from the oven and allow them to cool before adding the chocolate ganache on top.
To make the ganache, place ½ cup of heavy cream into a microwave-safe bowl and microwave on high for 1 minute. Submerge the chocolate chips into the cream and let the mixture sit for 2-3 minutes before stirring. The warm cream mixture will slowly melt the chocolate chips.
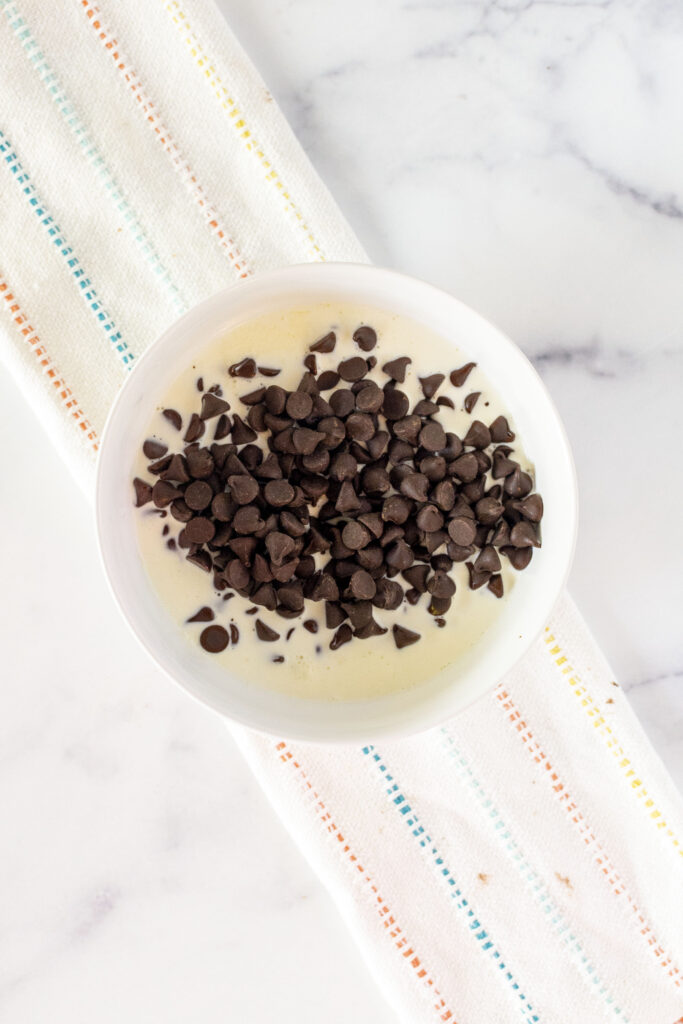
Use your spatula to mix the cream and chocolate chips until you have a smooth, creamy fudge ganache.
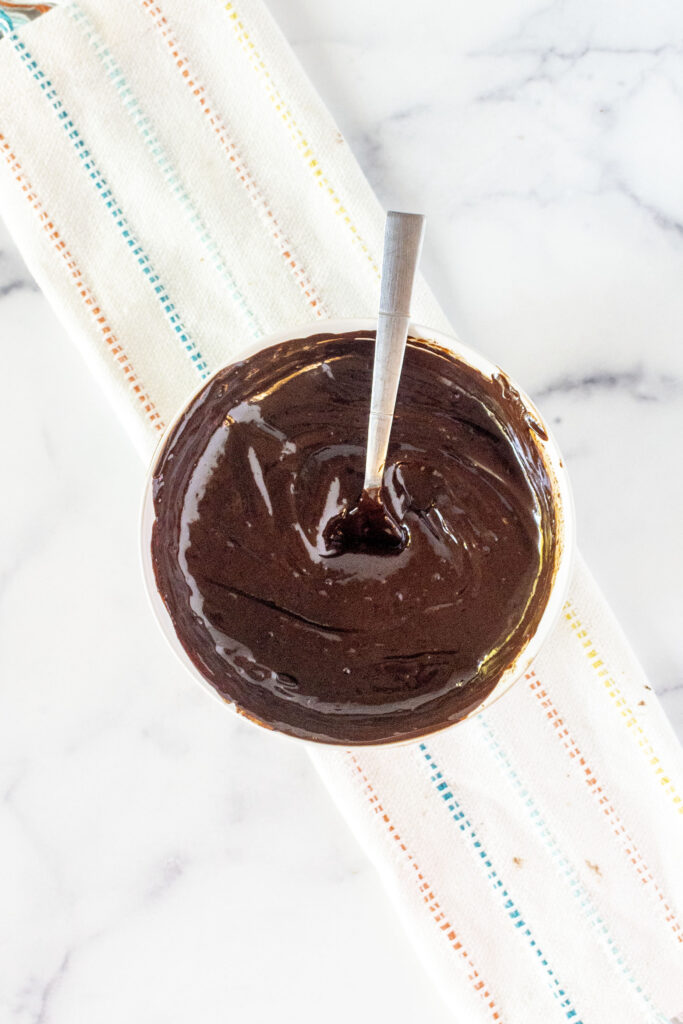
Spread the fudge over the cooled brownies, then sprinkle the wet mixture with sprinkles or colorful candies.
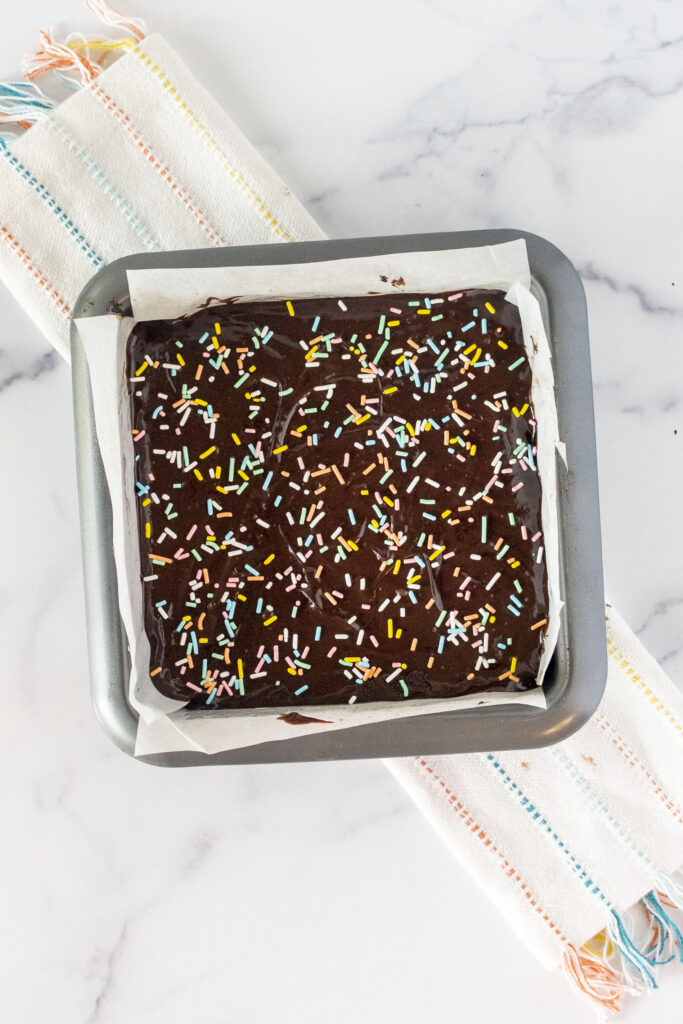
Refrigerate the brownies for two hours or until the ganache is firm. Once the brownies and ganache are firm, you can remove them from the pan and cut them into 16 2-inch squares. Chilled brownies will cut more cleanly than warm brownies.
The cosmic brownies need to be kept cold so the icing doesn’t soften and melt. Store leftover cosmic brownies in the fridge and enjoy as desired. They will taste good for up to a week in the refrigerator, of course, only if they last that long!
Why We Love Cosmic Brownies
They’re Delicious: I sometimes think my tastebuds are shot after ten years of following a strict gluten-free diet, but I think these brownies are really soft, fudgy, and definitely hit the spot. Don’t take my word for it. I shared a batch of cosmic brownies with my non-GF friend, and she raved about them. When my non-GF friends rave about a recipe, you know it’s good.
They’re Super Fudgy: The brownie is moist and fudgy, and the chocolate ganache is so good.
They’re Nostalgic: Who doesn’t crave a nostalgic treat from their childhood? That’s probably what compelled me to make gluten-free pop tarts and gluten-free goldfish too. These cosmic brownies are up there as a favorite childhood re-creation.
FAQs and Tips
Alternatives to Sprinkles: Sprinkles work well, but you could also use coated candies like M&Ms or Sixlets. I tested four brands of sprinkles for hidden gluten. You can see the results in this article.
Cocoa vs. Cacao Powder: I recommend using cocoa powder vs. cacao powder. Cacao powder is the raw, unprocessed version of cocoa and is usually more bitter than sweet. I typically recommend the two interchangeably and use cacao powder whenever possible, but I found the batch I made with cacao powder to be bitter.
Making it Egg-Free: I have not made my cosmic brownies without eggs, but if you do, I recommend trying it with an egg replacer.
The Importance of Room Temperature Eggs: I highly recommend using room temperature eggs as they will cream together more easily with the oil and you’ll therefore wind up with a smoother batter. You can speed up the process of warming the eggs but filling a bowl with warm-to-hot tap water, then placing the eggs in the water for 10 minutes.
Vegetable Oil vs. Coconut Oil: I use vegetable oil (specifically avocado oil) for this recipe interchangeably with coconut oil. It’s a matter of preference.
Making it Dairy-Free: The Bob’s Red Mill 1-to-1 Gluten-Free Flour is dairy free, so you’re in the clear with the flour. But you’ll want to use a dairy-free heavy cream (Silk makes one). You can also use dairy-free milk. You’ll also want to use dairy-free chocolate chips. Remember, ganache is typically made with heavy whipping cream, so any substitutes will change the consistency of the icing.
Additional Recipes
You might enjoy these recipes too!
- Gluten-Free Pop Tarts – Homemade
- Gluten-Free Goldfish Alternatives and a Simple Goldfish Recipe
- Easy Gluten-Free Chocolate Donuts
- Three-Layer Gluten-Free Mint Brownies
Gluten-Free Cosmic Brownies
Ingredients
For the Brownies
- 1/2 cup Bob’s Red Mill 1-to-1 Gluten-Free Flour 74 grams
- 1/3 cup cocoa powder
- 3/4 cup granulated sugar
- 1/4 tsp salt
- 1/4 tsp baking powder
- 2 large eggs at room temperature
- 1/2 cup coconut oil or vegetable oil
- 1 tsp vanilla
For the Fudge Icing
- ½ cup heavy whipping cream
- 1 ½ cups chocolate chips
Additional Ingredients
- sprinkles for decoration
Instructions
For the Brownies
- Preheat the oven to 350º F. Spray an 8×8 baking pan with cooking spray, then line it with parchment paper. I use two pieces of parchment paper to fully cover the pan and all four sides (see a photo in the blog post).
- Combine the flour, cocoa powder, sugar, salt, and baking powder in a medium bowl. Set aside.
- Whisk together the eggs, oil, and vanilla in a separate large bowl.
- Add the egg mixture to the flour mixture and mix with a spatula until a brownie batter forms and the flour is well incorporated.
- Spread the brownie batter evenly in the pan, then place the pan in the oven and bake for about 25 minutes until the batter is set. Remove the brownies from the oven and allow them to cool before adding the icing.
For the Icing
- Place ½ cup of heavy cream into a microwave-safe bowl and microwave on high for 1 minute.
- Submerge the chocolate chips into the cream and let the mixture sit for 2-3 minutes before stirring. The warm cream mixture will slowly melt the chocolate chips.
- Use your spatula to mix the cream and chocolate chips together until you have a smooth, creamy fudge.
- Spread the fudge over the brownies, then sprinkle the wet fudge mixture with sprinkles or colorful candies.
- Refrigerate the brownies for 2 hours or until the icing is firm. Once the brownies and icing are firm, you can remove the brownies from the pan and cut them into 16 2-inch squares.
Leave a Comment