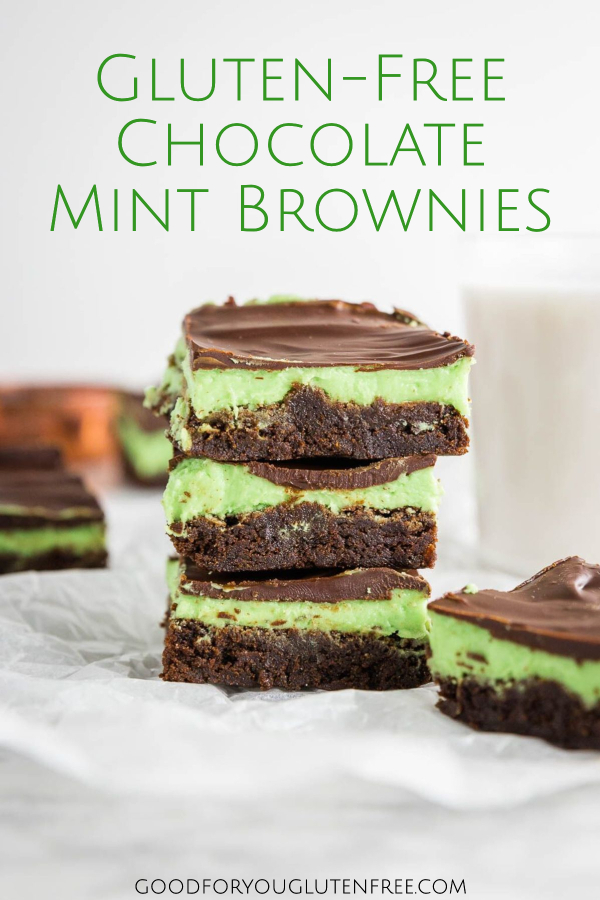
These gluten-free mint brownies will have you indulging in chocolate goodness and creamy mint all in one beautifully layered bite. This post contains affiliate links. Please see my disclosures.
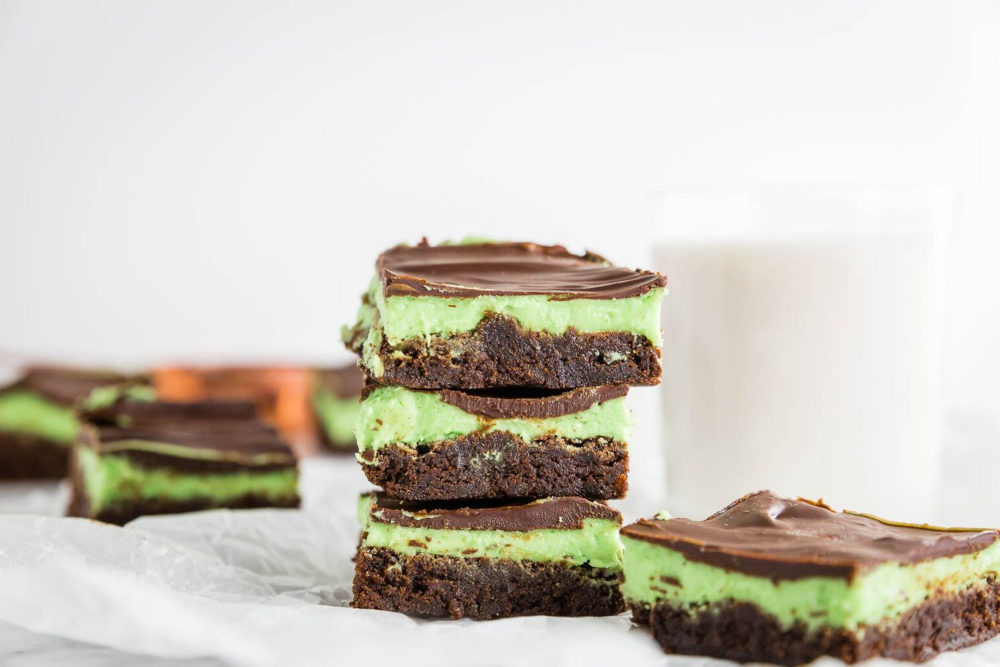
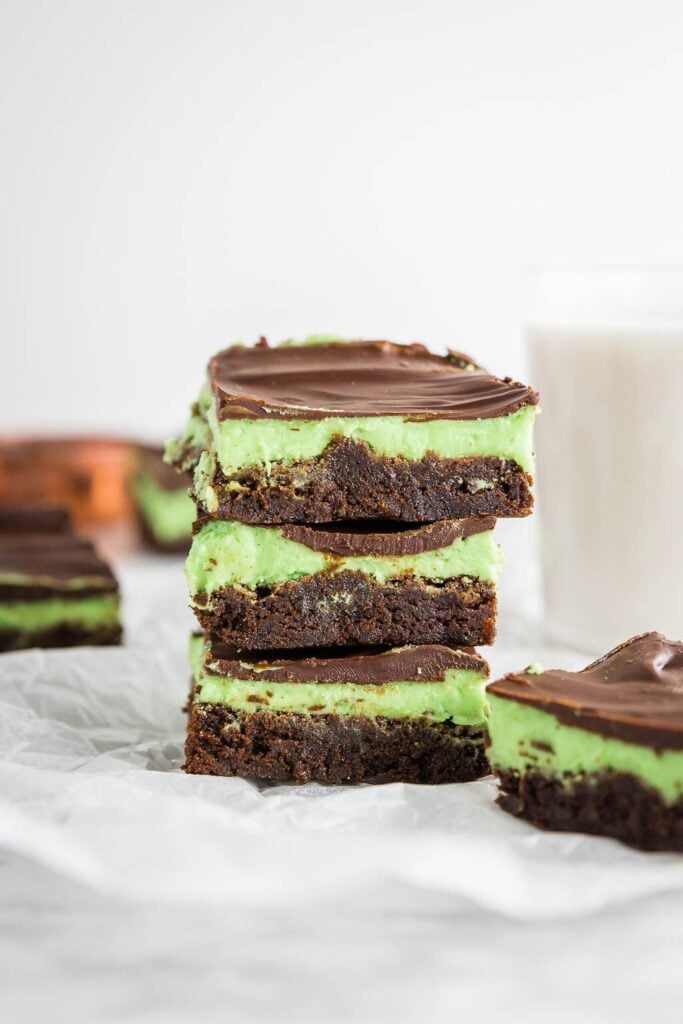
These three-layer gluten-free mint brownies are exactly what you’ve been craving. They start with a decadent and fudgy chocolate brownie cake bottom and are topped with a creamy and soft minty filling. Then the entire brownie is then coated in a light chocolate topping.
While these mint brownies take a bit of time to create, the result is outstanding. You will have one tasty treat that you won’t believe is gluten free!
Gather the Following Ingredients
These gluten-free mint brownies require the following ingredients:
- Bob’s Red Mill’s 1-to-1 gluten-free flour blend
- Cocoa powder
- Baking powder
- Salt
- Butter
- Sugar
- Eggs
- Vanilla extract
- Peppermint extract
- Cream cheese
- Milk
- Powdered sugar
- Green food dye (gel), optional
- Semi-sweet chocolate chips (for the topping)
Please note that if you don’t want to use cream cheese, I share a buttercream alternative recipe that you can use instead. See notes in the recipe card below.
Making Three-Layer Brownies
Because these mint brownies come together in three layers, you’ll want to work each layer separately.
Layer #1: Make the Brownie Bottom
You’ll first want to make the brownie bottom, which serves as the canvas of the recipe. Simply combine all the ingredients (as instructed in the recipe card below) and then bake it in your oven until the edges are set. The center may still be a bit wobbly, but don’t worry, the brownie bottom will continue to cook outside of the oven.
Allow the brownies to cool at room temperature for 20 minutes, then place them in your fridge to speed up the cooling process.
Layer #2: Make the Creamy Mint Filling
This layer is made from cream cheese, butter and powdered sugar, which gives it its sweet and creamy buttercream texture. (Remember, if you don’t want to use cream cheese, I offer a buttercream alternative in the recipe card.) Make sure the cream cheese is softened before mixing into the frosting recipe otherwise it will be lumpy.
To get that fun green minty color, use a natural green food dye or green gel food coloring. You can also leave the minty filling white and enjoy it as is with no food coloring.
Once the brownies are cool, spread the cream cheese filling over the top and then place the mixture in your fridge for at least 30 minutes (or longer) until the mint filling firms up and is completely set.
Please note that if the brownie bottom is not fully cool, the peppermint buttercream will melt.
Layer #3: Add the Chocolate Topping
Once the creamy peppermint filling is properly chilled and set, it’s time to add the chocolate topping.
Melt the chocolate chips with a little butter in the microwave, working in 30-second increments so the heat doesn’t burn or buckle the chocolate. Then pour the melted chocolate over the peppermint buttercream and use a spatula to even out the layer of chocolate. Put the brownies back into the refrigerator to set and cool.
Remember, it is important to add the chocolate layer only after the peppermint frosting layer is completely cool or the peppermint frosting will melt when under the heat of the melted chocolate.
Troubleshooting
There are a few things you can do to ensure this recipe is a success:
(1) Let each layer cool completely before adding the next layer.
(2) Use softened cream cheese and butter to avoid lumpy filling.
(3) Make sure the entire mixture is completely cool before cutting too. Clean off your knife with a towel in between cutting the squares to create clean picture-ready lines.
(4) If your preferred brand of gluten-free flour blend does not contain xanthan gum, add 1/4 teaspoon of xanthan gum to the recipe. Bob’s Red Mill’s 1-to-1 gluten-free flour blend contains xanthan gum, so no need to add it.
(5) Since this recipe contains cream cheese, store leftovers in your refrigerator. The brownies will last for several days in a sealed container in your fridge.
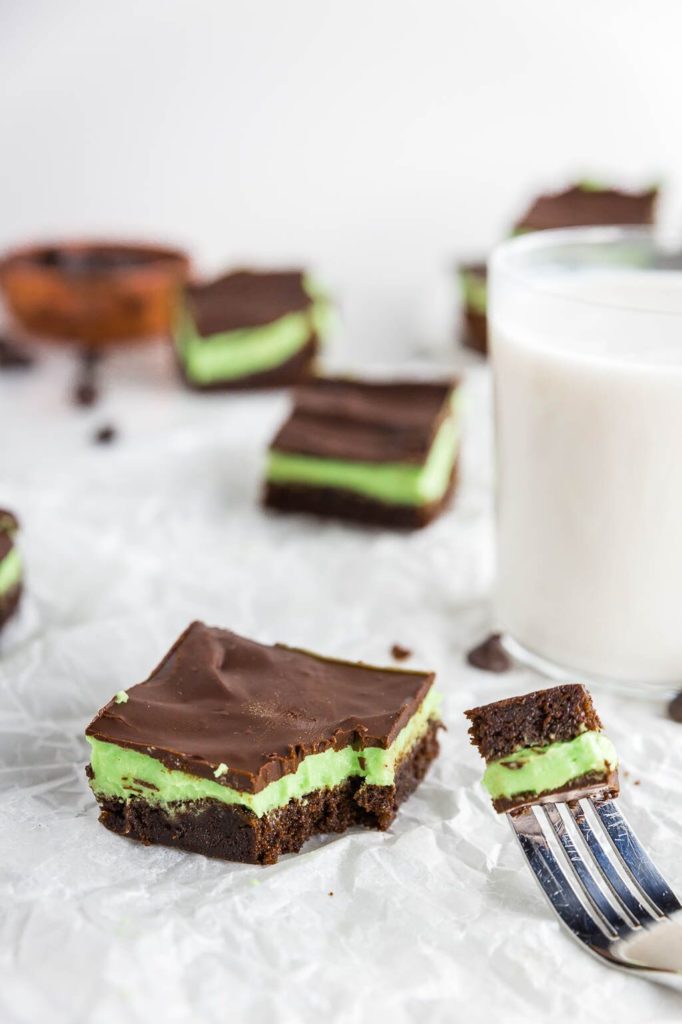
I hope you enjoy this three-layer gluten-free mint brownie.
The fudgy brownie bottom is decadent and gooey. The fluffy and light mint frosting gives me all the feels and just may be my favorite part of the whole recipe.
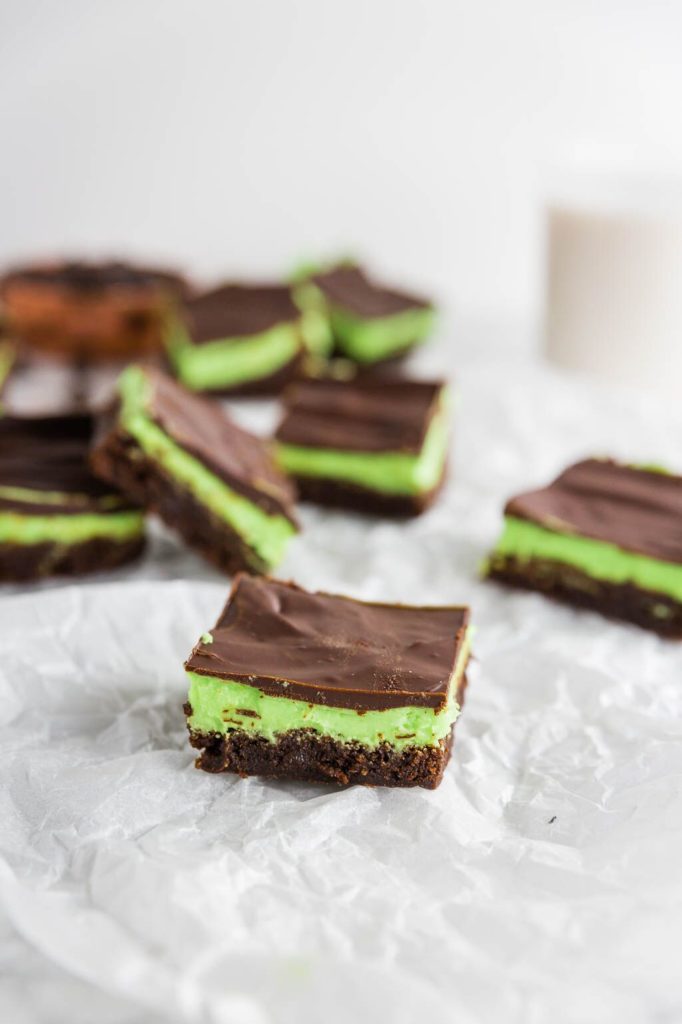
Each bite includes a minty, fudgy, and sweet combination, making this the best three-layer gluten-free mint brownie recipe I’ve ever made or had. Enjoy!
Additional Recipes
I hope you enjoy these sweet treats too!
- Gluten-Free Double Chocolate Brownies
- Gluten-Free Avocado Brownies – 100 Calories Each
- Gluten-Free Raspberry Thumbprint Cookies
- Classic Gluten-Free Chocolate Chip Cookies
Three-Layer Gluten-Free Mint Brownies
Ingredients
Brownie
- 1/2 cup gluten-free flour blend Bob’s Red Mill 1-to-1 Gluten-Free Baking Flour
- 1/2 cup unsweetened cocoa powder
- 1/2 tsp baking powder
- 1/2 tsp salt
- 1/2 cup unsalted butter melted
- 1 cup granulated sugar
- 2 eggs
- 2 tsp pure vanilla extract
- 1/2 tsp peppermint extract
Filling
- 4 ounces cream cheese softened
- 4 Tbsp butter softened
- 1 tsp peppermint extract
- 1 Tbsp milk
- 2 cups powdered sugar
- natural green food coloring
Chocolate Layer
- 1/2 cup semi-sweet chocolate chips
- 2 Tbsp butter
Instructions
Brownie
- Preheat your oven to 350º F. Grease an 8×8-inch baking dish with butter or oil of choice, then cover the bottom of the pan with parchment paper. Set aside.
- In a medium bowl, add the gluten-free flour, cocoa powder, baking powder, and salt and whisk everything together until combined. Set aside.
- In a large bowl, mix together melted butter and granulated sugar with a hand mixer for 1-2 minutes, until light and fluffy. Add in the eggs, vanilla, and peppermint extract and mix thoroughly.
- Gradually add in the dry ingredients and egg mixture until just combined and no streaks of flour remain.
- Pour brownie batter into the prepared 8×8-inch baking dish. Bake at 350ºF for 22-25 minutes or until the edges are completely set and a toothpick inserted into the center comes out with just a few crumbs. Let the cake mixture cool completely. (I recommend cooling the brownies at room temperature for 20 minutes, then placing them in your fridge to accelerate the cooling process.)
Mint Filling (see notes for buttercream alternative)
- In a medium bowl, combine softened cream cheese and butter and mix until smooth and creamy. Stir in the milk and peppermint extract, then gradually mix in the powdered sugar and mix until smooth. Add any additional milk if you need to thin out your frosting.
- Once the brownie/cake mixture is completely cool, spread the peppermint frosting on top of the brownies. Refrigerate the layered brownies for 30 minutes to one hour until cold.
Chocolate Topping
- In a microwave safe bowl, add chocolate chips and butter. Melt in 30 second increments, stirring in between, until chocolate is completely melted. Whisk to combine. Pour over the peppermint buttercream and spread with a spatula. Allow chocolate to harden completely before cutting into bars and serving.
- Pour the chocolate over the peppermint buttercream and spread it with a spatula. Allow the chocolate to harden completely before cutting it into bars and serving.
Notes
- 1/2 cup unsalted butter, room temperature
- 2 cups powdered sugar
- 2 Tbsp milk
- 1 1/4 tsp peppermint extract
- 1-2 drops of green food coloring (gel), to get desired minty color
- Cream all the ingredients together in your standing mixer until smooth.
- Spread over cooked and cooled brownies in lieu of the cream cheese filling.
I made these for us to celebrate St. Patrick’s Day. Wow, they were amazing! I did not do the peppermint (we bought it, but decided together we were going to leave it out) – we did however, dye the icing green with blue and yellow natural dye, it turned out to be more like robin’s egg blue 🙂 But OH they tasted soooo good. I used an Otto’s brownie mix for the base, cream cheese layer and then the melted chocolate chips next! yummy,
Mint and chocolate is my favorite combination… these sound amazing, Jenny!