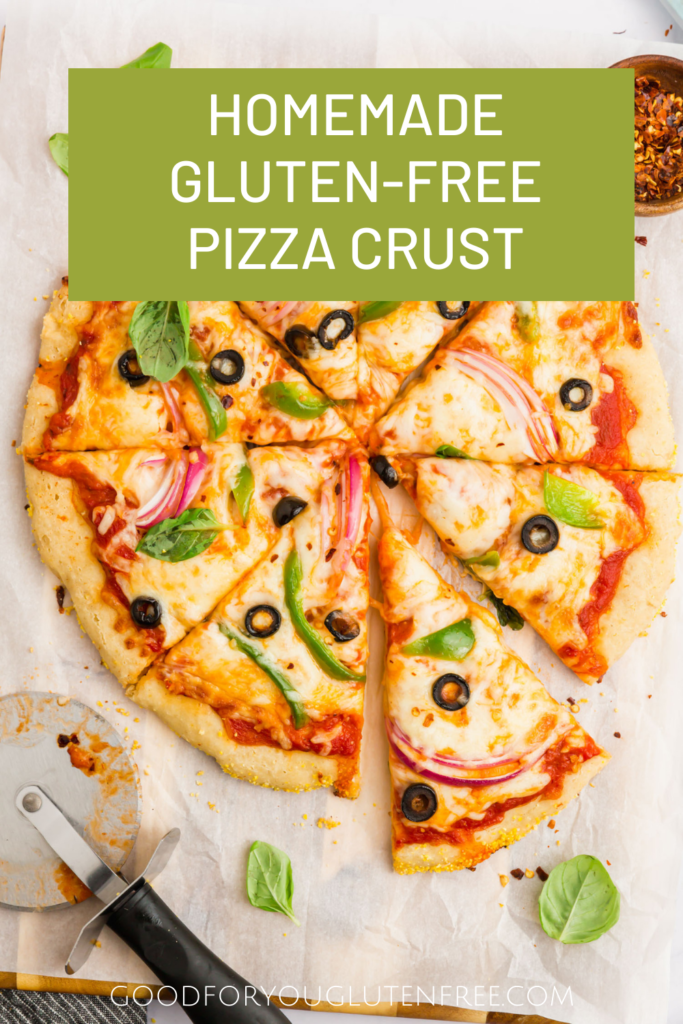
Pizza is a food many of us miss when we say goodbye to gluten. I have worked hard to make a delicious, simple, and doughy gluten-free pizza crust to help me enjoy this favorite food safely. This post about gluten-free pizza crust contains affiliate links. Please see my disclosures.
Pizza is one of my favorite foods, and I must confess, I miss pizza dearly. I miss the taste of regular pizza. I miss the ease of putting supper on the table in minutes by ordering pizza. I miss that delicious soft pizza dough.
I won’t lie to you; pizza just isn’t the same when you follow a strict gluten-free diet after a celiac disease or gluten sensitivity (gluten intolerance) diagnosis.
However, if you still want to enjoy a tasty pizza, you can make it yourself (preferable method) or purchase frozen gluten-free pizza you can heat and eat at home.
Remember, when you order pizza at a restaurant, even if the crust is gluten-free, there’s a probable risk that it will come in contact with gluten somewhere along the line. I rarely eat pizza at restaurants anymore, with a few exceptions.
If you’ve decided you love pizza and are willing to learn how to make it yourself, you’re going to love this pizza crust recipe. This results in a pizza crust that you can really sink your teeth into.
I’ve been playing around with different pizza crust recipes, and I keep coming back to this one. It tastes amazing, is easy to make, and my entire family loves it.
How to Make a Doughy Gluten-Free Pizza Crust
Here’s how to make this delicious recipe in just a few simple steps.
Step #1: Gather Your Ingredients
You’ll need a few easy-to-find ingredients to make this simple gluten-free pizza crust. You’ll need:
- 1 cup warm water
- 2 1/4 tsp active dry yeast
- 1/2 tsp honey
- 2 cups Bob’s Red Mill 1-to-1 Gluten-Free Flour (280 grams) or other 1-to-1 gluten-free flour
- 1 tsp kosher salt
- 3 tbsp olive oil
- 2 tsp gluten-free polenta or corn grits
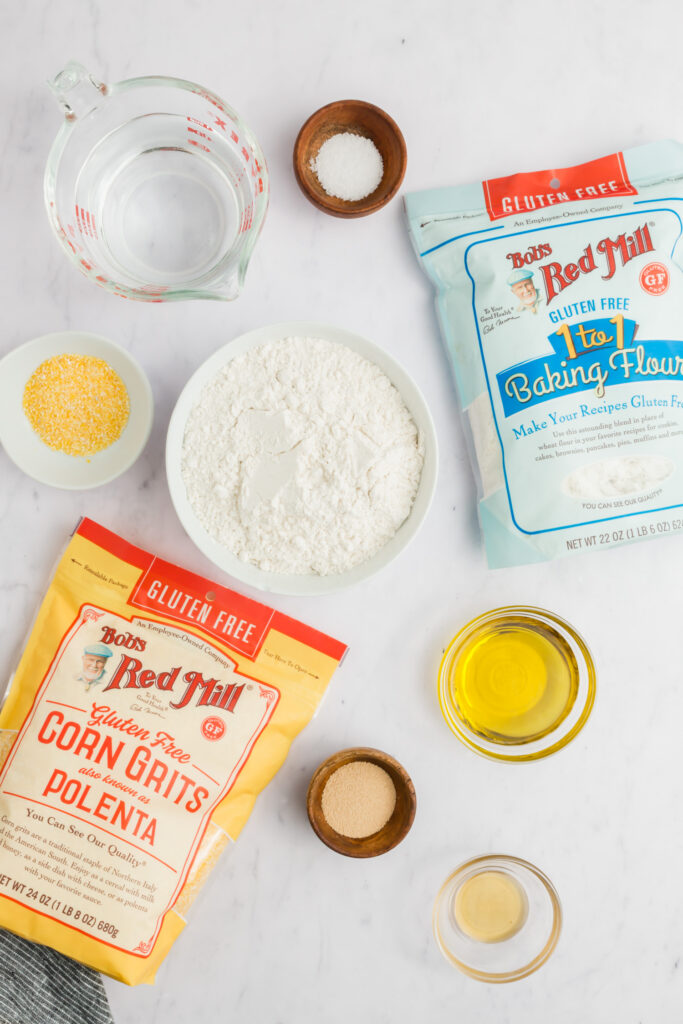
I have not tested this recipe with other 1:1 flour. I’ve only tested it with Bob’s Red Mill 1:1 gluten-free flour blend. It’s made up of a variety of flours and starches that work beautifully together to mimic the taste and texture of gluten.
While you can never match the gluten texture with 100 percent perfection, a good 1:1 gluten-free flour can come close.
Step #2: Make the Dough
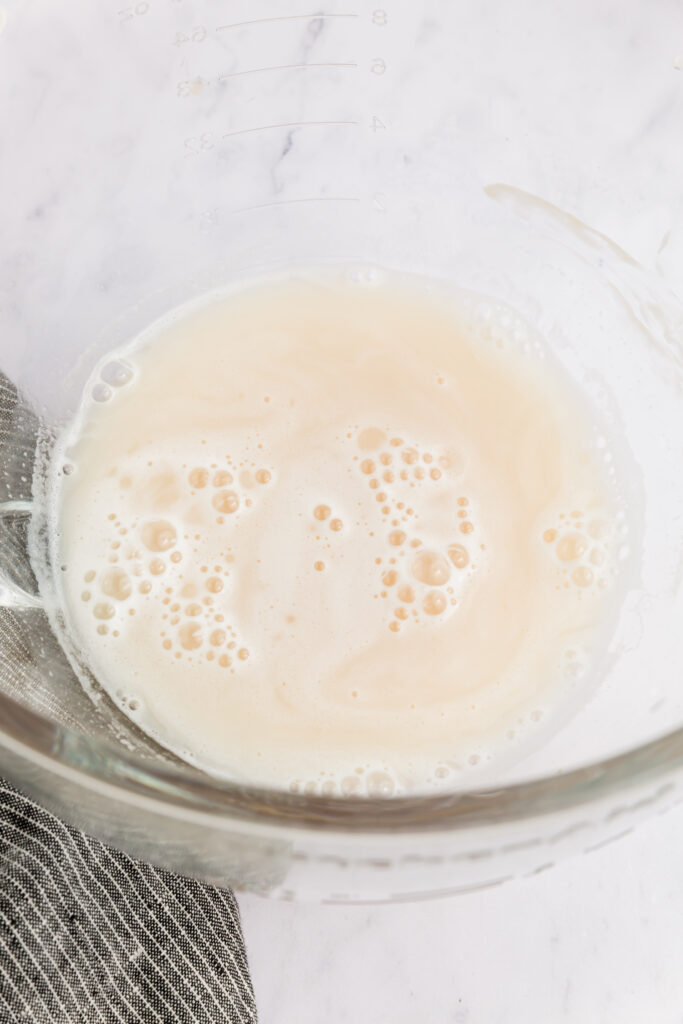
To make a soft and doughy gluten-free pizza crust, start by mixing the yeast with warm water and a little honey. The water and honey will activate the yeast, and you should see it begin to bubble.
If the mixture doesn’t bubble after a few minutes, it may mean your yeast is old and may not be as effective.
Next, add the 1:1 gluten-free flour, salt, and oil to the mixture and mix well by hand or in your standing mixer for 2-3 minutes until everything is well incorporated.
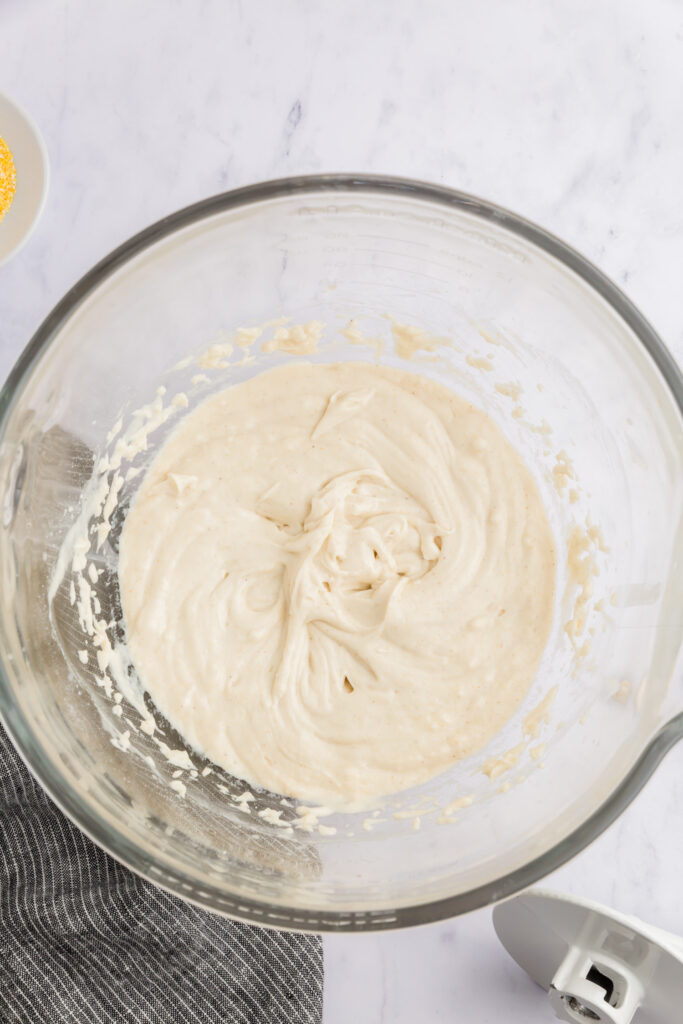
With regular pizza made with wheat flour, you would mix (knead) the dough a lot to get the gluten to develop. But with gluten-free dough, there’s no need to mix it more than necessary.
Shape the dough into a ball (add more flour if too sticky) and set it aside.
Step #3: Shape the Dough
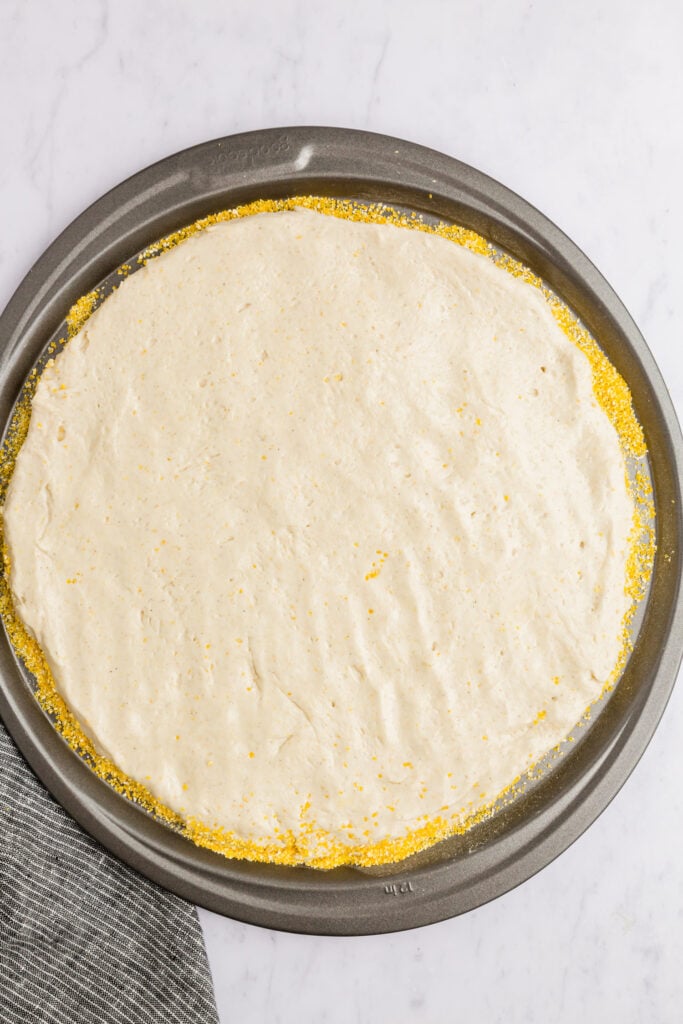
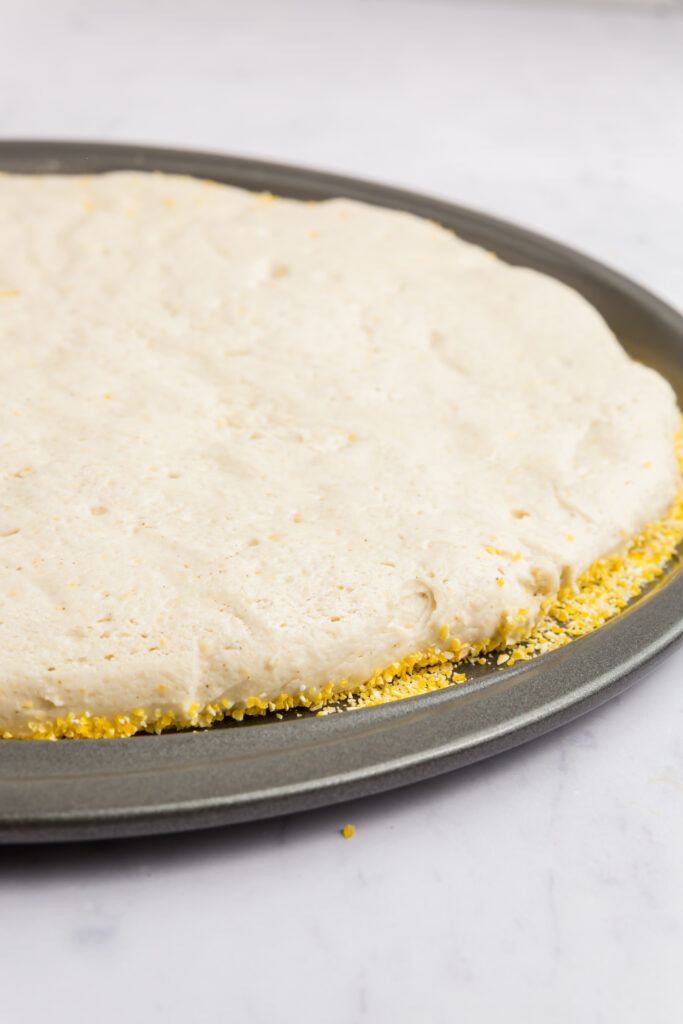
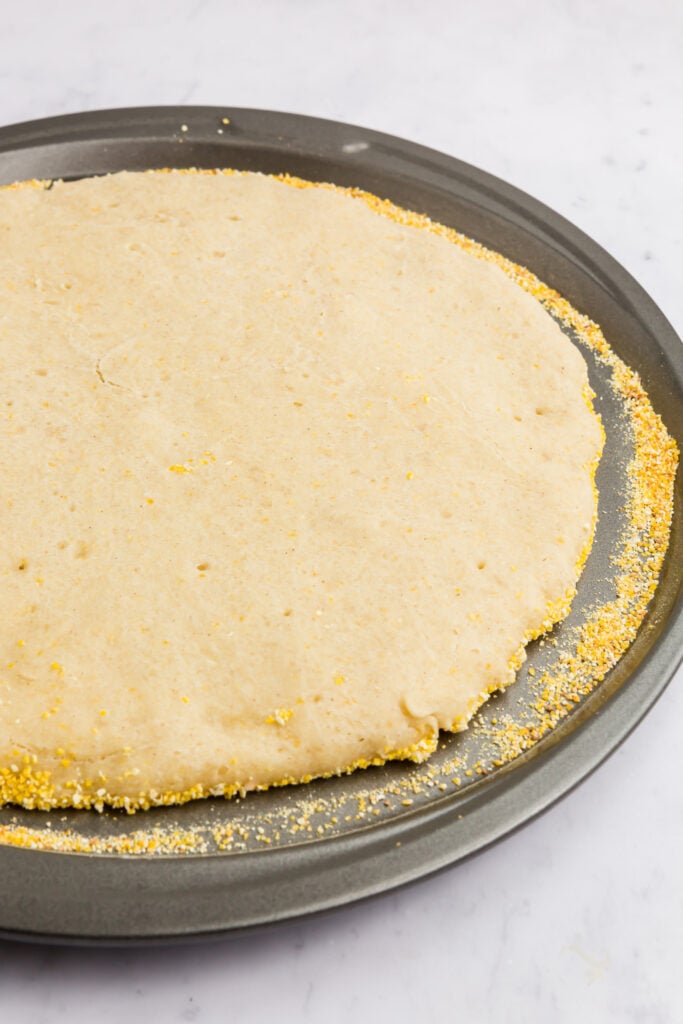
Now it’s time to shape the dough on a baking sheet. To do this, sprinkle a little polenta (corn grits) onto a round 12″ pizza baking sheet. This will give the pizza crust a nice texture as well as prevent it from sticking to the pan.
Place the dough ball in the center of the pizza pan and use the palm of your hand to gently flatten and shape the dough into place. The oil in the dough will prevent it from sticking to your hands, so there’s no need to flour your surface or your hands.
This is what it will look like when you’ve shaped the dough into place. Don’t worry if the polenta gets onto the top of the crust. You’ll be covering up the top with sauce, cheese, and toppings.
Step #4: Allow Dough to Rise
Cover the dough with plastic wrap and allow it 1.5 to 2 hours to rise. It will rise better in a warmer setting. I often place it In my warming drawer to rise. It won’t rise a lot, but you will definitely see a little action.
Step #5: Par-Bake the Crust
Once the dough has risen, it’s time to par-bake the crust for 10-12 minutes in a preheated 400º F oven. Below is what my par-baked gluten-free pizza crust looked like. Keep in mind it may shrink a little during baking.
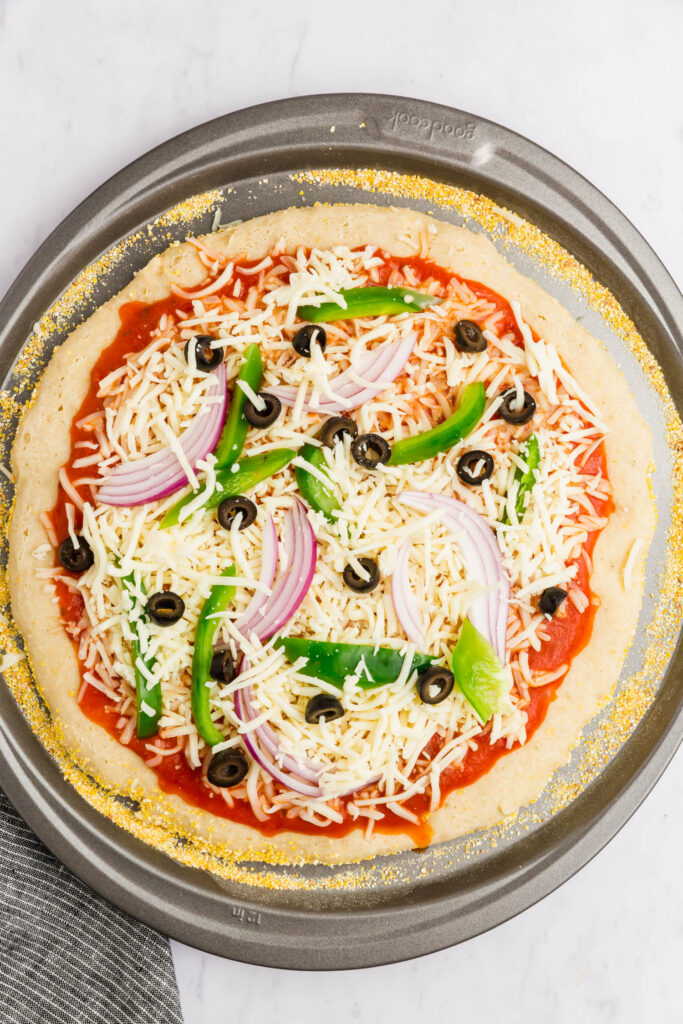
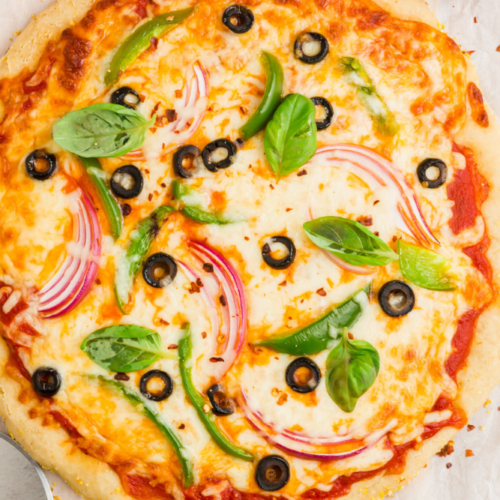
Step #6: Add Toppings and Bake
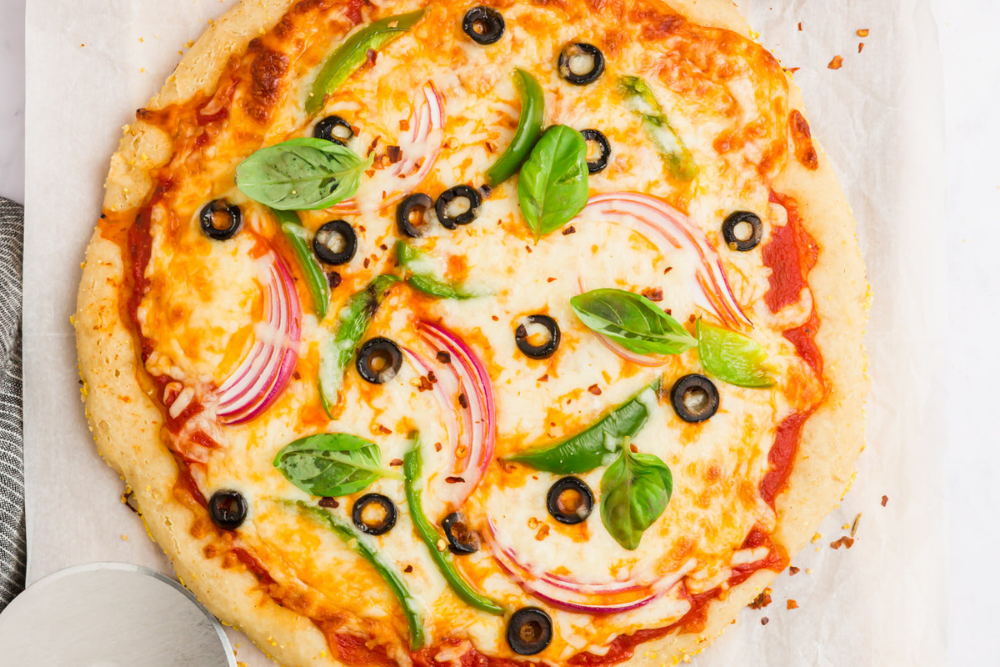
Once your gluten-free pizza crust is par-baked, crank up the oven to 450º F and then add your sauce, cheese, and toppings, leaving room around the edge of the crust.
Bake the pizza for 8-12 minutes or until cheese is bubbly and slightly browned.
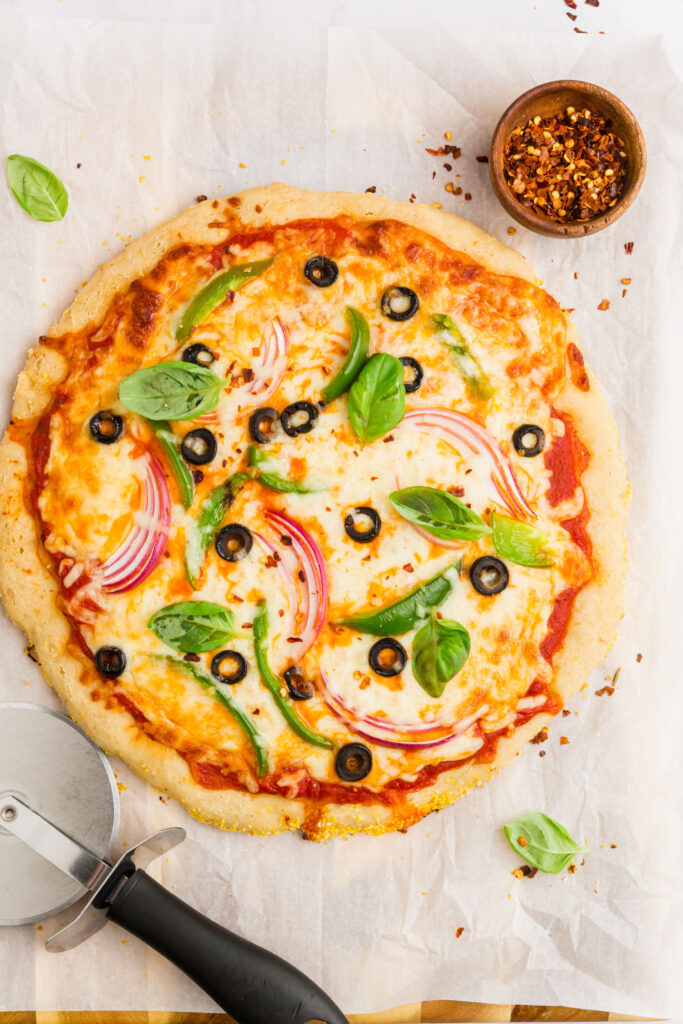
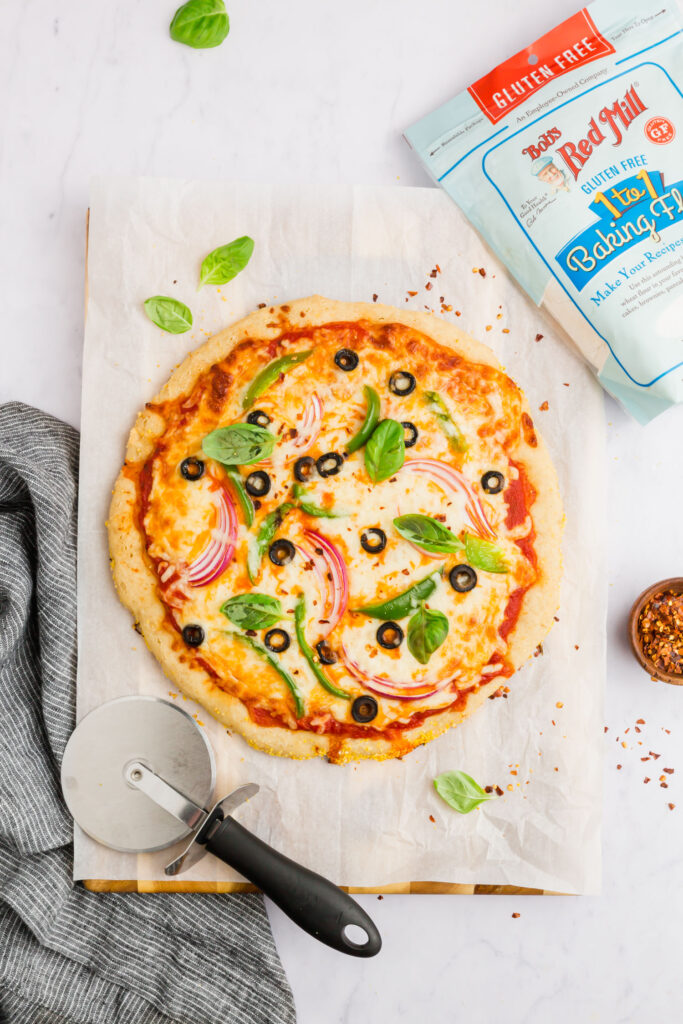
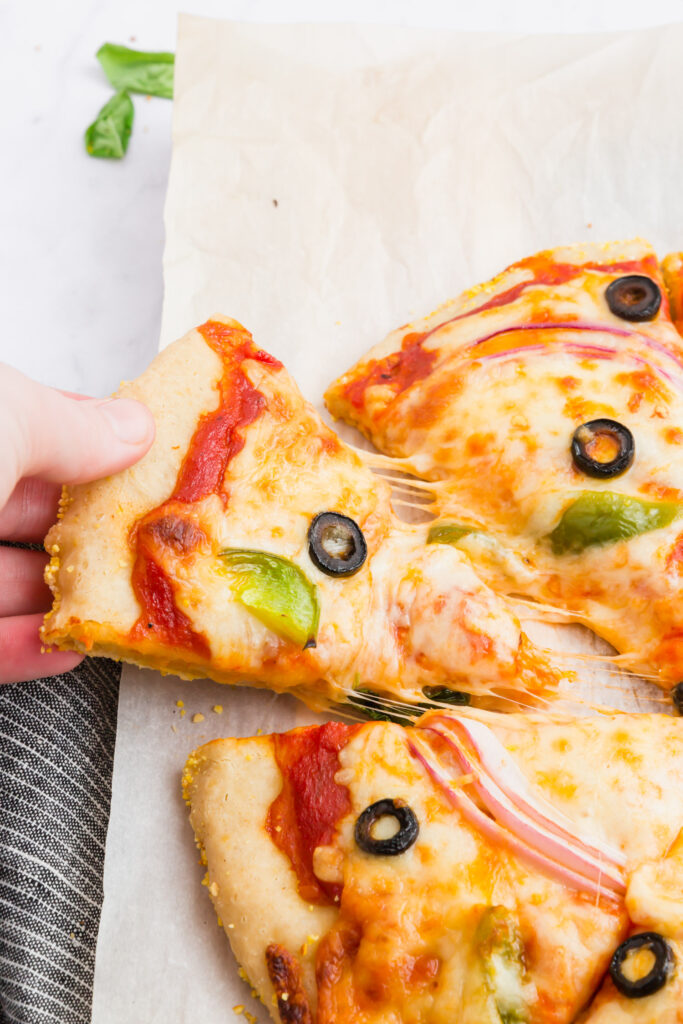
Is your mouth watering yet? Just wait until you take a bite. This crust is doughy, and the polenta adds a nice crunch on the bottom. Everything just tastes so good together!

If you’re ready to make homemade gluten-free pizza crust, I hope you’ll give this recipe a go. You’ll be shocked at how easy it is to whip up a delicious gluten-free pizza at home … and you’ll be kicking yourself for not doing this sooner.
FAQs
Dairy-Free: The crust is dairy-free as-is, but if you want the pizza to be dairy-free, you’ll want to use a dairy-free cheese like Daiya cheese shreds. If you use a different flour, make sure it’s dairy-free as well.
Polenta (corn grits) optional: I think the pizza tastes way better with the corn grits on the bottom, but it’s completely optional, and the recipe will work well without it too.
No Pizza Pan? If you don’t have a pizza pan, just shape the dough into a 10-12″ pizza on a baking sheet. You can even make your pizza oblong.
Dough didn’t rise? This means your yeast is probably dead (check its expiration date), or the water you used was too cold or too hot. It might also mean your house is cold and therefore it will need more time to rise. The dough will rise quickly in warmer temperatures. It’s why I place my pizza pan in a warming drawer or on a warming mat while it’s rising. You can also use the proofing setting on your oven.
Can You Use Other 1:1 Gluten-Free Flours? Yes, you can, but please note I haven’t tested this recipe with other flours, so the measurements may not need to be adjusted.
Additional Recipes
Enjoyed this recipe? You might also like the following recipes:
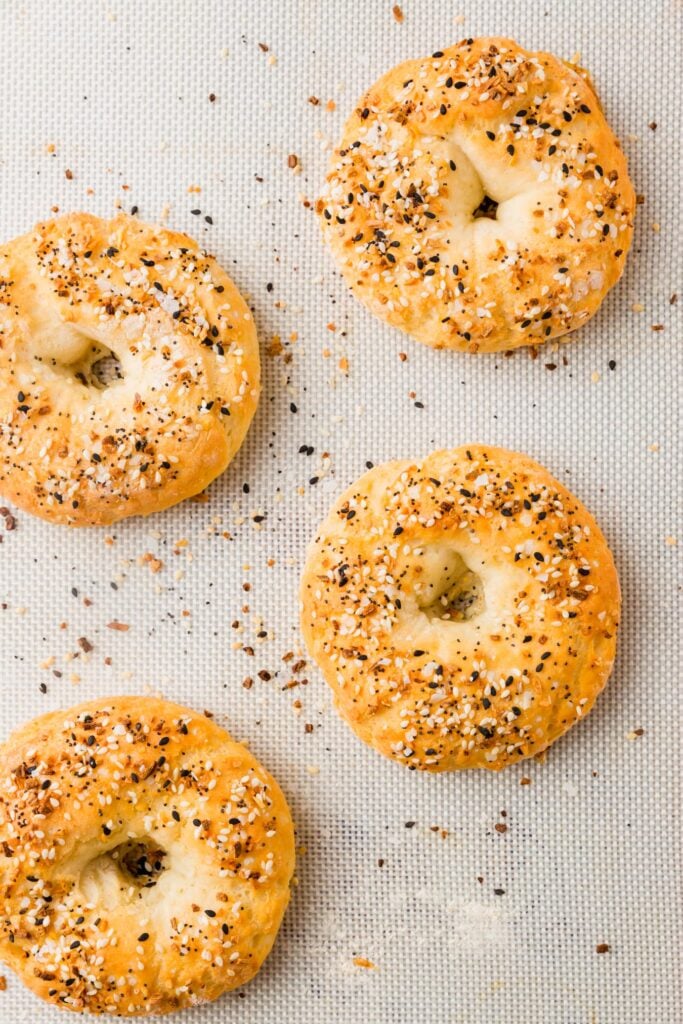
5-Ingredient Gluten-Free Bagels: Make these soft yet crusty homemade gluten-free bagels in minutes!
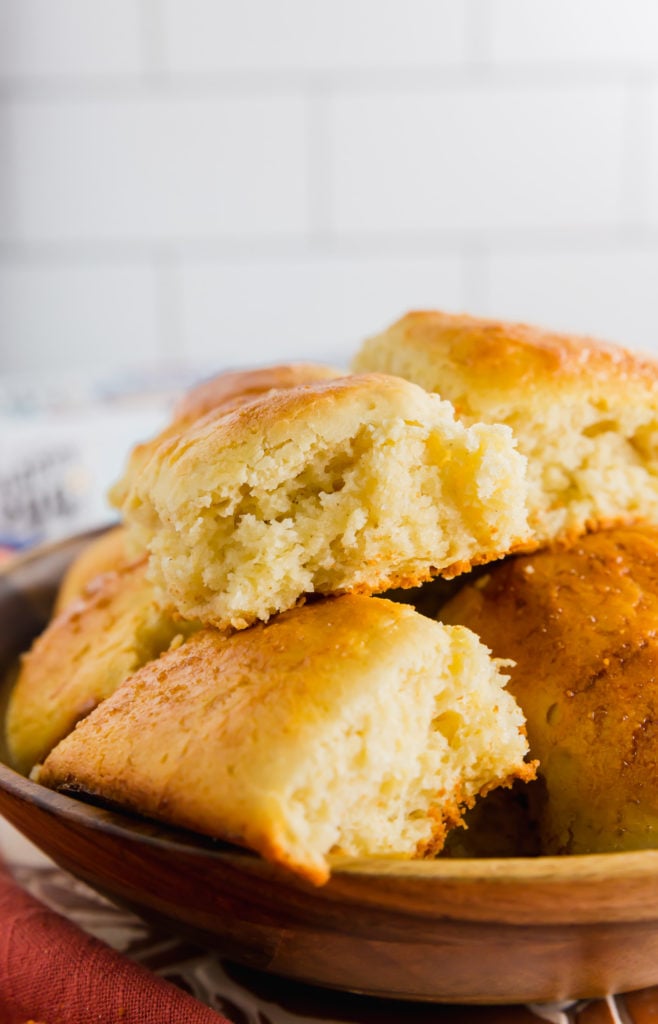
Pull-Apart Gluten-Free Dinner Rolls: These buttery gluten-free dinner rolls are perfect for your holiday feasts and special occasions.
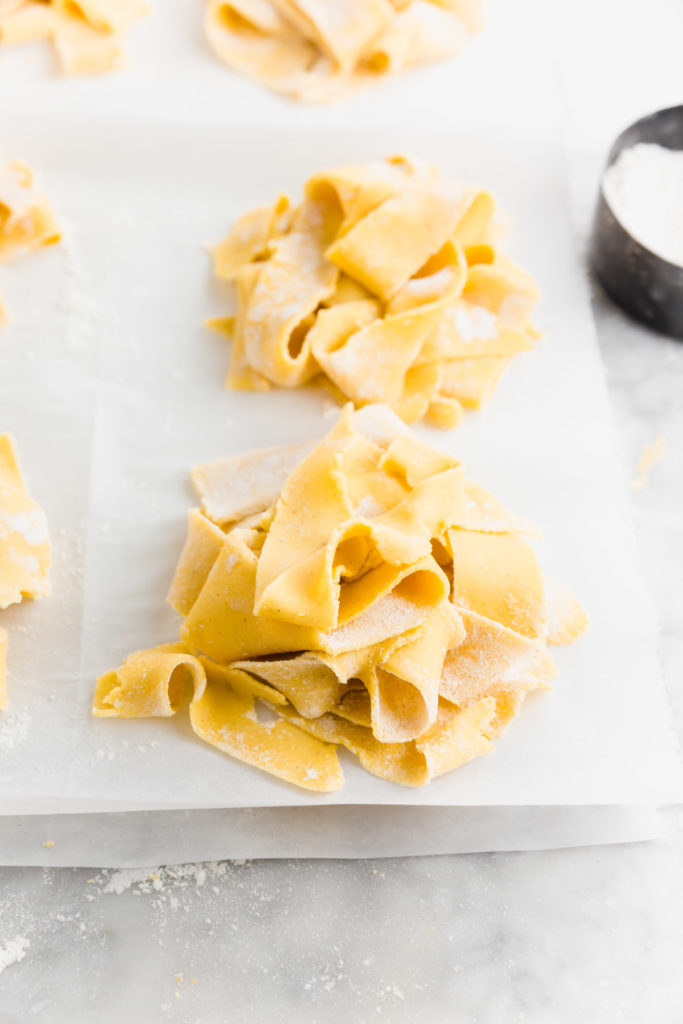
Homemade Gluten-Free Egg Noodles: Learn how to easily make your own gluten-free egg noodles at home, from scratch.
Soft & Doughy Gluten-Free Pizza Crust
Equipment
- 12" round pizza baking sheet (see notes)
Ingredients
- 1 cup warm water
- 2 1/4 tsp active dry yeast
- 1/2 tsp honey
- 2 cups Bob’s Red Mill 1-to-1 Gluten-Free Flour (280 grams)
- 1 tsp kosher salt
- 3 tbsp olive oil
- 2 tsp polenta corn grits gluten-free
Instructions
- Add water, yeast and honey to a mixing bowl. Gently whisk ingredients together and then let mixture sit to activate the yeast (about five minutes). The yeast will lightly begin to bubble, which shows it's working.
- Add the flour, salt, and olive oil to the yeast mixture. You can mix ingredients by hand or use your standing mixer and mix everything together into a nice, smooth dough for about 2 minutes at medium-high speed. Scrape down the edges to ensure all ingredients get incorporated. Shape the dough into a ball and set it aside.
- Sprinkle the polenta on the surface of a 12" round pizza baking sheet and spread evenly.
- Place the dough ball in the middle of the pizza pan, then use the palm of your hand to gently flatten and push out the dough until it covers the pan and polenta. Shape the dough as desired.
- Cover the dough with plastic wrap and allow it to rise for about 1.5 to 2 hours in a warm area of your house. If it's cold, I recommend using a warming drawer or setting your oven to the proofing setting and allowing it to warm there. Alternatively, you could use a warming mat (see notes).
- Preheat the oven to 400º F. Once the oven is heated, par-bake pizza crust for 10-12 minutes, then remove it from the oven. Crank up the oven temperature to 450º F.
- Top par-baked pizza crust with sauce, cheese, and toppings of choice, then bake for another 8-12 minutes until the cheese begins to bubble and brown. Remove from oven and enjoy.
Yes bring it to room temp after freezing so it has a chance to rise again. Should work.
Hi. This recipe is delicious!
I want to make a double batch and freeze. Should I let dough rise in a ball and then freeze?
i tried this and bb it worked perfectly for me. i didn’t use red sauce – i went with olive oil, garlic, and herbs. the crust turned out like a mixture of focaccia and deep dish. fantastic, with good crunch and sift, bready texture.
I used the heating matt and King Arthur GF flour. I’ll admit, when I combined the ingredients together, and saw the dough before placing it on the heating mat, I didn’t get my hopes up. Sure enough though, it began to bubble, and the pizza tasted great. One piece was enough.
Sorry it didn’t work for you. 😞
I only had instant yeast on hand which I have substituted in recipes with great success. This recipe is a different story. It was so soupy I decided to make rolls instead. So much for pizza.
This is great! I was delighted to make it this morning. Just brilliant. Have struggled to find many successful recipes. I am happy to put this one in my must do recipes. New Zealand.
Thanks for sharing this recipe . Can’t wait to try it.