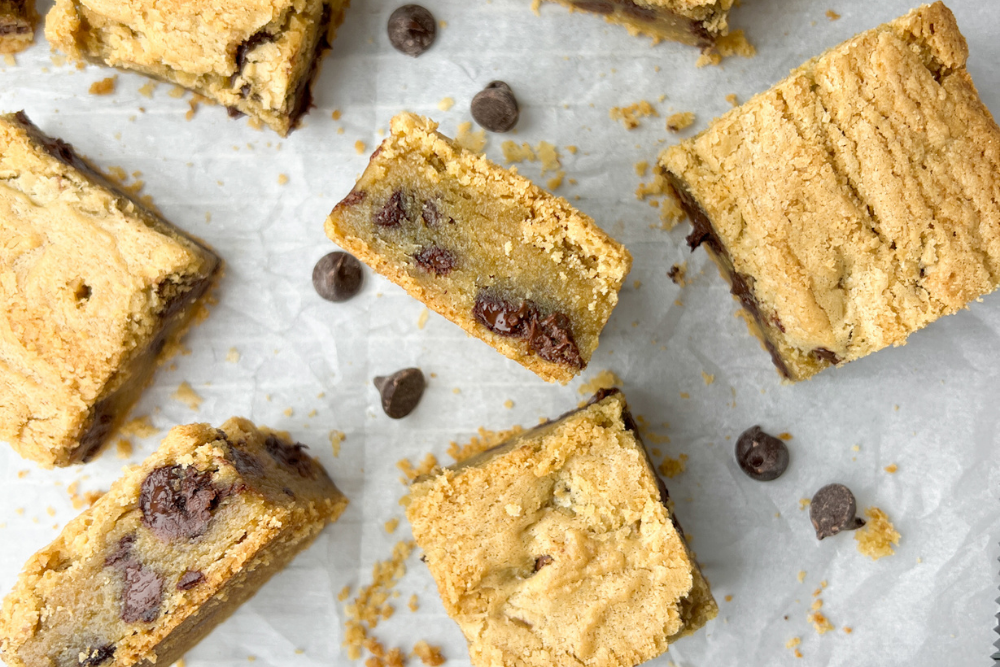
My entire family loves when I whip up a batch of my super-soft classic gluten-free blondies. Blondies resemble a square brownie but taste like a gooey soft-baked cookie. This recipe was updated January 2022 with a new and improved version of my gluten-free blondies recipe. This post contains affiliate links. Please read my disclosures.
Blondies are delicious cookie bars that resemble a brownie but definitely taste like a cookie.
Brownies contain cocoa powder, which gives them their rich, chocolatey color, while blondies contain brown sugar and vanilla, which makes them resemble more of a cookie.
My new and improved classic gluten-free blondies recipe contains only a handful of pantry-staple ingredients and the batter comes together in about 10 minutes flat!
Best of all, my gluten-free blondies come out super soft, moist, gooey and delicious, just as a soft-baked blondie should. I have to give them away fast because if I keep them in my house, I’ll eat the whole batch!
How to Make Gluten-Free Blondies
Let’s talk about how to make these classic gluten-free blondies.
Step #1: Assemble Ingredients
You’ll need just eight simple ingredients to make these beautiful cookie bars, including:
- 2 cups Bob’s Red Mill 1-to-1 gluten-free baking flour (300 grams)
- 1 tsp baking powder
- 1/2 tsp salt
- 14 Tbsps unsalted butter, melted and slightly cooled (200 grams)
- 1 1/2 cups light or dark brown sugar, packed (300 grams)
- 1 egg large + 1 egg yolk, room temperature
- 1 Tbsp vanilla extract
- 1 cup chocolate chips rounded cup (8 ounces)
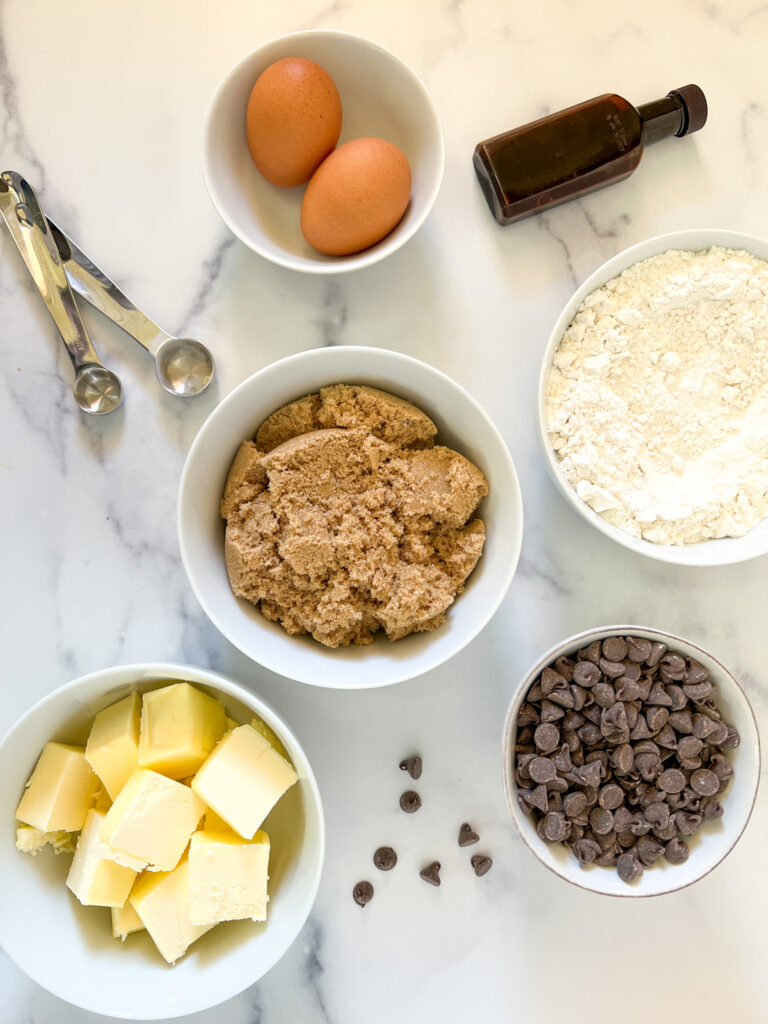
Remember, you want to use a gluten-free flour blend that contains xanthan gum, like Bob’s Red Mill 1-to-1 gluten-free flour blend. If you use a different flour blend, be sure to check if it contains xanthan gum. If not, add 1/2 tsp of xanthan gum for every cup of flour.
Step #2: Prepare Batter
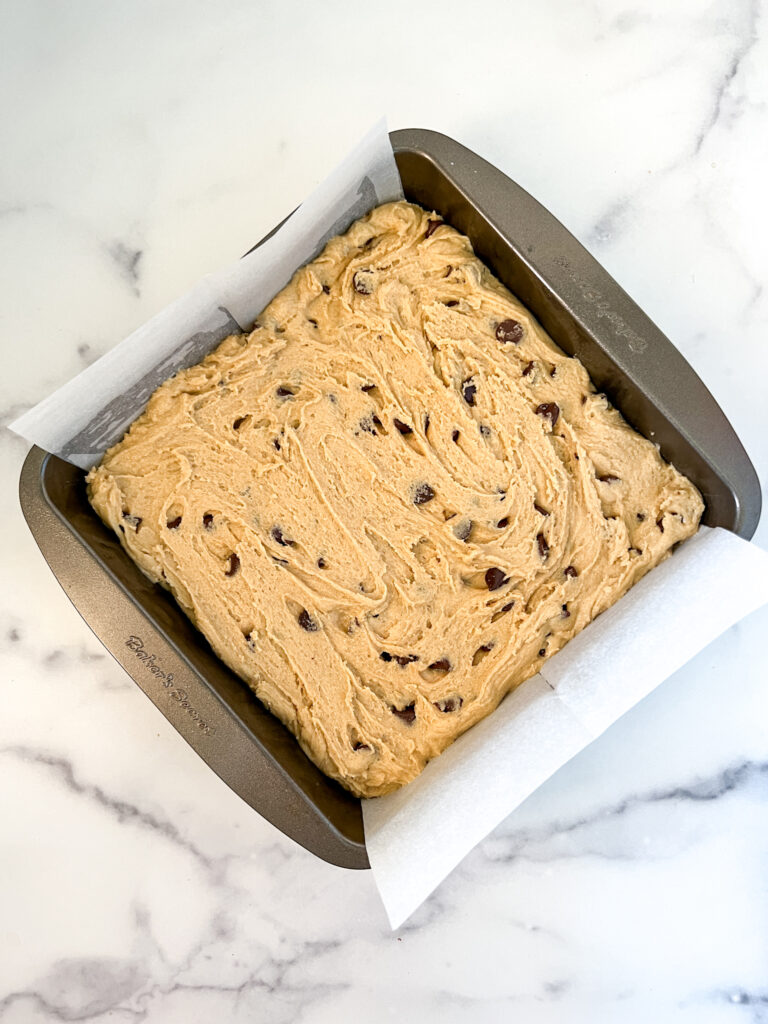
Preheat your oven to 350º F and line the bottom of an 8″ x 8″ or 9″ x 9″ square pan with parchment paper. Lightly spray cooking spray over parchment paper and exposed sides of pan.
Now combine the flour, baking powder and salt in a medium bowl and whisk together.
In a separate medium bowl, add the melted butter and brown sugar and mix until well combined, then whisk in the egg, egg yolk, and vanilla extract.
Add half of the flour mixture to the butter mixture and mix well. Add the second half of the flour mixture and continuing mixing until all the dry ingredients are well incorporated. I use a rubber spatula to scrape the sides and mix everything together.
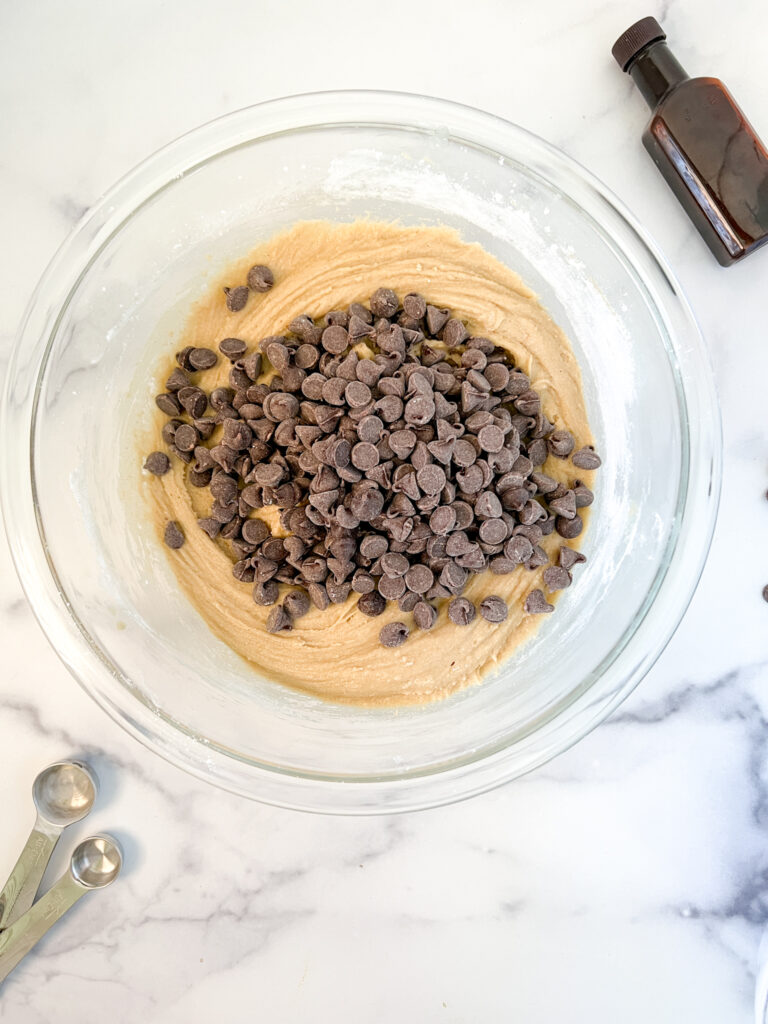
Fold in the chocolate chips and then allow the batter to sit for 3-5 minutes before baking. This will allow the flour to sufficiently soak up the wet ingredients. Then add the batter to your square baking pan.
Step #3: Bake
Now it’s time to bake the blondies. They’ll need about 30-35 minutes to bake, or until a toothpick inserted in the center comes out clean.
Remove the blondies from the oven and allow them to cool completely in the pan over a wire rack.
DO NOT cut the blondies until they’re completely cooled, about 2 hours. Sometimes the blondies will sink a bit in the middle. I use a large flat spatula to gently press the ingredients flat.
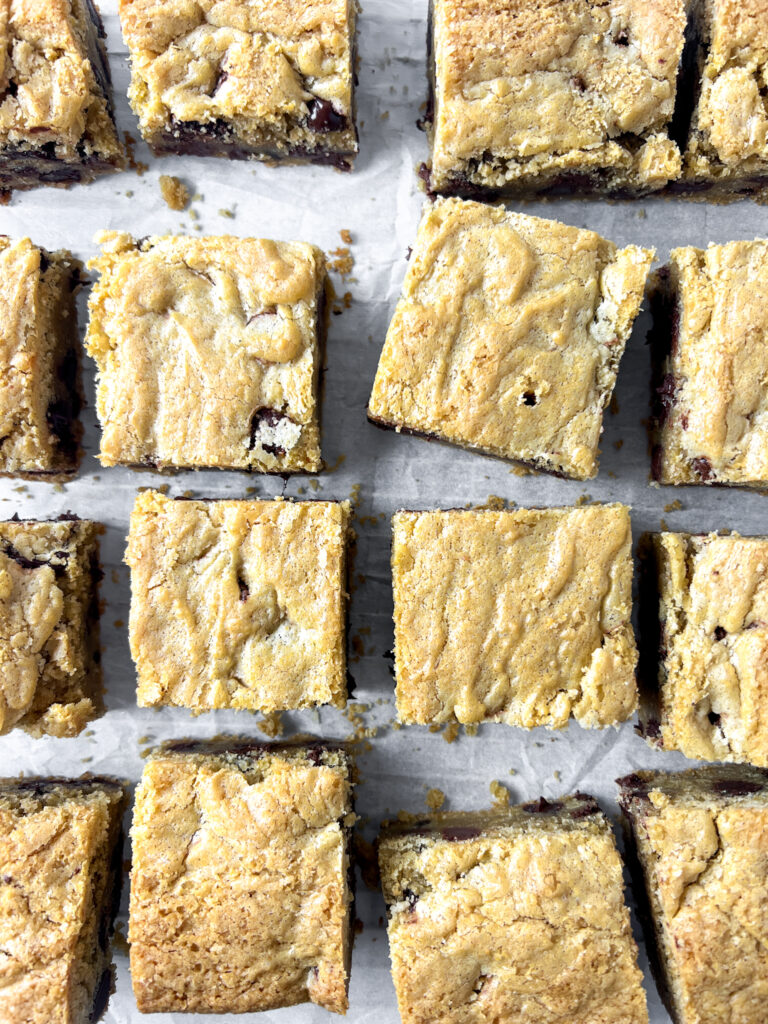
Cut the blondies into 16 even squares and serve. Store any leftover blondies in a sealed container for 2-3 days at room temperature or in your fridge for up to a week.
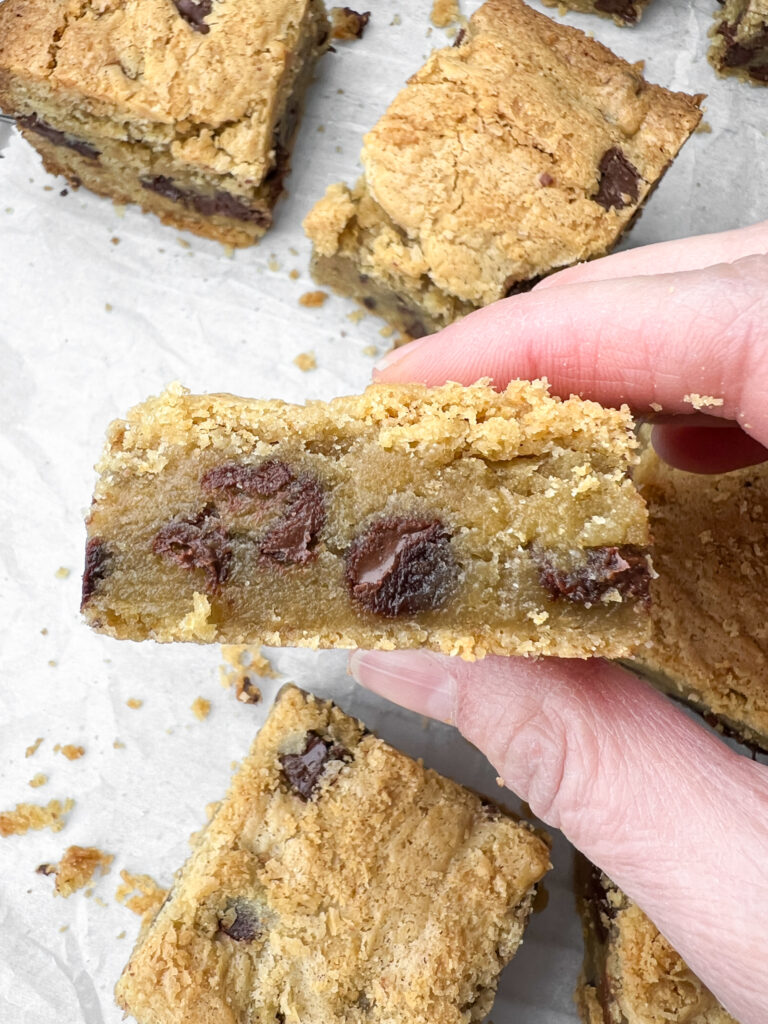
These gluten-free blondies taste just like the blondies I remember enjoying in my pre-celiac disease days as they’re soft and chewy on the inside and bit flaky on the outside. Yum!
If you’re craving blondies, you won’t be disappointed making this wonderful, easy, and classic recipe. Enjoy!
More Recipes
Love this cookie recipe? Try these classic cookies on for size:
- Raspberry Thumbprint Cookies
- Gluten-Free Maple White Chocolate Chip Cookies
- Classic Gluten-Free Chocolate Chip Cookies
- 17+ Classic Bob’s Red Mill Gluten-Free Flour Recipes
- Gluten-Free Pop Tarts – Homemade
- Frozen Yogurt Banana Pops (Dairy-Free with Yogurt Alternative)
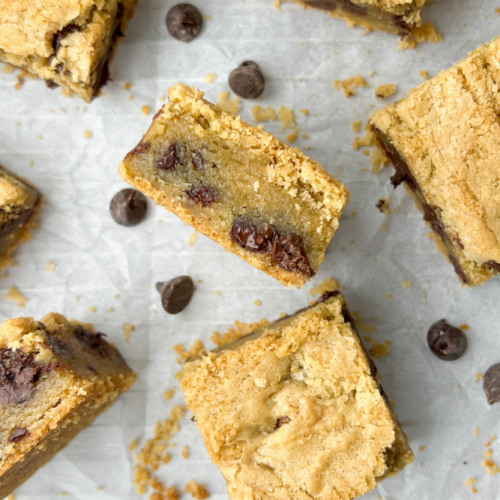
Classic Gluten-Free Blondies
Equipment
- 8×8 square pan or 9×9 square pan
Ingredients
- 2 cups Bob's Red Mill 1-to-1 gluten-free baking flour (300 grams) *see notes if using a different brand of flour
- 1 tsp baking powder
- 1/2 tsp salt
- 14 Tbsps unsalted butter melted and slightly cooled (200 grams)
- 1 1/2 cups light or dark brown sugar packed (300 grams)
- 1 egg large, room temperature
- 1 egg yolk large, room temperature
- 1 Tbsp vanilla extract
- 1 cup chocolate chips rounded cup (8 ounces)
Instructions
- Preheat the oven to 350º F and line the bottom of an 8" x 8" or 9" x 9" square pan with parchment paper. Lightly spray cooking spray over the parchment paper and exposed sides of pan.
- Combine the flour, baking powder and salt in a medium bowl and whisk together.
- In a separate medium bowl, add melted butter and brown sugar and mix until well combined, then whisk in the egg, egg yolk, and vanilla extract.
- Add half of the flour mixture to the butter mixture and mix well. Add the second half of the flour mixture and continuing mixing. I use a rubber spatula to scrape the sides and mix everything together.
- Fold in chocolate chips and allow batter to sit for 3-5 minutes. This will allow the flour to sufficiently soak up the wet ingredients.
- Add the batter to your square baking pan and bake for 30-35 minutes or until a toothpick inserted in the center comes out clean. Remove from the oven and allow the blondies to cool completely in the pan over a wire rack. DO NOT cut the blondies until they're completely cooled, about 2 hours. Sometimes the blondies will sink a bit in the middle. I use a large flat spatula to gently press the ingredients flat.
- Cut the blondies into 16 even squares and serve. Store in a sealed container for 2-3 days at room temperature or in your fridge for up to a week.
I made these today. Very tasty and chewy like a regular blondie. I am not new to making blondies but I am new to making them gluten free. I also needed to make them dairy free so I used butter flavored coconut oil. The mix looked nothing like your pictures and I only used 1 cup and a half of the gf flour blend. . Thank you for this recipe. I’ll be using it a lot.
How long should I let them rest for before baking? I want them to be moist and do everything needed for them to turn out not gritty. Thank you.
One of the tricks to using gluten free flours is to let your dough rest before baking. The extra time will allow the gluten free flours to absorb more liquid, and the final result will be less gritty. Can’t wait to try these with some rest time before popping in the oven!!!
It’s cookie like
should this be a battery texture or a doughy one?
I haven’t tried it but I bet it works. Let me know how it goes.
Could I make these with coconut oil to make them dairy free? Thanks.