
You might be wondering, is sushi gluten free? Or maybe how to order and safely navigate a sushi restaurant when you can’t eat gluten. In this post, I’ll show you how to navigate a sushi restaurant with easy and also how to make your own gluten-free sushi with a few simple ingredients and supplies. This post contains affiliate links. Please see my disclosures.
I love sushi and have found that making my own gluten-free sushi rolls at home to be surprisingly easy to do and so much fun too.
When I make sushi at home, I know I’m eating sushi that is gluten free and safe for me to eat. And I save money too … take-out sushi is expensive!
But let me back up a bit because I imagine you’re wondering, Is sushi gluten free?
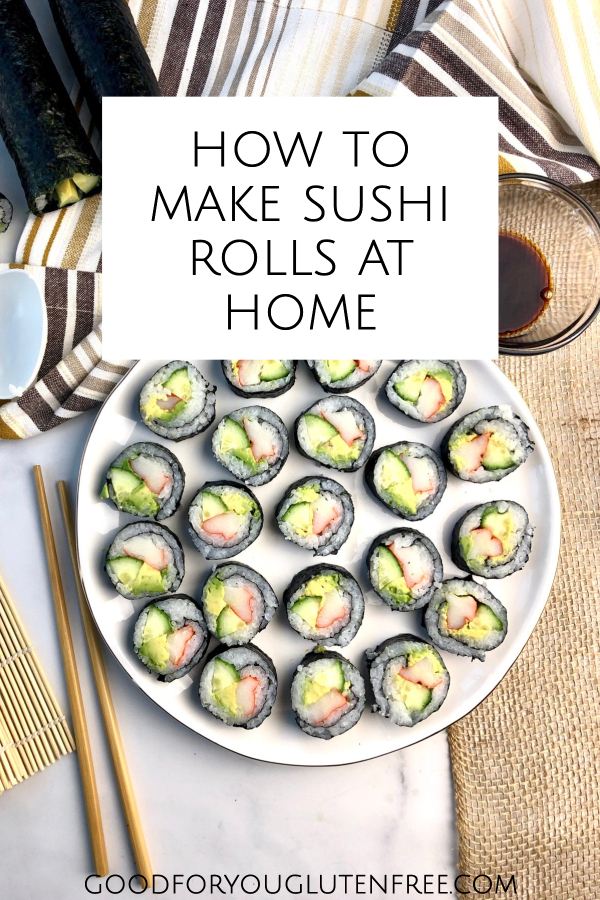
In this article, I will discuss whether sushi is gluten and how to navigate a sushi restaurant when you can’t eat gluten. I’ll also show you how to make your own gluten-free sushi rolls (California rolls) at home with a few simple ingredients and a magical technique.
Is Sushi Gluten Free?
Let’s first talk about whether sushi is gluten free or not. The good news is you can safely navigate the menu of a sushi restaurant and avoid gluten, but it all depends on what and how you order.
What to Order at a Sushi Restaurant
When I go to a sushi restaurant, I keep my order simple to ensure I get as safe of a meal as possible. I usually order salmon and tuna rolls, and I often ask for avocado, cucumber, and mango, or any combination of the three add-ins, in each roll.
You can order any fish in a similar way including shrimp, yellowtail, eel, octopus, roe, crab and mackerel. Then ask them to add in your favorite fillings like I do.
When ordering, tell your server you have a “gluten allergy” and ask them to use clean hands and surfaces to make your order. This will ensure your rolls won’t be cross contaminated with the sushi rolls made with tempura, for example.
Also inquire about the wasabi or Japanese horseradish. Most is gluten free, but ask them to double check if you plan to enjoy it. And be sure to ask for extra pickled ginger if you love it as much as I do.
What to Avoid:
You’ll want to avoid any of the following scenarios when eating at a sushi restaurant:
- Avoid anything marinated in soy sauce
- Avoid anything deep fried, like deep-fried tofu, due to cross contamination in the fryer
- Avoid tempura, which is panko-breaded items that are then fried
- Avoid California rolls, or ask them to use real vs. imitation crab. Most imitation crab contains gluten.
How to Make Your Own Sushi
I love California rolls, but the truth is, I’m not willing to take the gluten risk at a sushi restaurant. Instead, when I want a California roll, I make my own. It’s one of the easiest sushi rolls to make yourself and doesn’t require sushi grade fish. I’m not sure I’m up to the task of handling raw, sushi-grade tuna, at home.
(1) Gather Sushi Ingredients
Making sushi at home requires a few ingredients, many of which you’ll need to shop for. Let’s discuss each item so you can get yourself set-up for sushi-making success.
Seaweed: You will definitely need roasted seaweed (also known as sushi nori) if you want to make gluten-free sushi rolls at home. You can get seaweed sheets at most grocery stores, although I find grocery stores really jack up the price on nori. In fact, it’s typically $4-$8 for about 10 sheets. I have found the best price for seaweed sheets is on Amazon. I use and highly recommend these seaweed sheets from One Organic. You’ll spend about $14.00 but you’ll get 50 sheets. This supply will last you a long time.
Sushi Rice: Sushi rice is gluten free, as is all rice. Sushi rice is a short grain sticky rice that contains a high starch content. I typically buy this sushi rice and love it, although it’s a bit pricey. My friend told me to go to H Mart, an Asian grocery store chain, to get a big bag of sushi rice for a bargain price. I did just that and I’m pretty sure I have enough sushi rice to make sushi rolls for the full year (and beyond!).
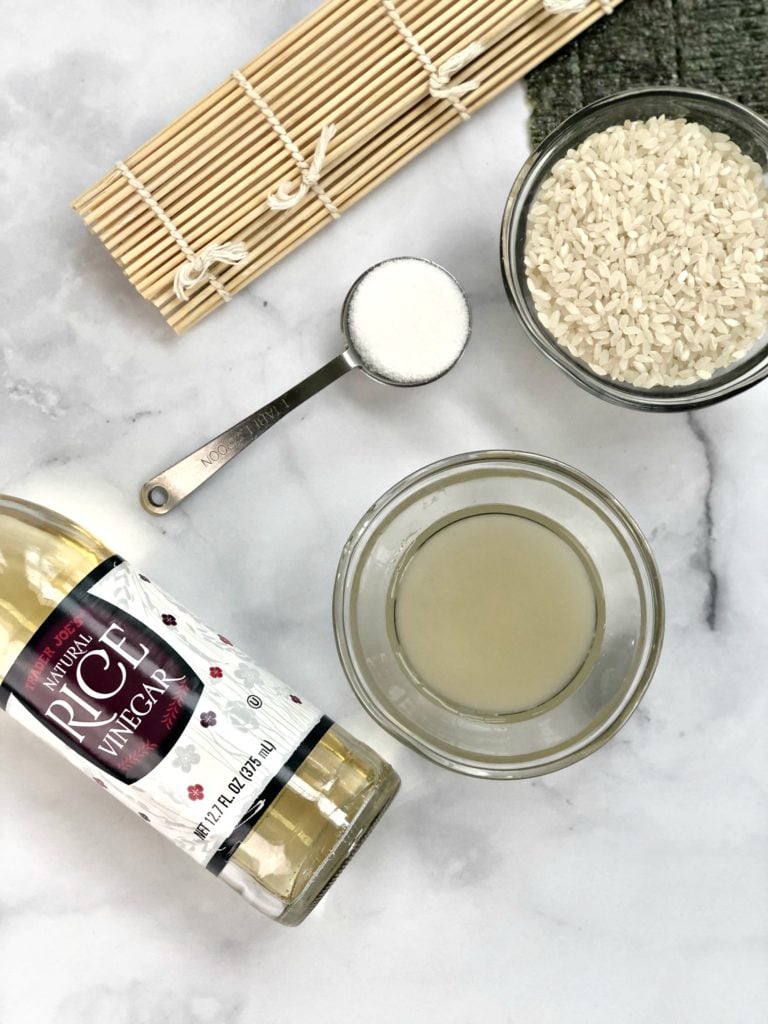
Rice Wine Vinegar: Sushi rice gets its distinctive taste when you add a combination of rice wine vinegar and sugar to it. I use either Trader Joe’s rice vinegar or this one. I’m happy with either and rice wine vinegar is gluten free.
Crab of Seafood Sticks: You’re welcome to use real crab, which is naturally gluten free, if you want a real treat. I don’t personally eat crab so I buy Kosher imitation crab sticks by DynaSea. Imitation crab is known as “kani kama” in sushi restaurants. The DynaSea seafood sticks are made with cod instead of crab.
Remember, most imitation crab contains gluten and is on my list of the top products that contain hidden gluten! Read labels carefully. (TransOcean also makes a gluten-free imitation crab.)
English Cucumber and Avocado: Of course you’ll need an English cucumber and an avocado to complete your sushi roll. These are traditional additions to a California roll (although you can add whatever you like – there are no hard and fast rules).
Dipping Sauce: You’ll also want to dip your sushi in gluten-free soy sauce or tamari sauce (I like these travel tamari packets). Some people like to add wasabi to their soy sauce, but I like to add this chili garlic sauce for a little kick. You can also buy pickled ginger at most grocery stores or on Amazon to enjoy alongside your homemade gluten-free California rolls.
(2) Gather Sushi-Making Tools
You’ll need a few tools to ensure your gluten-free sushi roll making is a success.
Sushi Mat: To make your own sushi, I recommend purchasing a bamboo sushi mat, which is exclusively used for rolling sushi. It helps you roll a nice, even sushi roll. Without it your sushi would probably be lumpy and lopsided.
This sushi rolling kit I found on Amazon is only $7.99 and will do the job for you. This is a one time purchase, as the mat is reusable. Well worth the investment.
Rice Cooker: You can cook your sushi rice on the stove top, but I much prefer cooking it in my rice cooker. I love my rice cooker. I’ve been hooked on only using a rice cooker to cook rice since I studied abroad in Tokyo in college. It’s there I bought my first rice cooker and never looked back. I highly recommend this rice cooker on Amazon. It will last you a long time.
(3) Prepare Sushi Rice
Now that you have all the supplies and ingredients needed to make your own easy sushi rolls at home, it’s time to get started.
The first step is to make the sushi rice. It is important to wash your rice until the water runs clear (no cloudy water). It is a very subtle difference, but as you rinse the rice you’ll see how the water clears up. It takes about 5-6 rinsings for the water to run clear.
Here is what it looks like before (cloudy water) and after (clear water):
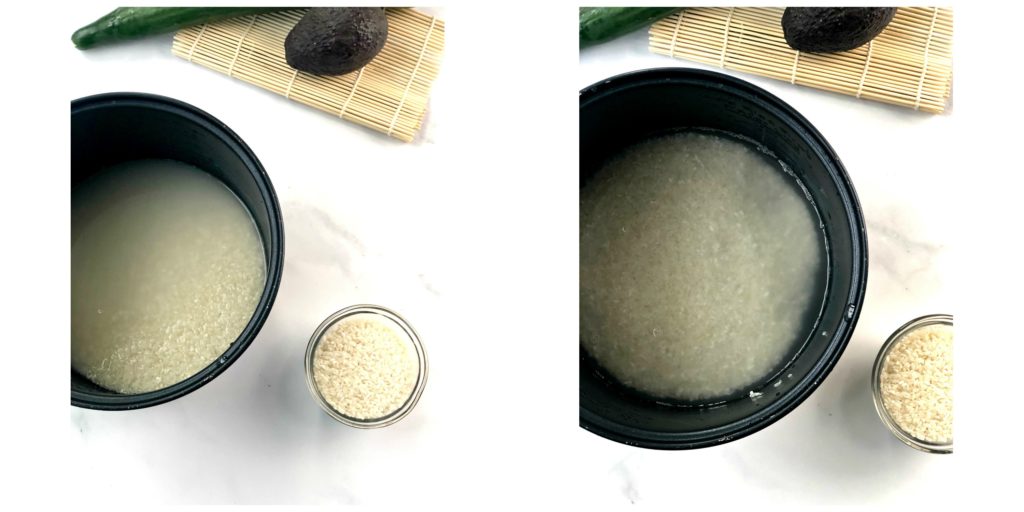
Once the water runs clear, drain the last bit of water and add 1.5 cups of water per 1 cup of sushi rice. You can make about four full size rolls per one cup of rice.
Either add the water and rice to your rice cooker, or cook it as directed on your stove top.
(4) Prepare Ingredients and Tools
While the rice is cooking, begin to prepare the other ingredients.
Slice the English cucumber into long strips the length of the seaweed. Pit and deflesh your avocados and cut them into thin, long strips (you’ll use two strips of avocados for each roll).
I also recommend wrapping your bamboo mat with plastic wrap for easy clean up. Rice loves to get stuck in between the strips of bamboo and it’s a nightmare to clean. My trick is to wrap the mat in plastic wrap, roll my sushi, then discard the plastic wrap.
(5) Season the Sushi Rice
Once the rice is cooked, remove it from heat so it begins to cool. You don’t want to use hot rice for your rolls as it will ruin the seaweed. I use a plastic paddle and fold the rice continuously to allow the steam to come out of it.

Once the rice is just warm (not hot), I add the rice wine vinegar-sugar mixture. You want to fully dissolve the sugar into the vinegar before adding it to your rice. You can do this by heating the mixture in your microwave for 15-20 seconds and stirring until the sugar disappears into the vinegar.
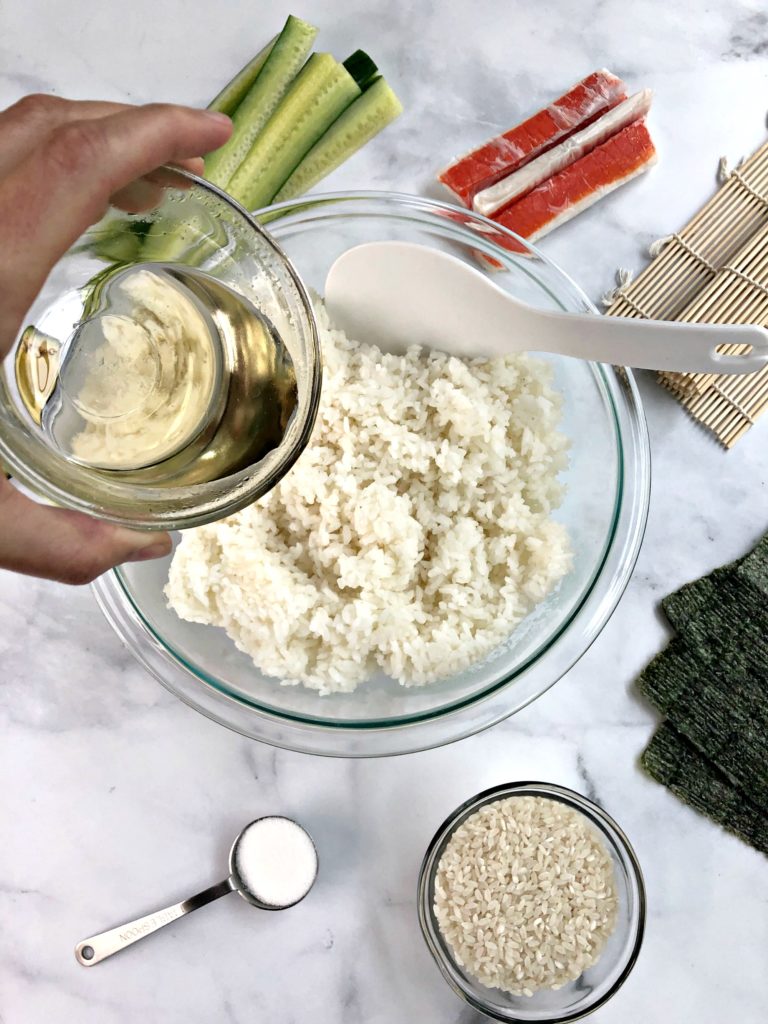
Fold the rice several times until the vinegar mixture is combined well with the rice. This motion also will continue to cool the rice.
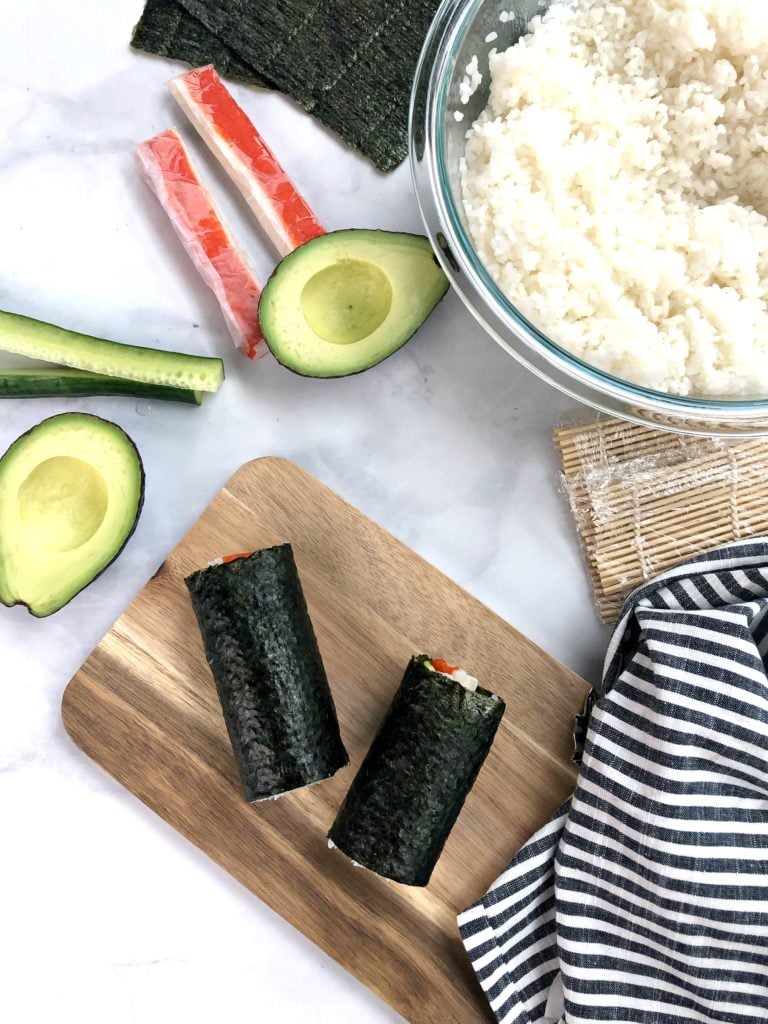
(6) Assemble the Sushi Rolls
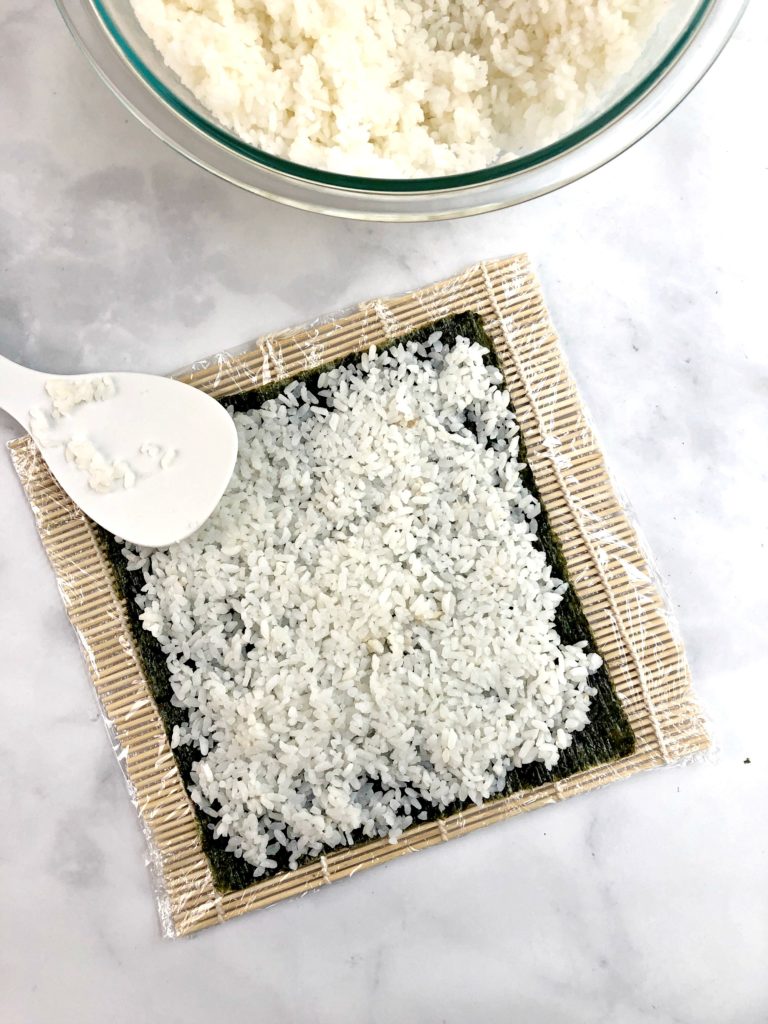
Add an even layer of cooked sushi rice atop your seaweed. Spread it as evenly as possible. I find a plastic spatula (the one seen below came with my rice cooker) works well. The rice is sticky, so it will stick to everything in site!
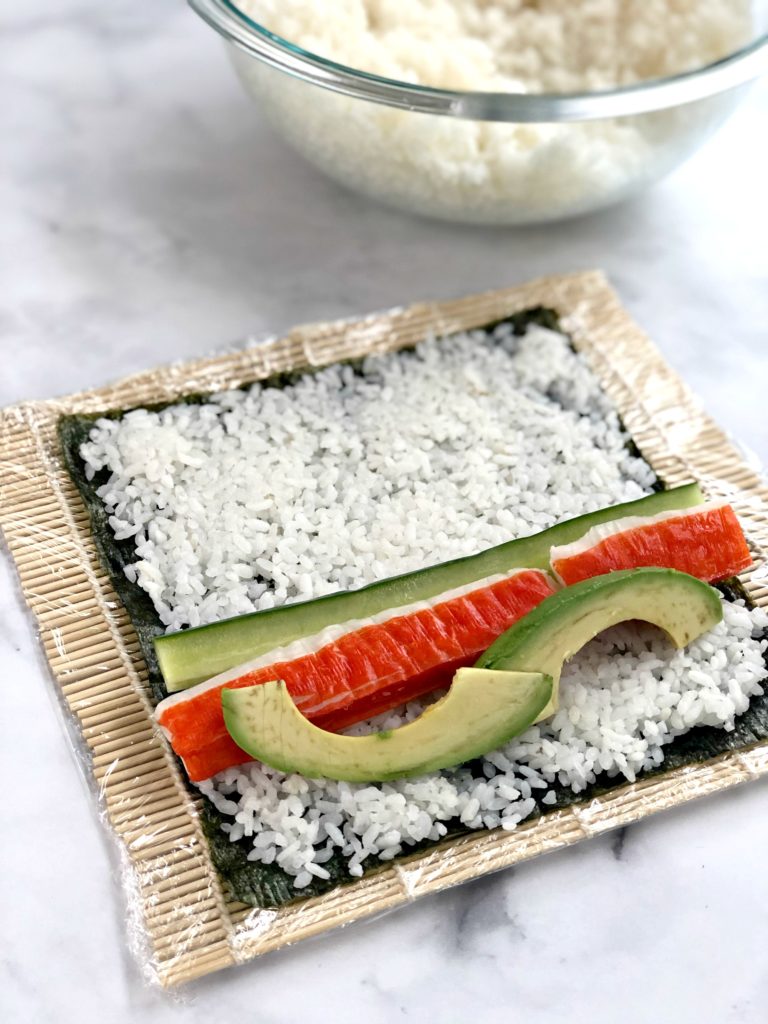
Next, add a strip of your imitation crab or seafood stick, English cucumber and avocado to the bottom third of the sushi mat, as shown.
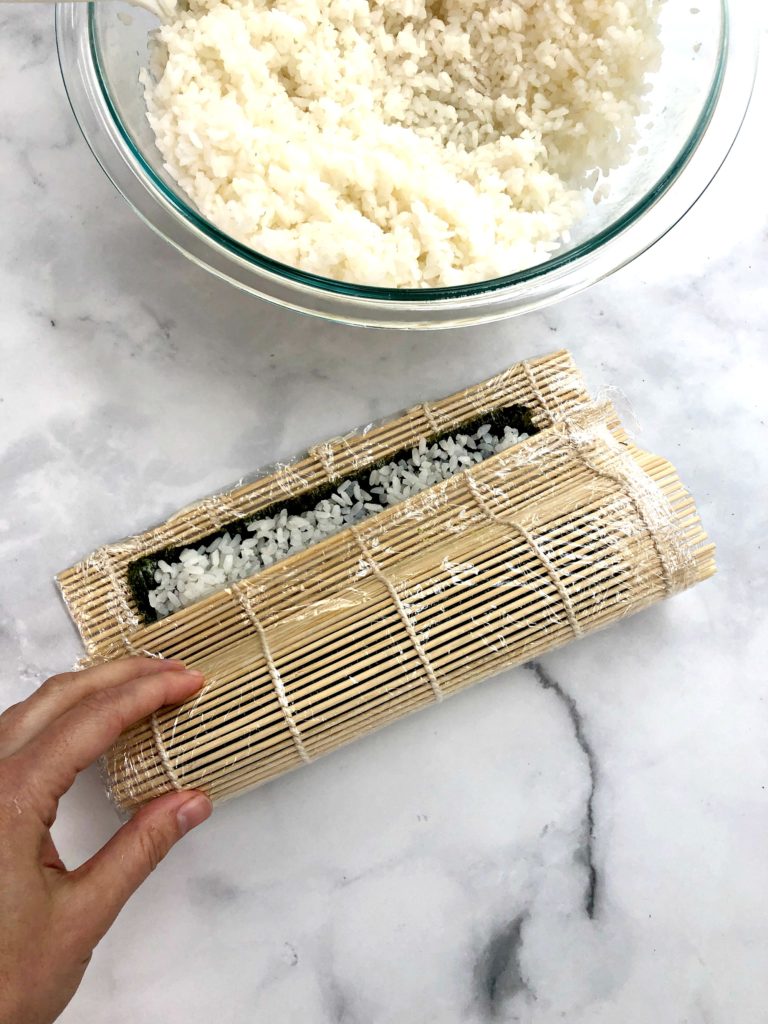
Now for the fun – and challenging – part… the roll up!
Take the bottom of the sushi mat and gently pull it over all the ingredients, sealing the bottom edge of the sushi roll in place just around the sushi ingredients. You’ll want to use both hands to do this. Begin rolling the sushi, using the mat as your guide. You want the roll to be tight but not too tight that you squeeze all the ingredients out of it. Be firm, yet gentle.
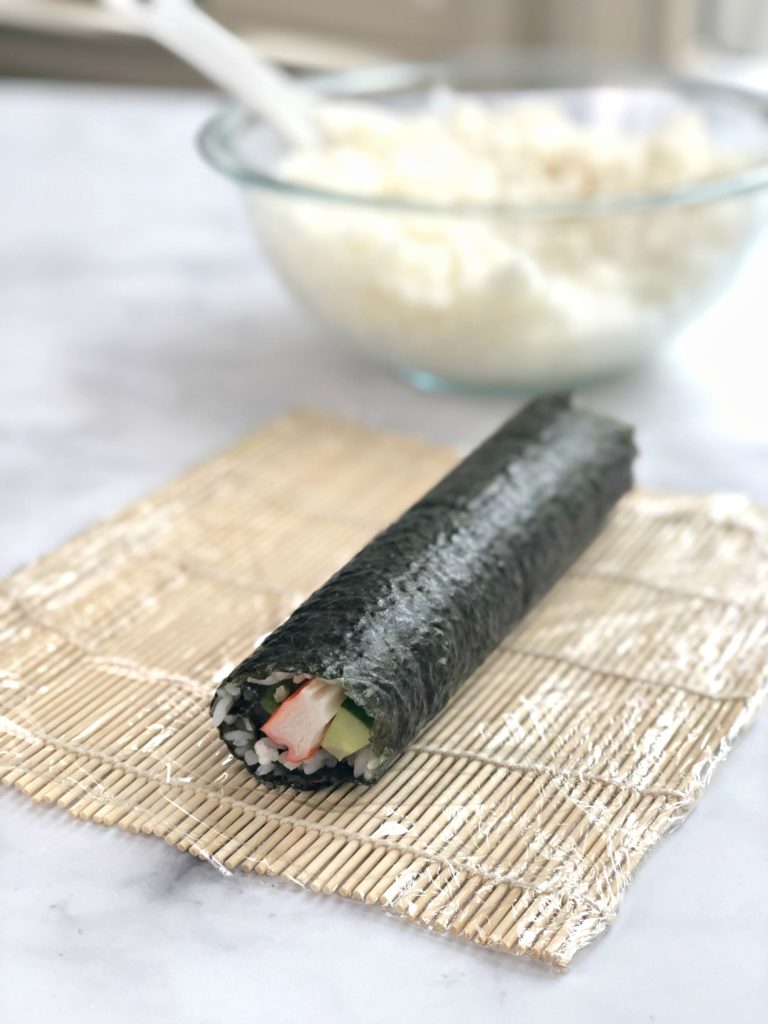
Lift the mat slightly and then use it to guide you as you keep rolling until the entire sushi roll is in a log shape. The sticky rice will seal the seaweed in place.
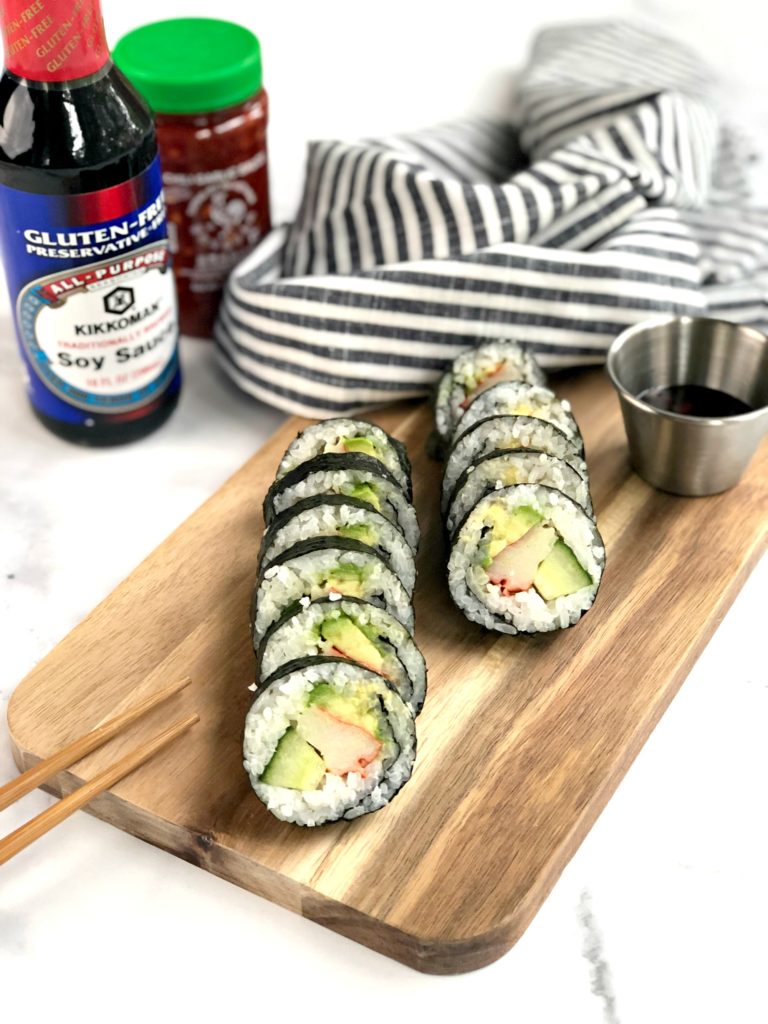
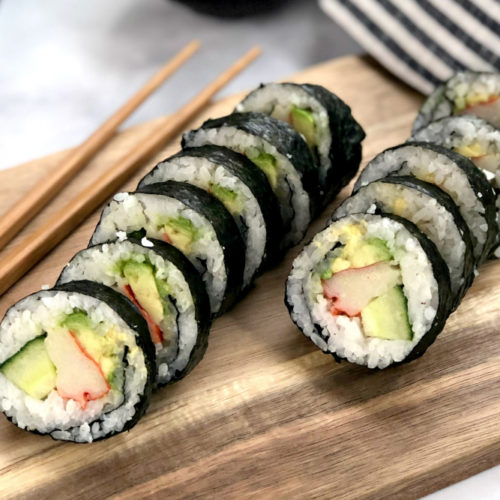
(7) Cut Sushi and Enjoy!
Now you can cut the sushi into bite-sized pieces. I highly recommend using a serrated knife to cut the sushi roll in half, and then you can cut the halves into equal parts, and then halve each half again.
You can get 8-10 sushi bites depending on how you cut it. Serve with your dip of choice.
As I mentioned before, I like to combine gluten-free soy sauce with chili garlic sauce, but you could also get some wasabi, and if you like, some pickled ginger as well. Enjoy!
Watch my video to see how I make gluten-free sushi rolls. The video quality isn’t great, but you get the picture:
FAQs
Here are answers to some of your most pressing sushi-making questions:
Is Sushi Rice Gluten Free?
Yes, sushi rice is gluten free and all rice is naturally gluten free. Sushi rice is a short-grain rice and should be cooked according to the instructions on the bag. You’ll generally need about 1 cup of rice per 1.5 cups of water. Make sure the rice is rinsed multiple times before cooking so it’s no longer cloudy.
Is Vinegar Gluten Free?
A lot of people ask me if vinegar is gluten free and the answer is yes, unless it’s malt vinegar or made with flavorings that are not gluten free. Rice vinegar is gluten free. Read more about 20 confusing ingredients that may contain gluten.
Does Imitation Crab Contain Gluten?
Yes, some brands of imitation crab contain gluten and use wheat protein to mimic the texture of real crab. You can use real crab (no fillings) or find gluten-free imitation crab at many grocery stories throughout the U.S. Read labels carefully.
The following brands offer gluten-free imitation crab:
- Dyna-Sea (also kosher) and is labeled gluten free on the packaging (my preferred brand).
- Trans-Ocean – This brand is certified GF by the National Foundation for Celiac Awareness. Read about the company’s gluten-free commitment here.
- Louis Kemp Crab Delights (website says its gluten free).
- Classic Creations imitation crab meat sold at Walmart (not labeled gluten free but does not contain any gluten ingredients).
- 365 by Whole Foods Market (not labeled gluten free but does not contain gluten ingredients).
Please note Waterfront Bistro imitation crab and Kanimi Crab Sticks contains gluten (wheat). Check labels carefully.
Is Wasabi Gluten Free?
Wasabi (known as Japanese horseradish) is made from a the rhizome plant and is typically gluten free. If you’re eating out, you’ll want to ask your server about the ingredients in the wasabi, but if you buy your own wasabi at the grocery store, simply check the label to verify it’s gluten free.
Is Pickled Ginger Gluten Free?
Yes. Pickled ginger is made from sweet, thinly sliced pieces of ginger that are marinated in sugar and vinegar.
Does Tempura Contain Gluten?
Yes, tempura typically contains gluten as it’s fish that is coated with panko crumbs and deep fried. Some panko crumbs are made only from rice and may be gluten free. You’ll also need to inquire if the restaurant has a dedicated fryer (i.e., only gluten-free items are cooked in the fryer).
Is Seaweed Gluten Free?
Yes, the seaweed (nori) used to make sushi is gluten free.
Additional Recipes
If you love making homemade gluten-free sushi rolls, please check out these other recipes from Good For You Gluten Free:
Crispy Tofu Stir-Fry with Garlic-Ginger Sauce: This delicious weeknight meal is a personal favorite, made with so many delicious, savory and spicy flavors. (Yes, tofu is gluten free!)
Gluten-Free Fried Rice: This delicious fried rice recipe is perfection in a bowl!
Gluten-Free Fruit Sushi: Make this fun dessert sushi to elevate sushi night.
Gluten-Free Sushi Rolls
Equipment
- Bamboo sushi rolling mat
- Rice cooker (optional)
- Plastic wrap
Ingredients
- 1 cup sushi rice
- 1 1/2 cups water
- 1 Tbsp rice wine vinegar
- 1 Tbsp sugar
- 4 nori (seaweed) sheets
- 1/2 large English cucumber cut into long strips
- 1 large avocado cut into thin slices
- 6 imitation crab strips each roll will need 1.5 crab strips
- tamari sauce
- garlic-chili sauce
Instructions
- Wash sushi rice 5-6 times until water runs clear, not cloudy. Drain rice and add water. Cook in your rice cooker on the stovetop according to instructions until cooked through. Allow rice to cool to warm before using.
- In a small bowl, combine rice wine vinegar and sugar. Microwave for 10-20 seconds and mix until sugar dissolves in vinegar. Pour vinegar mixture over the rice and fold rice until well combined.
- Wrap sushi mat in plastic wrap (optional, but makes clean up easier). Place seaweed sheet on top of mat, then cover it with a thin layer of sushi rice.
- On the bottom one-third of the seaweed sheet, add strips of cucumber, avocado and crab so the pieces lay evenly horizontal over the seaweed.
- Use firm but gentle pressure to roll the sushi in the mat. See video in the post for full instructions. Cut sushi roll using a serrated knife into 8-10 pieces.
- Combine tamari and chili-garlic sauce in a small dipping bowl and mix. Serve as a dipping sauce with your sushi.
Actually, it depends on the brand. Some are gluten free. Read labels carefully.
Imitation crab is not gluten free
Thank you for the recipe, it sounds delicious! I haven’t had sushi in years and can’t wait to try it. Rice wine vinegar can contain wheat so you do have to be mindful of the brand and read the label, especially if you have Celiac like me. I appreciate that you listed the one you use.
Please read my article where I share brands that are gluten free. I make it all the time!
I hope everybody’s checking the recipe on that California sushi because every imitation crab I found has had wheat in it?
It is much easier than it looks. Good luck and let me know how it turns out!
Sushi is my life. I seriously eat it 4 – 5 times a week! This dish looks beautiful. I hope I can make the perfect sushi rolls for my kids with my sushi making tools. Thanks for sharing such an amazing sushi recipe.