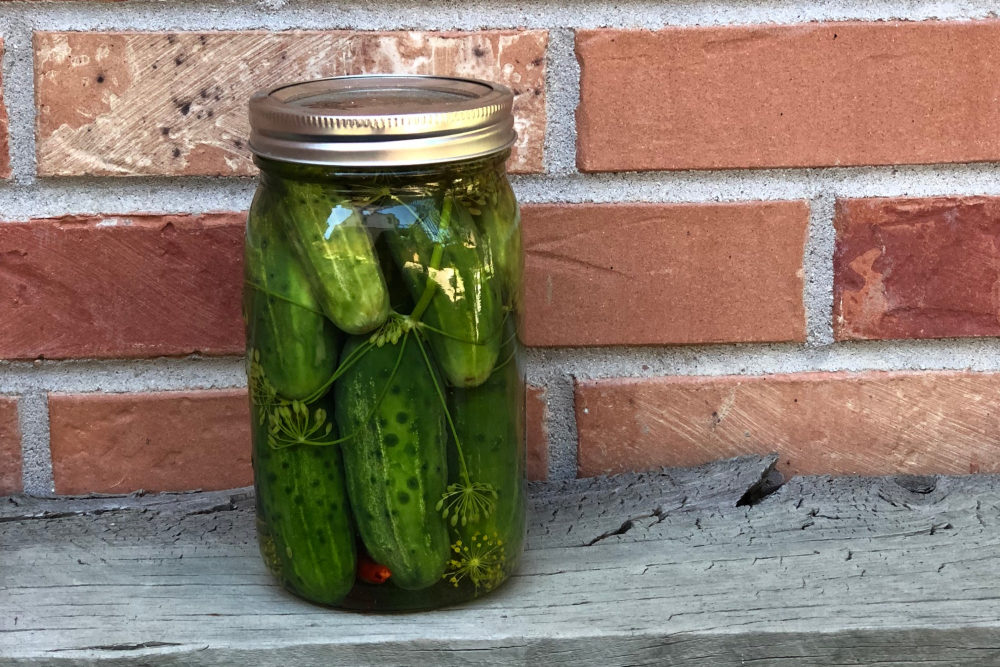
Making lacto-fermented pickles at home is so fun to do and the results are fantastic too. I learned how to make pickles from my grandmother-in-law, Bubu, who was the queen of pickle-making. I’ll share her recipe and technique in this article so you, too, can make lacto-fermented dill pickles at home from scratch. This post about how to make pickles contains affiliate links. Please see my disclosures.
We hosted one amazing pickle-packing party at my house, led by my husband’s grandmother, whom we affectionately called “Bubu,” and her decades-old fermented dill pickle recipe.
Bubu is 91 years old and while her solo pickle-making days have come to an end, she has happily passed the dill pickle recipe and dill pickle making torch to our family.
Might I add that she has taught us well too! We promise to continue to make pickles each year in her honor.
(UPDATE: Bubu passed away at 96 years old in 2021. We are sad to lose our beloved Bubu, but her pickles live on forever!)
Here is a picture of the spritely Bubu, the proudest pickle maker of them all! We like to say she’s kind of a big dill.
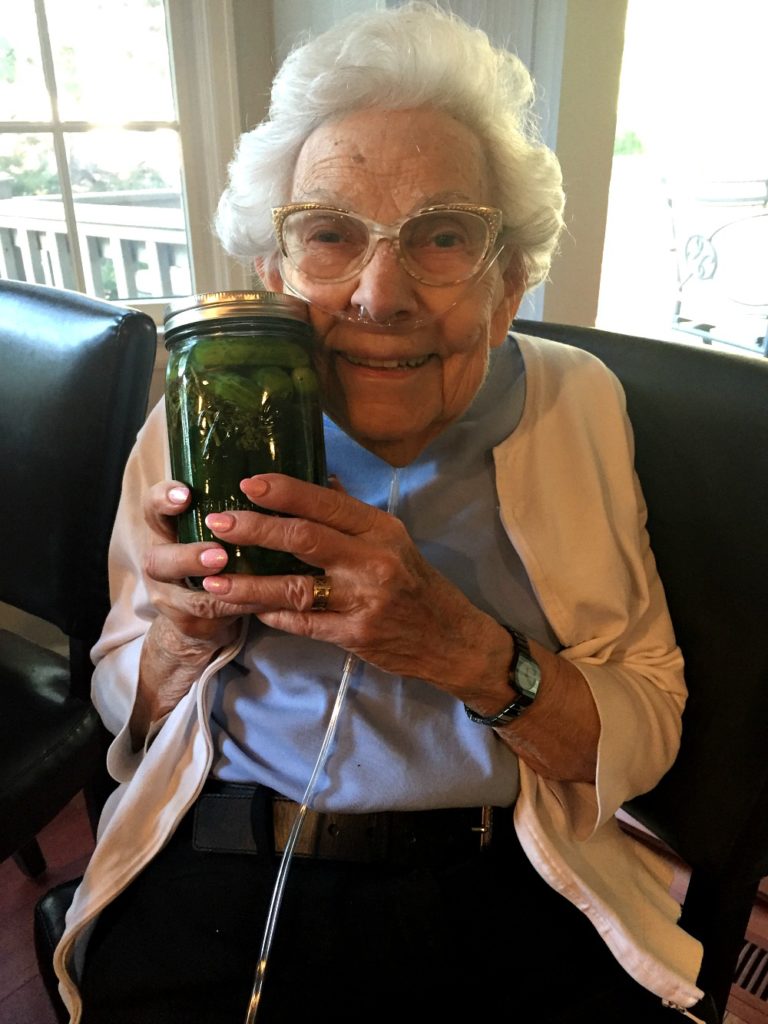
I’m honored that Bubu has shared her lacto-fermented dill pickle recipe with me, along with the techniques she’s culled over nine decades.
What Does Lacto-Fermentation Mean?
Lacto-fermentation is a process where good bacteria feeds on the natural sugars and starches in foods to create enzymes, vitamins, and beneficial bacteria (like a probiotic).
The lacto-fermentation process breaks down food – often referred to as the “pre-digestion” stage. When food is pre-digested, it’s easier for your body to process and digest the food.
Plus, lacto-fermentation introduces beneficial or good bacteria into your gut – essential for healing and aiding in overall good digestion and good health.
How to Make Dill Pickles
July through September are prime pickle-making months. Pickling pickles (mini cucumbers) are in season, and so is fresh and fragrant dill weed.
I’ll share, step-by-step, how you can make dill pickles that can be enjoyed until pickling seasons starts next year. Let’s go!
(1) Gather Your Pickling Supplies
Before purchasing your fresh ingredients, first stock up on a bunch of wide-mouth mason jars. Each jar will hold about 6-8 pickles depending on the size of the cucumbers. More on that later.
We make a lot of pickles so we can spread the love to family and friends. This year we made 48 jars of pickles – a record!
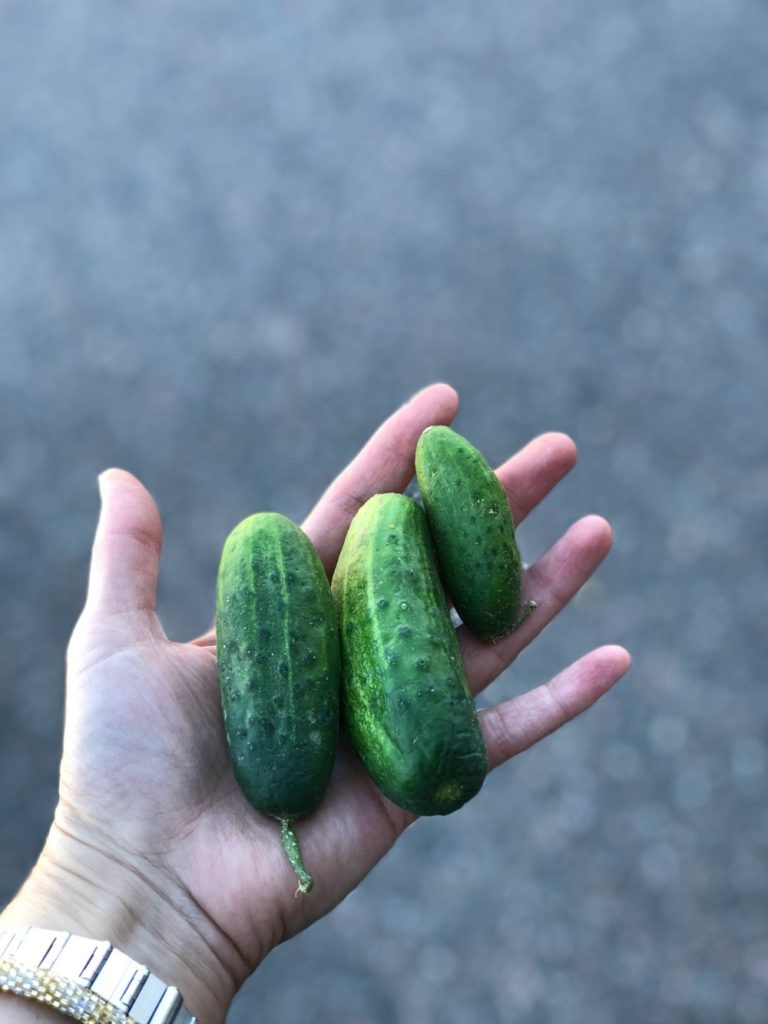
For me, the pickling process begins at the Farmer’s Market in Cherry Creek, where we purchased over 30 lbs of 2-3 inch in length pickles. I know, it’s a lot!
Upon Bubu’s suggestion, we pre-ordered the cucumbers from Palizzi Farm in Brighton, CO. Palizzi had a stand at the Cherry Creek Farmers Market.
You can also get fresh dill at the Farmers Market.
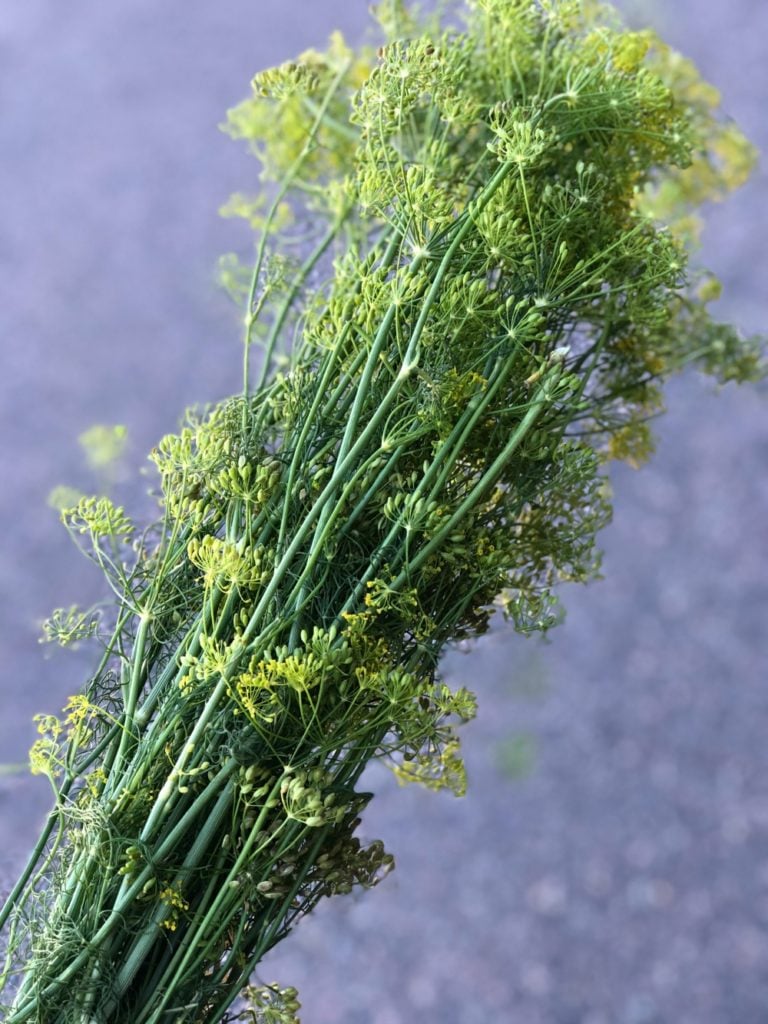
I recommend you start by making 12 jars yourself, whereas you’ll only need about 10-12 lbs of pickles to do that (again, about 6-8 pickles per jar depending on the size of the cucumbers).
Size matters when pickling cucumbers. I like to squeeze as many pickles in one jar as possible, so I pick pickles that are 2″ and 3″ in size only.
If using larger cucumbers, you may want to use a large mason jar (like a jar you’d make ice tea in). If the pickling cucumbers are too large, you also could slice them in half or quarters. The ferment will go more quickly when they’re sliced, but it still works great!
Also pick up dried red chili peppers, garlic cloves (two cloves per jar), Kosher salt (or pickling salt), distilled vinegar, and of course 32 oz wide-mouth mason jars – they come in a pack of 12 jars.
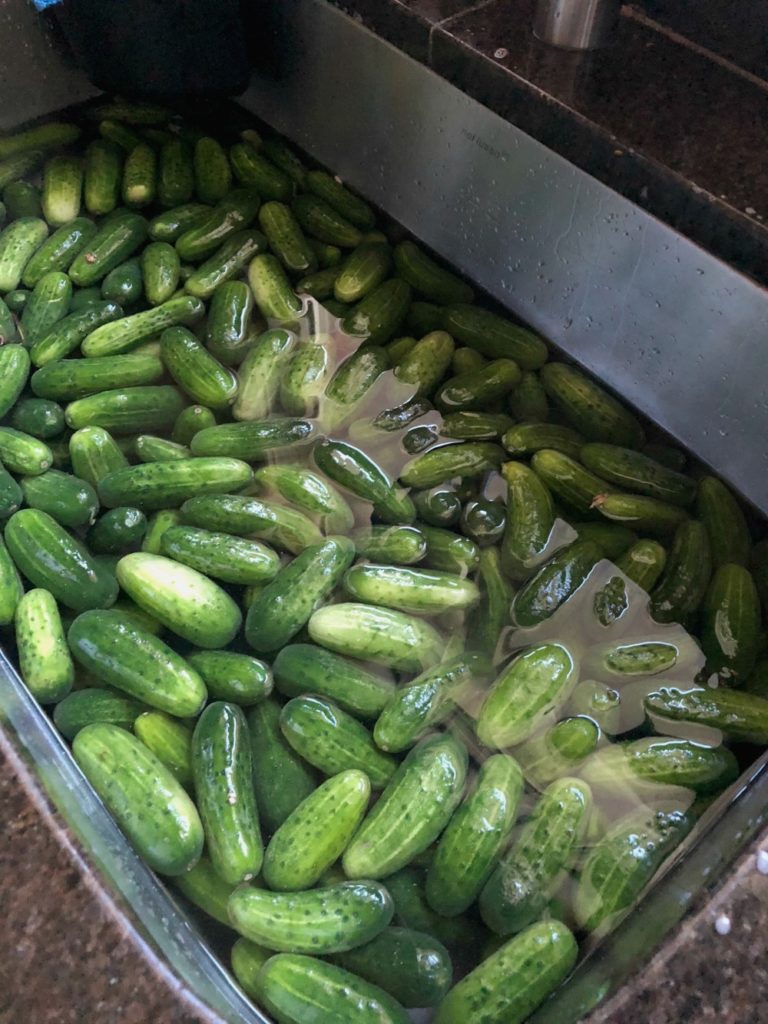
(2) Soak Pickles in Cold Water
The process starts by soaking the pickles in a cold water bath. This will help them get clean, keep them cold, and even plump them up.
(3) Scrub and Sort Pickles
Next, you’ll want to scrub each pickling cucumber individually to remove any leftover dirt and rinse again with cold water.
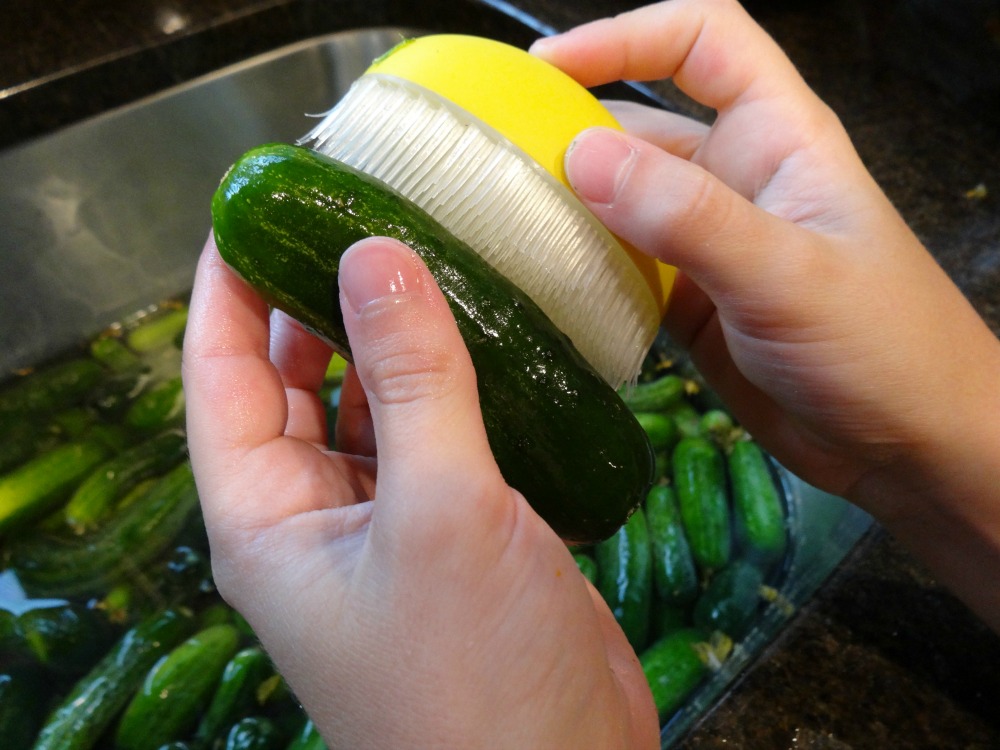
While scrubbing, we also sorted the small pickles from the larger-sized pickles. You’ll want to use the larger ones on the bottom, and the smaller ones to fill in crevices and on the top.
(4) Prepare Other Ingredients
Now it’s time to wash the dried red peppers, remove cloves of garlic from the skin, and rinse your dill weed.
Once everything is washed and ready, it’s time to assemble everything Have your jars lined up to make the process go quickly and smoothly.
(5) Assemble Pickles in Jars
In each jar, add the ingredients to make your brine:
- 1 tablespoon of Kosher salt
- 1 garlic clove
- 1 red pepper
- A small bunch of dill weed
Now add the pickles, packing them tightly in each jar and filling in holes with small, thin and curved pickles.
About mid-way through packing each jar, add:
- 1 clove of garlic
- 1 bunch of dill weed
Once each jar is well packed, add the filtered water to cover the pickles while leaving a half inch air pocket at the top (the pickles need room to breath and release gas or lactic acid).
Lastly, add a scant teaspoon of vinegar to each jar. Bubu says the vinegar helps keep the pickles crisp longer – but vinegar is completely optional. I have made the pickles with and without the vinegar. I can absolutely attest, however, that the vinegar makes the pickles crispier. I highly recommend using it.
I also boil my lids before placing them on the jars. This will sterilize the lids and give them a tighter seal.
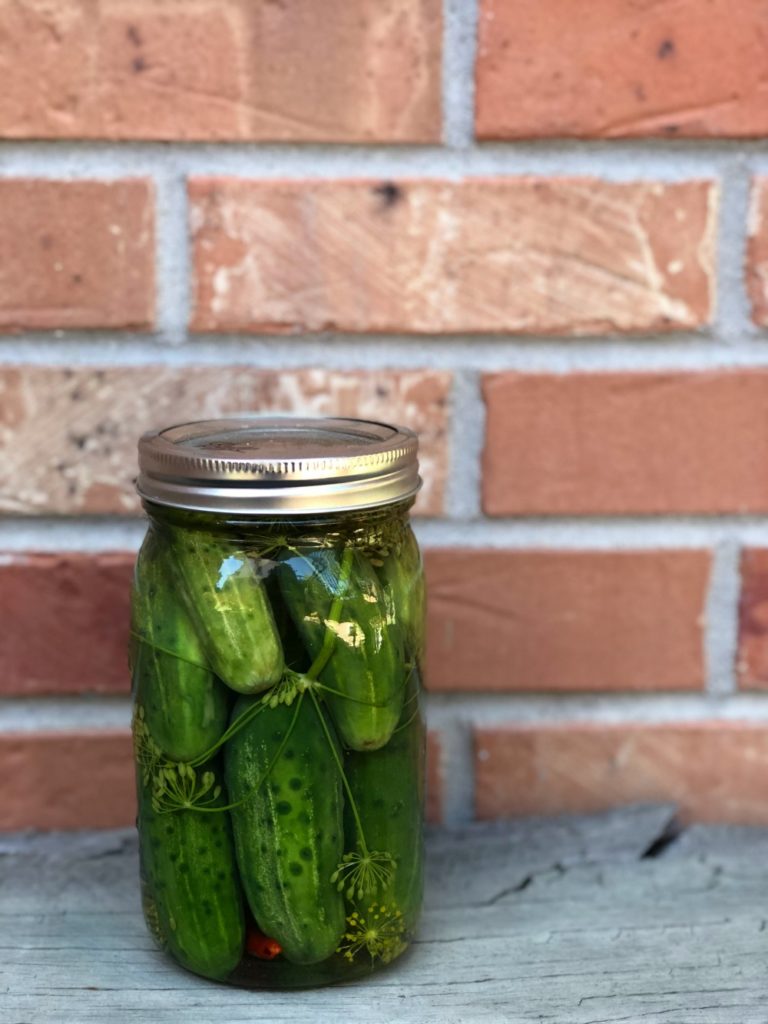
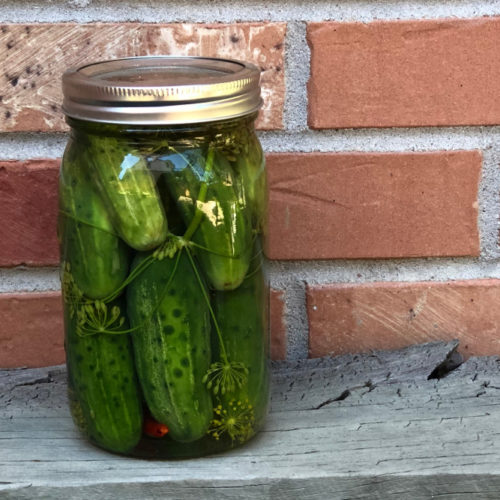
Here is what a dill pickle jar looks like when packed and ready to begin the fermentation process:
(6) Allow Pickles to Ferment
Store jars on a rimmed baking sheet that can capture any moisture that leaks out (otherwise you may have a mess on your hands).
After 12 hours, flip the jars over for a few minutes to allow the juices to flow to the top, then turn them right-side-up. Each day, can turn them over to mix the contents as they ferment.
Store pickles in your basement or a cold, dark space in your house. Check on them every day and tighten lids as needed. Gases will try to escape and the lids may pop a little as the pickles ferment. The brine will become cloudy over time and the pickles will lose their rich green color. This is good! It means the fermentation process is working.
Your dill pickles will be ready to eat in about 2-3 weeks. Yummy!
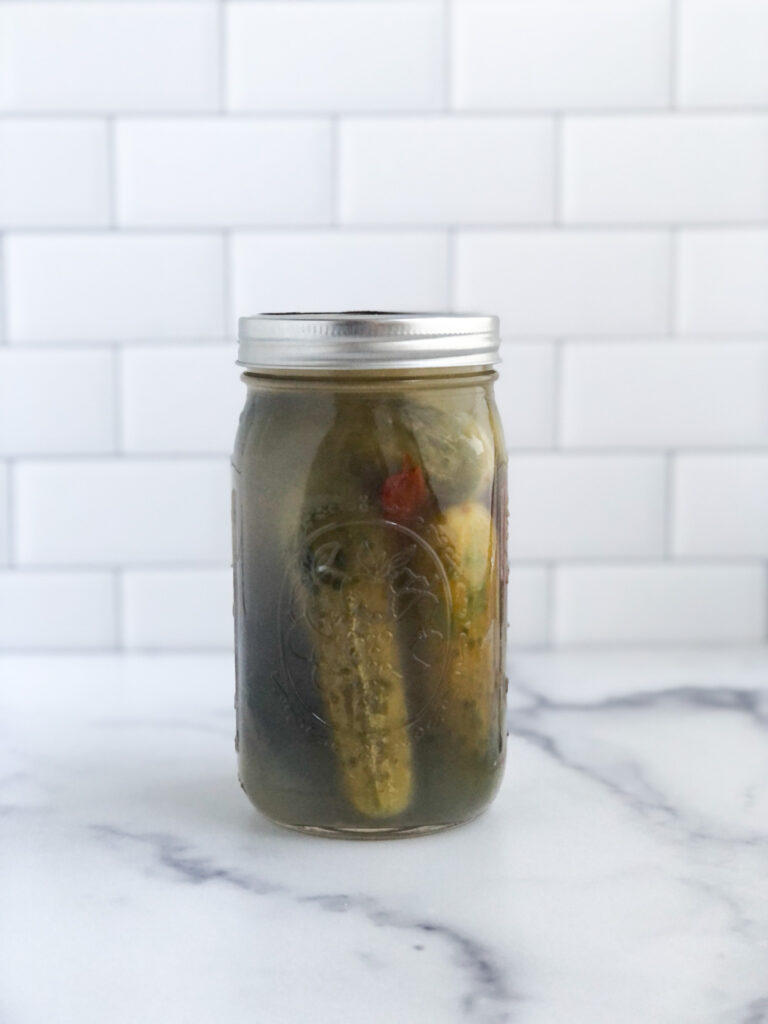
Once the pickles are perfectly fermented, transfer them to your fridge to slow the ferment and allow them to last up to 9 months – even a year!
What to Look For in a Healthy Ferment
A successful pickle ferment will show the following signs:
- Bubbles will rise to the top of the surface and air pockets may form inside the jars. This is carbon dioxide and the sign of a healthy ferment.
- The skin of the pickles will turn from bright green to an olive or army green. Also, the interior of the pickle will be translucent vs. clear.
- The brine will turn cloudy – this is lactic acid. You want to see this happening.
- Pickles will sink in the jar vs. float. The pickles will absorb the salty water (brine). The cucumbers gravity increases while the brine’s gravity decreases.
- The tops of the jars will pop (and sometimes leak) as the gases try to escape. This is perfectly normal.
- You may see white yeast on the bottom of the jars. This is perfectly fine and it can either remain at the bottom of the jar or be mixed into the pickle juice.
- When you bite into a fermented pickle, it will have a carbonated, fizzy taste. This is great! Pickles will taste tangy and effervescent (carbonated). All good stuff!
When you’re ready to open your pickles, I highly recommend doing it over the sink. The ferment is powerful and the bubbles may fizz everywhere (it’s like opening a can of shaken soda).
What Could Go Wrong With Your Ferment?
Not all ferments are successful. Don’t fret, it happens.
Toss the pickles if any of the following happens:
- If you see blue-green mold spores on top, it’s rotten, toss it.
- If it smells horrid when you open the jar, it’s a bad batch. It likely means you either forgot to add the salt, you stored the pickles in too warm of an environment, or something bad got into the jar and you didn’t realize it. Again, it happens. Toss it and start over as there’s no use crying over moldy pickles.
UPDATE: On September 13, 2018 I showed the viewers at Channel 2 in Denver how to make Bubu’s pickles. You can watch the segment here:
Remember, your pickles will continue to ferment as long as you leave them in the sealed jars at room temperature. This is why it’s important to put the jars in the fridge when they reach desired crunch and texture as to slow the fermentation process, typically after about three weeks. You can open a jar and taste one of the pickles to assess if it’s ready or not.
Bubu says the pickles taste best when consumed up to six months after they’re made, but she adds that they will taste good at nine months. After a year, she says they lose much of their crispness even though they’ll still be edible. Once you open a jar, store it in its brine in the fridge for best results.
A Family Affair
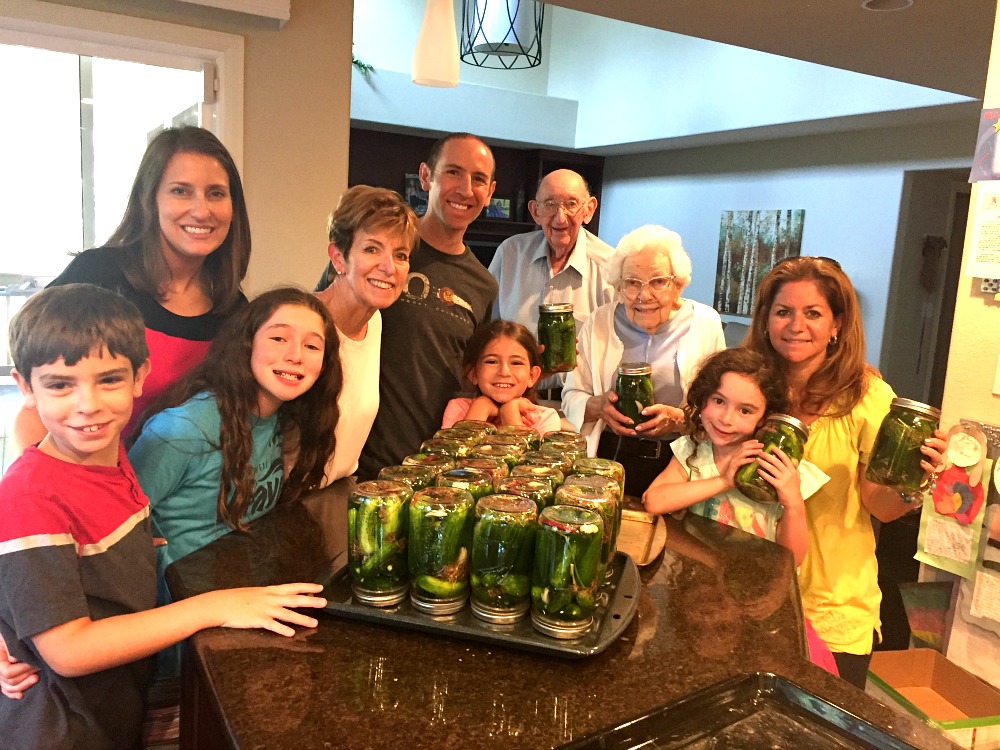
Last but not least, below is a picture of our dill pickle-packing crew posing with about half of the pickle jars we packed. Bubu has officially passed the pickle-making torch and a wonderful dill pickle recipe onto three generations in one fell swoop!
Store-Bought vs. Homemade Pickles
If you purchase store-bought pickles, please note that they are typically made with preservatives and use high heat preservation methods that kills both the bad and beneficial bacteria.
Therefore, store-bought pickles are typically not fermented – they are just pickled. The exception is when you purchase pickles at a health food store that are properly refrigerated. Those are likely pickled and fermented.
Purchasing properly fermented pickles is expensive, but making your own costs pennies, especially when pickles are in full bloom.
We can’t wait to enjoy these Bubu’s “big” dill pickle recipe… and these dills will be ready just in time for Rosh Hashanah!
Homemade Lacto-Fermented Dill Pickles
Equipment
- 12 Wide-mouth mason jars (1 quart)
Ingredients
- 1-2 lbs pickling cucumbers assortment of 2-3 inch cucumbers (see notes)
- bunch dill weed with seeds
- 24 garlic cloves peeled
- 12 tbsps Kosher salt or Kosher pickling salt
- 12 dried red chili peppers optional
- 12 tsps distilled vinegar (use scant tsp)
- Filtered tap or bottled water enough to fill up each jar
Instructions
- Sterilize mason jars and lids by washing them with hot water or in the dishwasher.
- Soak pickles in a cold water bath, then gently scrub pickles to ensure they are clean. Rinse each pickle and sort them by size in two large bowls.
- Add 1 tbsp Kosher salt, 1 chili peppers, 1 garlic clove, and 1 small bunch of dill weed to the bottom of each mason jar, then add one layer of pickles to the jar. Pack the pickles in tightly. Add a second layer of dill and garlic clove, then add more pickles on top until jar is filled with pickles. Pack them in tightly and use the variety sized pickles to fill in gaps.
- Add scant teaspoon of vinegar to each jar, then fill with filtered water to fully cover pickles while still leaving about 1 inch of open space at the top. Do not fill the jars to the rim.
- Boil jar lids in hot water, then carefully tighten the lids on each jar. Add jars to a rimmed baking sheet in a cool, dark place in your house.
- After about 12 hours, flip pickles upside down for a second, then place them right-side up on the baking sheet. Over the next few days, you'll hear the jars pop as the gas tries to escape. If a pickle jar looks like it's about to explode, open it for a second to allow some of the gasses to escape. Don't leave the jar open or you will introduce too much oxygen into the jar and oxygen can create mold.
- Store the pickles in a cold, dark place for about 3 weeks. During this time, the brine will become cloudy and bubbly. This means the fermentation is working. You should see your pickles change to a dull olive green color.
- You can eat the pickles after they've fermented to your liking (about 3 weeks). Check them after 1 week for doneness. Once pickles are at your desired taste and texture, transfer them to your fridge to slow (nearly stop) the fermentation process. Enjoy as desired and store pickles in their brine until consumed. (See notes for what to do with the pickle brine.)
- Refrigerated pickles will last 6+ months after pickling, however, they can be eaten for years afterwards too. They will soften over time, losing their crisp texture and fizzy, carbonated texture.
Notes
- Bubbles will rise to the top of the surface and air pockets may form inside the jars. This is carbon dioxide and the sign of a healthy ferment.
- The skin of the pickles will turn from bright green to an olive or army green. Also, the interior of the pickle will be translucent vs. white once fermented.
- The brine will turn cloudy – this is lactic acid. You want to see this happening.
- Pickles will sink in the jar vs. float. The pickles will be absorbing the salty water (brine). The cucumbers gravity increases while the brine’s gravity decreases.
- When you bite into a fermented pickle, it will have a carbonated, fizzy taste. This is great! Pickles will taste tangy and effervescent (carbonated). All good stuff!
A big dill. Hehehe
Thank you for your sweet comments Billy. I am happy to have shared this precious experience with Bubu.
What a touching story and family bonding experience! I wish my grandparents had been around long enough to teach me / be with me to guide me through cooking processes / prepping processes like this! Bubu is absolutely precious and I hope you guys continue to do these types of things together as most families should! I love pickles and sauerkraut so coming together to make both of these things with my family would be a great experience. Thank you for sharing!
Yum! Pickles are my absolute favorite! I can literally eat a whole jar all by myself! Ha I’m going to try making these! Ps: Bubu is the cutest!