I become a jealous green monster when Girl Scout season begins. That’s because I love Thin Mint cookies, but they contain gluten. I figured out how to make my own copycat gluten-free Thin Mint cookies and share the recipe in this post. Please note Thin Mints is a registered trademark of the Girl Scouts of America. This post contains affiliate links. Please see my disclosures.
I used to stock up on Thin Mint cookies once Girl Scout cookie season arrived. Thin Mints are and always will be my favorite flavor cookie.
Of course, since you’re seeing this recipe on the Good For You Gluten Free website, you know I can’t eat gluten, a protein found in wheat, rye, barley, and sometimes oats. This means you know I can no longer eat Thin Mints.
In recent years, the Girl Scouts have included the gluten-free community by launching two gluten-free cookies, Caramel Chocolate Chip and Toffee-tastic cookies. While I feel the Girl Scouts made a nice gesture by including their gluten-challenged members and cookie-buying friends, I find both cookies taste only fair.
Maybe I’m stubborn and resistant to change, but I really want a Thin Mint cookie. And like every other food I dearly miss, I must figure out how to make it myself if I want it.

How to Make Gluten-Free Thin Mints
One of my favorite non-GF blogs, Sally’s Baking Addiction, has a wonderful Thin Mint Cookie recipe. Her Thin Mint recipe isn’t gluten-free, but I changed it to make it gluten-free and still delicious. Here’s how to make gluten-free Thin Mint Cookies:
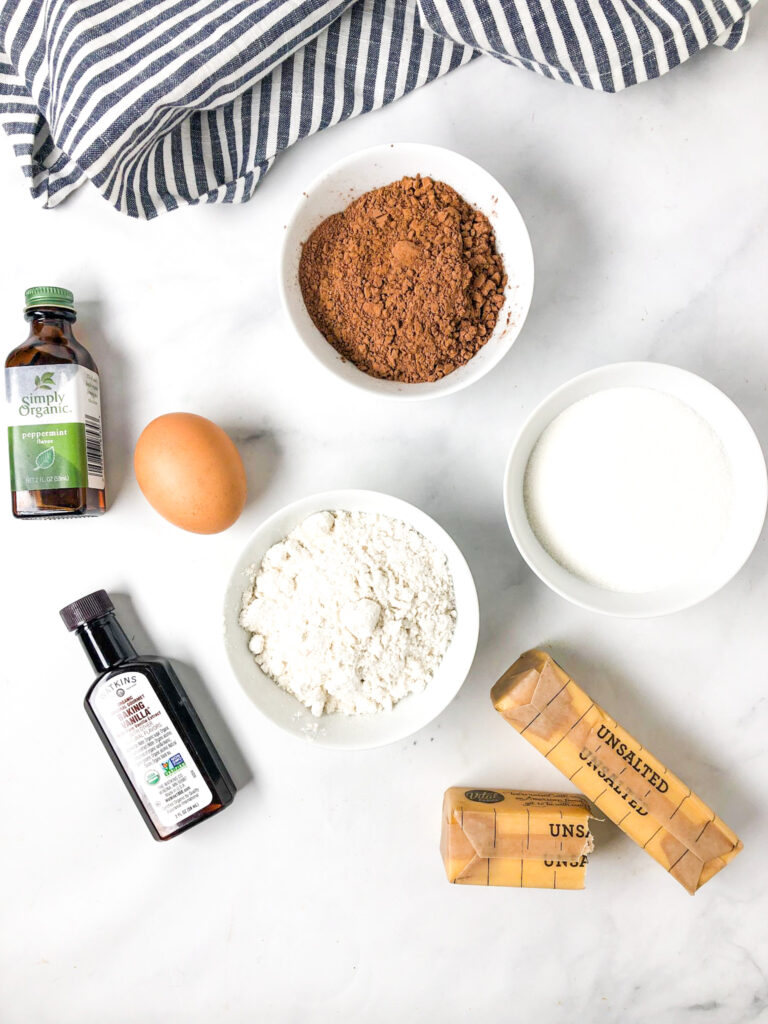
Step #1: Gather Your Ingredients
For the cookie dough, you’ll need the following:
- 3/4 cup unsalted butter, room temperature
- 1 cup granulated sugar
- 1 large egg, room temperature
- 1 tsp vanilla extract
- 1/4 tsp peppermint extract
- 200 grams Bob’s Red Mill 1-to-1 Gluten-Free Flour Blend, approximately 1 1/2 cups, spooned and leveled
- 3/4 cup unsweetened cocoa powder
- 1 tsp baking powder
- 1/8 tsp salt pinch
For the chocolate coating, you’ll need the following:
- 2 cups semi-sweet chocolate chips
- 1 tsp avocado oil or other vegetable oil
- 1/4 tsp peppermint extract
Step #2: Make the Cookies
Now you’re ready to make the round cookie that will become the center of your Thin Mint.
Start by beating the butter for one minute in a large bowl using your handheld or standing mixer until it’s smooth and creamy. Add the sugar and continue mixing on medium-high speed, then add the egg, vanilla extract, and peppermint extract and mix until well combined. Set aside.
Sift the flour, cocoa powder, baking powder, and salt in a separate bowl. Then add the dry ingredients slowly to the wet ingredients and mix on low speed until the flour is fully incorporated. The dough will come together when handled, but it will look crumbly in the bowl.
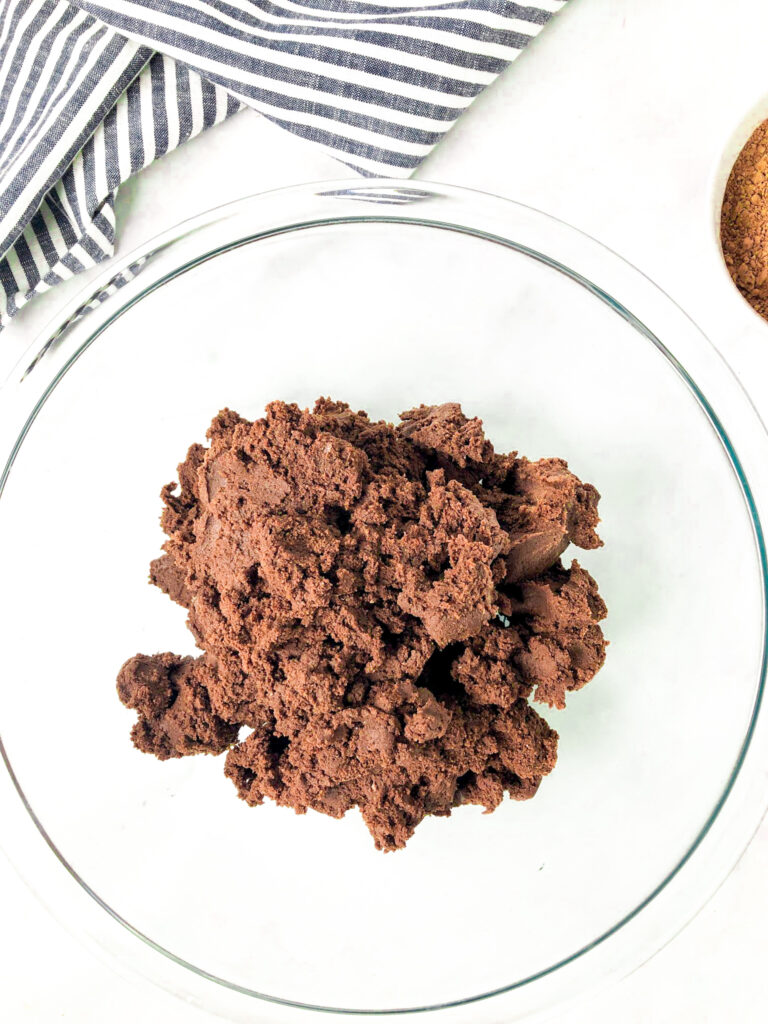
Divide the dough into two equal-sized balls so you can work the dough in batches.
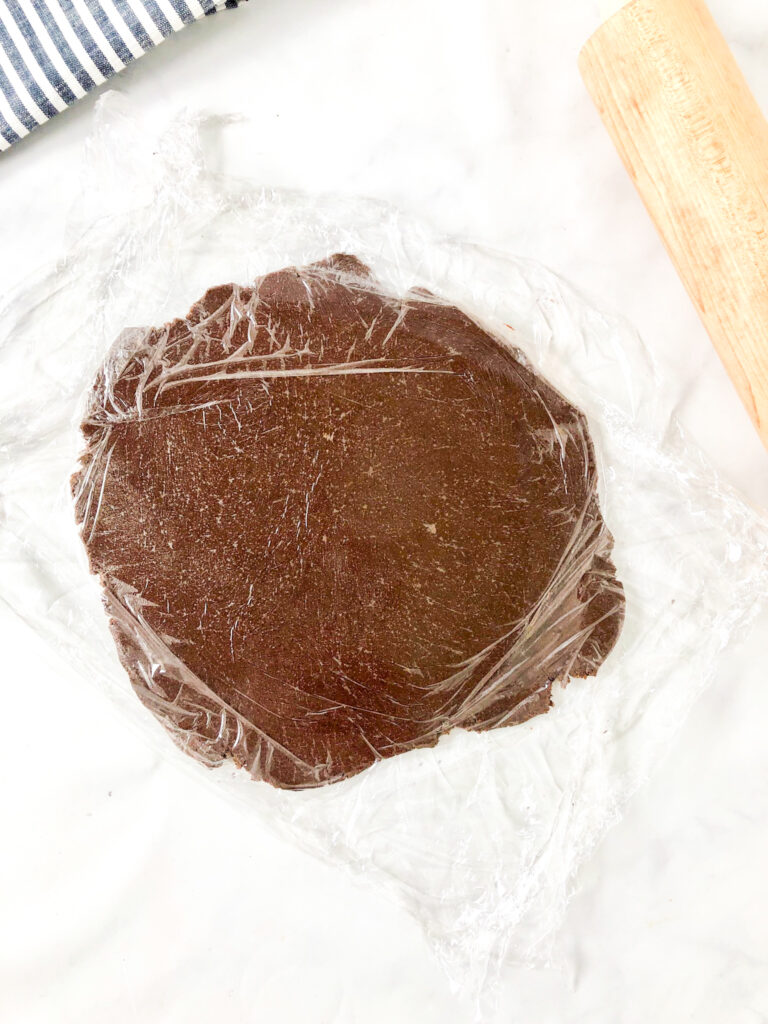
Use your rolling pin to flatten each ball between two pieces of plastic wrap or parchment paper until about 1/4″ thickness. Put the rolled-out flat dough in your refrigerator to chill for 1 hour or up to two days. Make sure it’s covered with plastic wrap if you’re chilling longer than 1 hour.
Once chilled, preheat your oven to 350º F and line two large baking sheets with parchment paper.
Using a 1-1.5″ round cookie cutter, cut out cookies into small circles and place each cookie on the lined baking sheets about 1″ apart. Re-roll the remaining dough. You should have about 40+ cookies, depending on the circles’ size and the dough’s thickness.
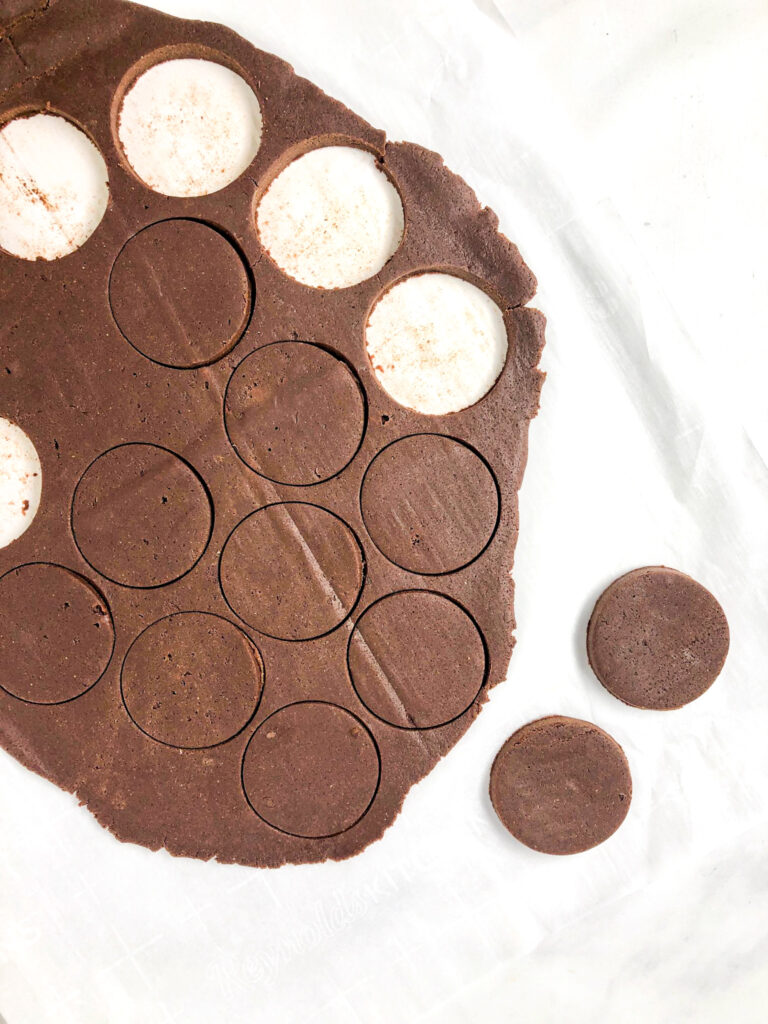
Bake the cookies for 8 minutes. If the cookies are on two baking sheets, place one baking sheet in the fridge to keep cool before baking. Do not overbake. The dough should still be a bit soft to the touch.
Keep in mind that depending on the thickness of the cookie, they may spread/expand a bit, but generally, they keep their shape and size just fine.
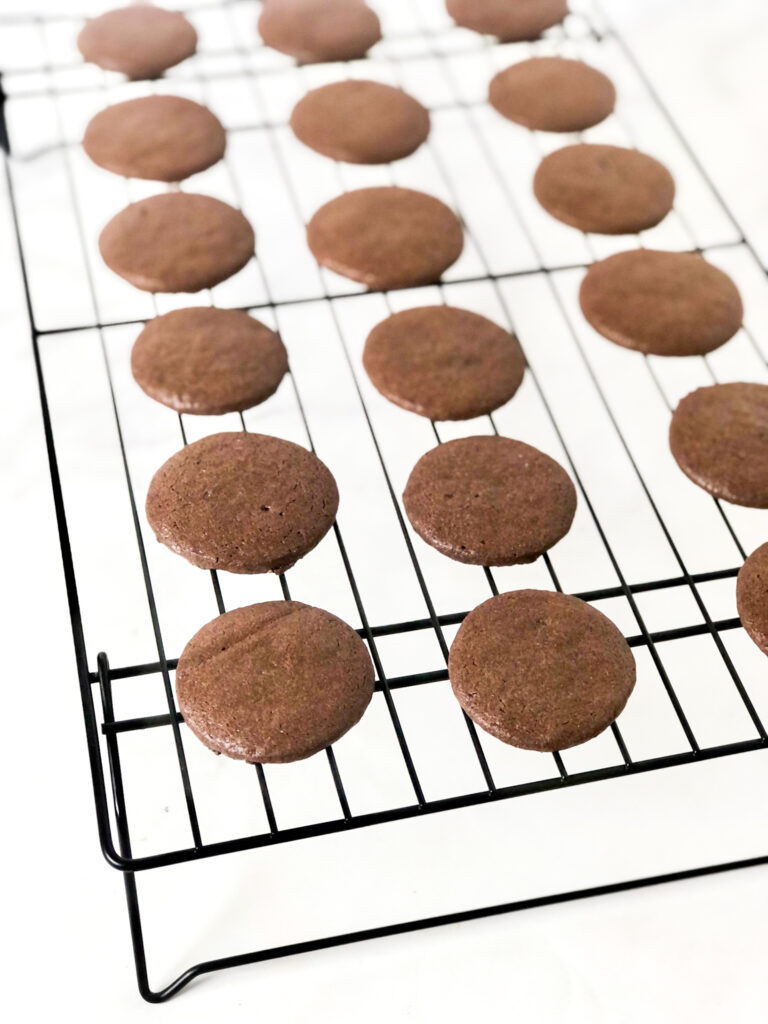
Allow the baked cookies to cool for 5 minutes on the baking sheet before transferring them to a wire rack to cool completely.
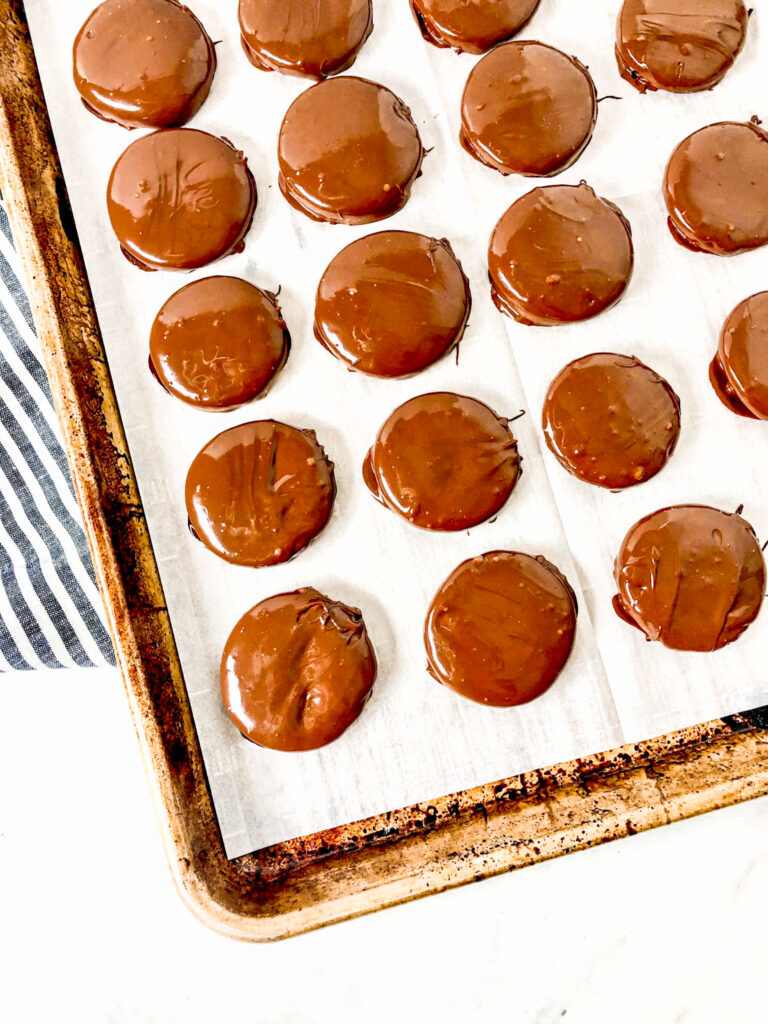
Step #3: Coat Each Cookie with Chocolate
Now it’s time for the fun part: covering the cookies with a delicious, shiny chocolate coating.
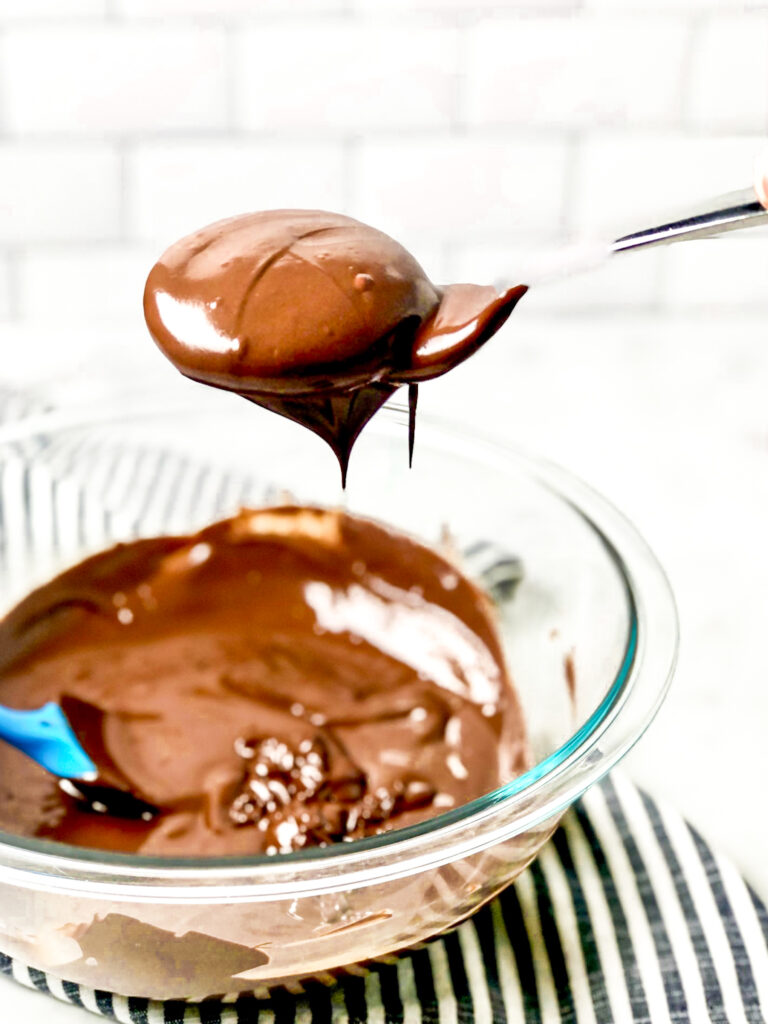
Start by melting the chocolate and vegetable oil in a large microwave-safe bowl, mixing the chocolate every 15-30 seconds until melted. Add some peppermint extract after the chocolate has melted, and mix well. Remember, a little peppermint extract goes a long way.
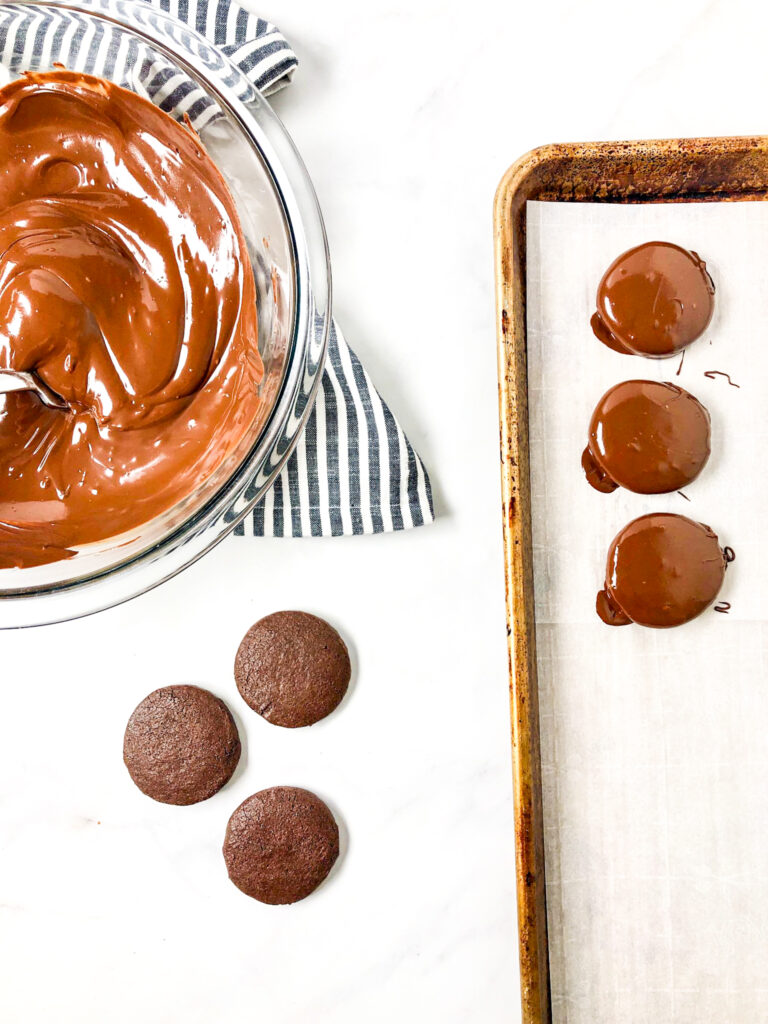
Now, coat each cookie with melted chocolate. Use a fork to scoop up the cookie from the melted chocolate, bang off the excess chocolate, and remove any air bubbles from the top of the coating.
Place each coated cookie on a parchment-lined baking sheet to cool and set. Coat each cookie individually until all cookies are covered in chocolate.
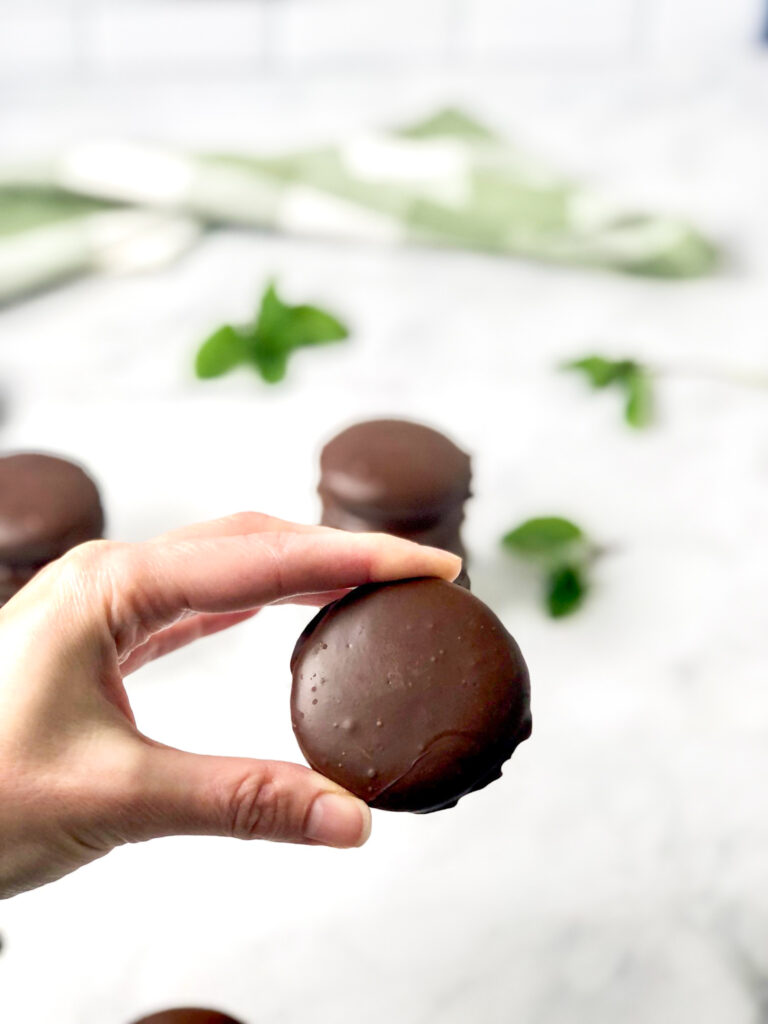
Step #4: Wait for the Chocolate to Set
Allow the shiny chocolate to set on the cookies before enjoying them. The chocolate will harden and darken, even at room temperature, but if you’re anxious to eat the cookies sooner, place them in your fridge for 15 minutes.
I don’t have much fridge space to spare, so I leave mine out until the chocolate sets, then I put them in a zip-top bag to store in my freezer. You can store the cookies in your fridge or freezer, but I recommend the freezer for maximum, prolonged enjoyment.
How Do They Taste?
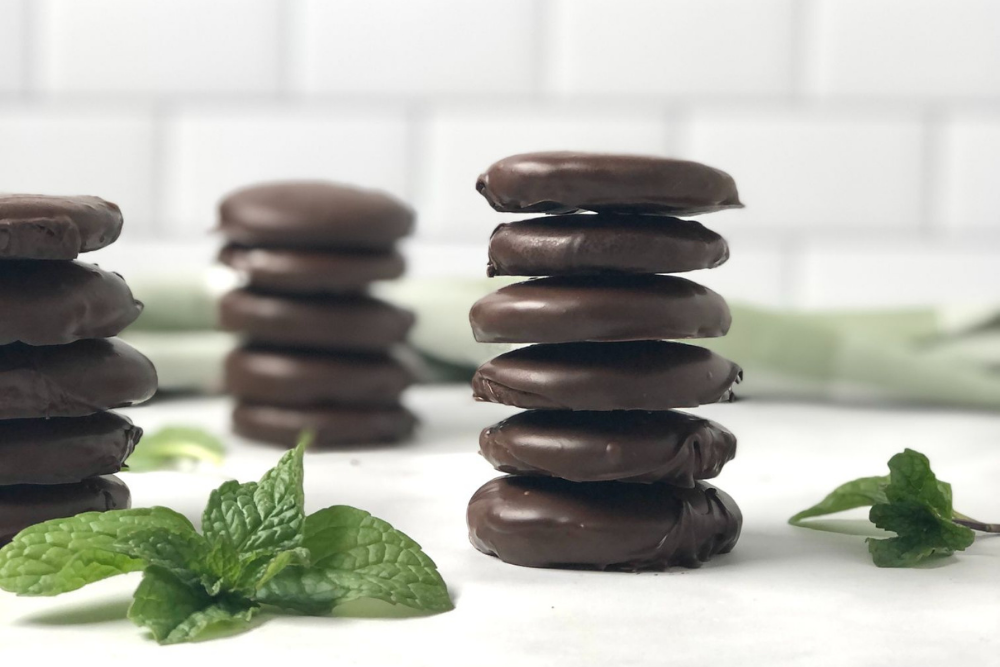
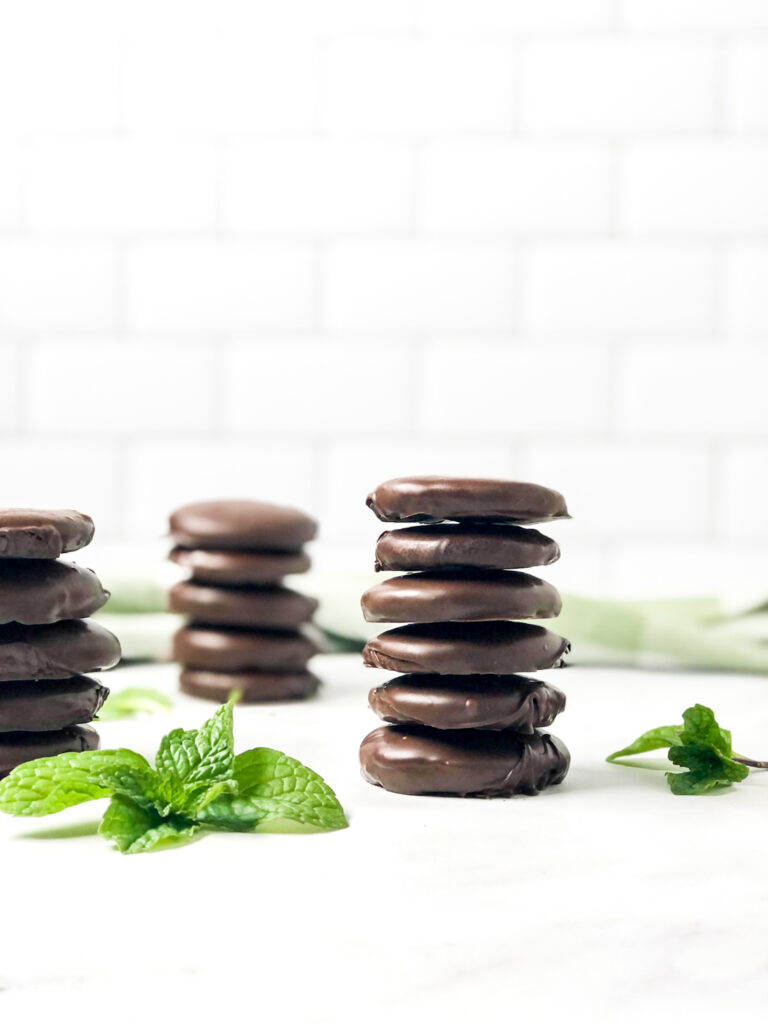
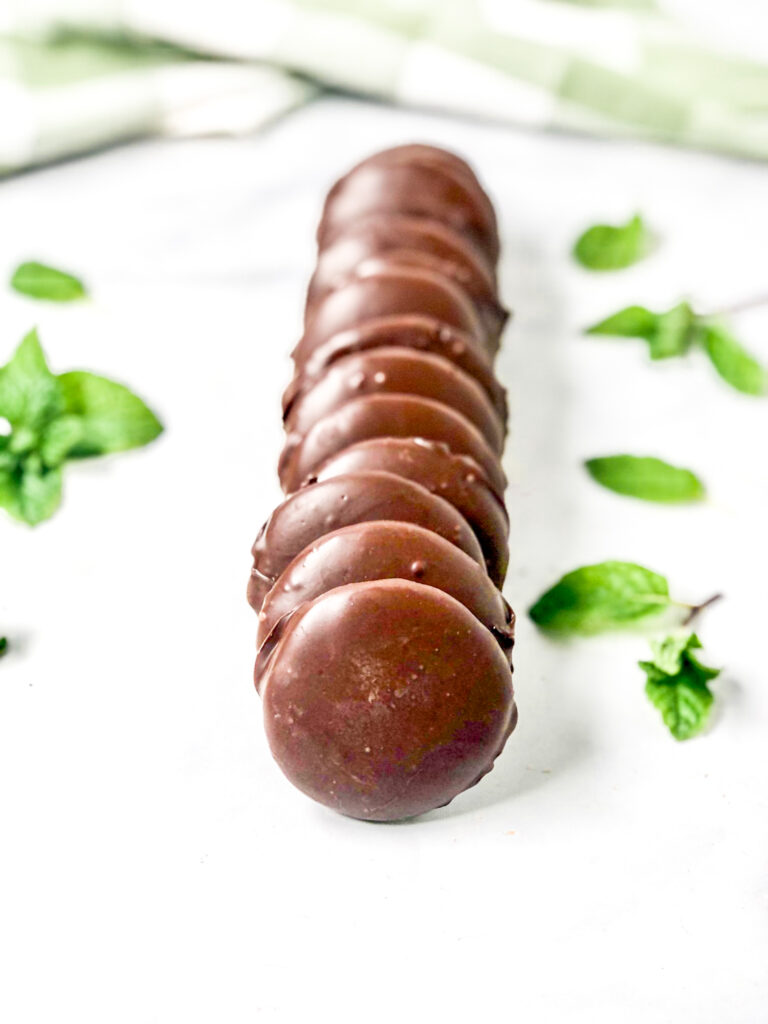
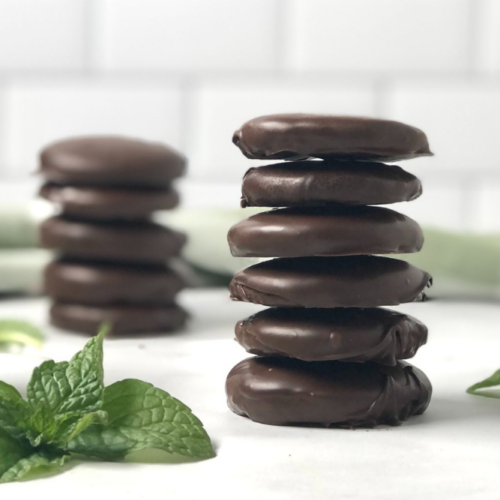
Dare I say these gluten-free Thin Mint cookies taste better than Girl Scout Thin Mints? I don’t know if that’s blasphemy, but these are seriously good cookies, and you’ll be in heaven now that you’ve baked this beloved cookie from scratch at home.
The cookies are slightly crunchy and even have a bit of a chewy texture, which I like and prefer. The chocolate coating is generous, and the peppermint flavor is present in every bite!
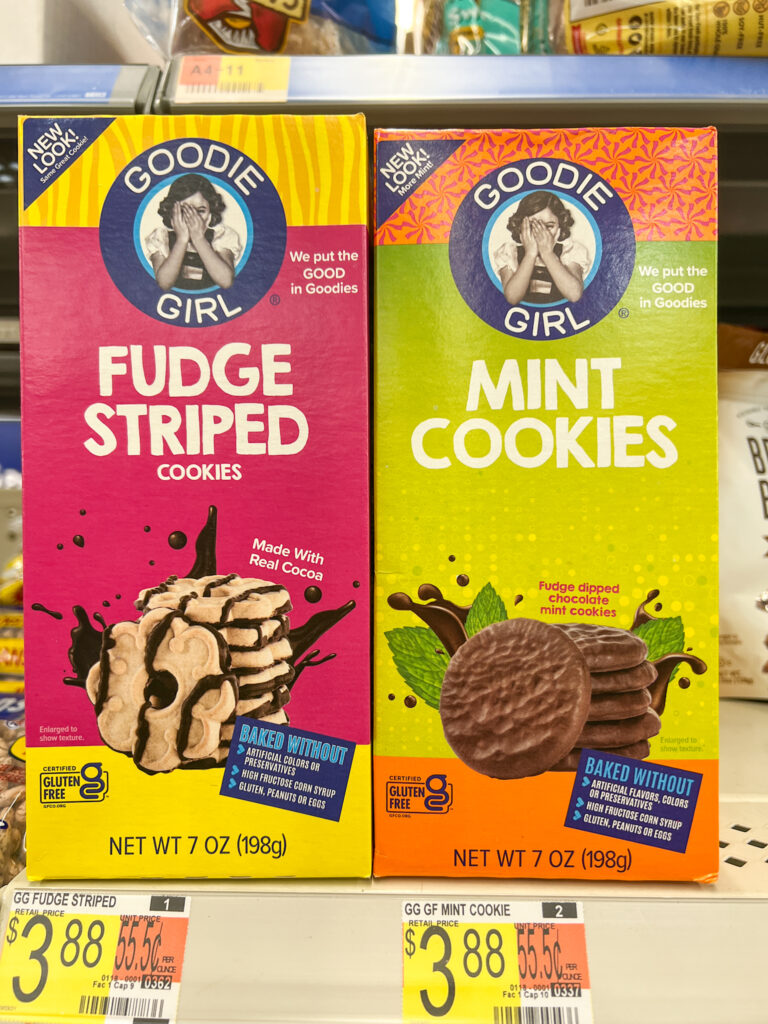
Don’t feel like making gluten-free Thin Mints? Want a store-bought Thin Mint option? Try Goodie Girl Mint Cookies. The cookies are delicious, although I like my homemade version a little better.
FAQs
Here are answers to some of your most pressing questions:
Can I make the cookies dairy-free? Yes, use dairy-free butter and dairy-free chocolate chips.
Can I make this recipe egg-free? I haven’t tried it, but I imagine it would work. Use a flax egg (1 tbsp flax mixed with 3 tbsp water). Let me know if it works for you (results may vary).
How do I store the cookies? Store the cookies in your fridge or freezer. The chocolate may melt a bit or soften if left on the counter.
Help, my cookies spread! If your cookies spread during baking, you may not have fully chilled the dough. Chilled dough will not spread.
I don’t have 1-1.5″ cookie cutters. I suggest investing in cutters or cutting out cookie shapes using the rim of a glass. You could also cut them into small hearts for Valentine’s Day or another shape of your choice. The chocolate adds bulk to each cookie. They may look small after bake, but they look giant after they’re coated with chocolate.
Which Girl Scout Cookies are gluten-free? Caramel Chocolate Chip or Toffee-tastic. Read my review of each cookie in this article.
How many Thin Mints do I have to eat until I get thin? Despite their name, Thin Mints will not make you thin. But they sure do make you happy!
Gluten-Free Thin Mints
Equipment
- 1" – 1.5" cookie cutter
Ingredients
Cookie Dough
- 3/4 cup unsalted butter room temperature
- 1 cup granulated sugar
- 1 large egg room temperature
- 1 tsp vanilla extract 1/4
- 1/4 tsp peppermint extract
- 200 grams Bob’s Red Mill 1-to-1 Gluten-Free Flour Blend approximately 1 1/2 cups, spooned and leveled
- 3/4 cup unsweetened cocoa powder
- 1 tsp baking powder
- 1/8 tsp salt pinch
Topping
- 2 cups semi-sweet chocolate chips
- 1 tsp avocado oil or other vegetable oil
- 1/4 tsp peppermint extract
Instructions
Cookies
- Beat butter for one minute in a large bowl using your handheld or standing mixer until it's smooth and creamy. Add sugar and continue mixing on medium-high speed, then add the egg, vanilla extract, and peppermint extract and mix until well combined. Set aside.
- Sift the flour, cocoa powder, baking powder, and salt in a separate bowl. Whisk until combined.
- Add the dry ingredient mixture slowly to the wet ingredients and mix on low speed until the flour is fully incorporated. The dough will come together when handled, but it looks a little crumbly in the bowl.
- Divide the dough into two equal-sized balls. Use your rolling pin to flatten each ball between two pieces of plastic wrap (or parchment paper) until about 1/4" thickness. Put the rolled-out dough discs in your refrigerator and chill for 1 hour or up to two days. If chilling the dough longer than a few hours, make sure the dough is wrapped in plastic wrap.
- Once chilled, preheat oven to 350º F. Line two large baking sheets with parchment paper. Use 1-1.5" round cookie cutters to cut out cookies and place them on the lined baking sheets about 1" apart. Re-roll the remaining dough to create more cookies. You should have about 40 cookies depending on the size of the circles and the thickness of the dough.
- Bake the cookies in batches for 8 minutes. The batch of cookies waiting to be baked should be stored in the fridge to keep cool. After the baked cookies cool for 5 minutes on the baking sheet, transfer them to a wire rack to cool completely. Depending on the thickness of the cookie, they may spread/expand a bit, but generally, they keep their shape/size. Allow cookies to cool fully before coating them with chocolate.
Chocolate Topping
- Line two baking sheets with parchment paper. Set aside.
- Add the chocolate and oil to a large microwave glass bowl and microwave on high in 15-30 second increments until completely melted, mixing often. Add peppermint extract and mix well until the chocolate is smooth.
- Place each cookie, one by one, top-side down into the chocolate, then use a fork to flip it over. Lift the cookie (on top of the fork) out of the melted chocolate and tap off the excess chocolate. This will allow the chocolate to form a thin layer over the cookie and eliminate any bubbles on top. Gently place the cookie on a parchment-lined baking sheet to cool.
- Once the chocolate sets, you can eat the cookies or store them in the fridge or freezer.
Leave a Comment