
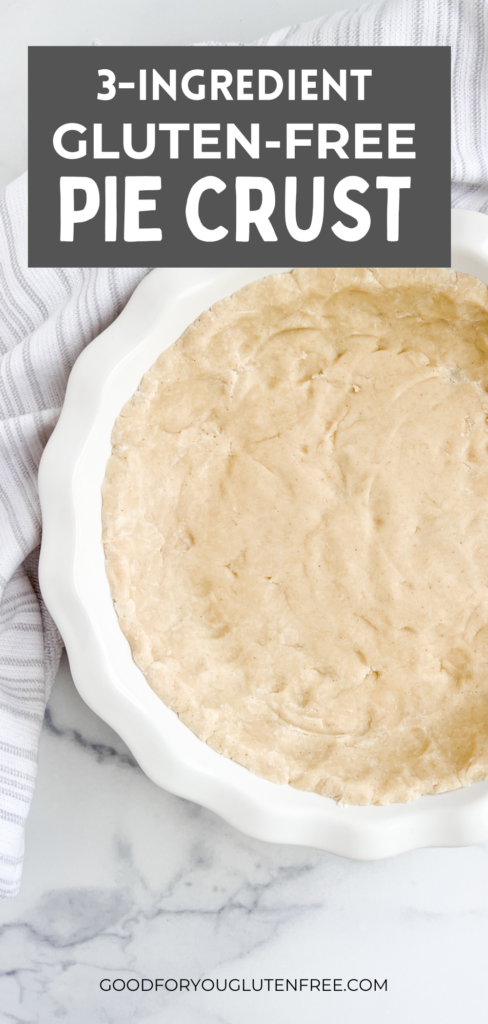
Want to make an exceptionally easy and oh-so-tasty gluten-free pie crust recipe from scratch using only three ingredients? You will impress your guests with this flaky crust and no-fuss recipe made without wheat flour. This post contains affiliate links. Please see my disclosures.
I avoided making my own gluten-free pie crust for a long time, primarily out of fear of how to do it.
After 11 years with celiac disease, I’ve grown in my baking confidence, and now making a homemade gluten-free crust is a piece of cake.
All you need is three ingredients and a simple technique to get the job done in minutes.
And once you have your first gluten-free pie crust under your belt, future efforts will be easy-breezy for you. Trust me on this one. The first time is always the most painful.
And best of all, this easy gluten-free pie crust tastes great. The flavor is subtle so that it won’t overpower your recipe, but it still turns out flaky and buttery, making it the perfect pie crust for all your gluten-free pie-making endeavors.
What You Need
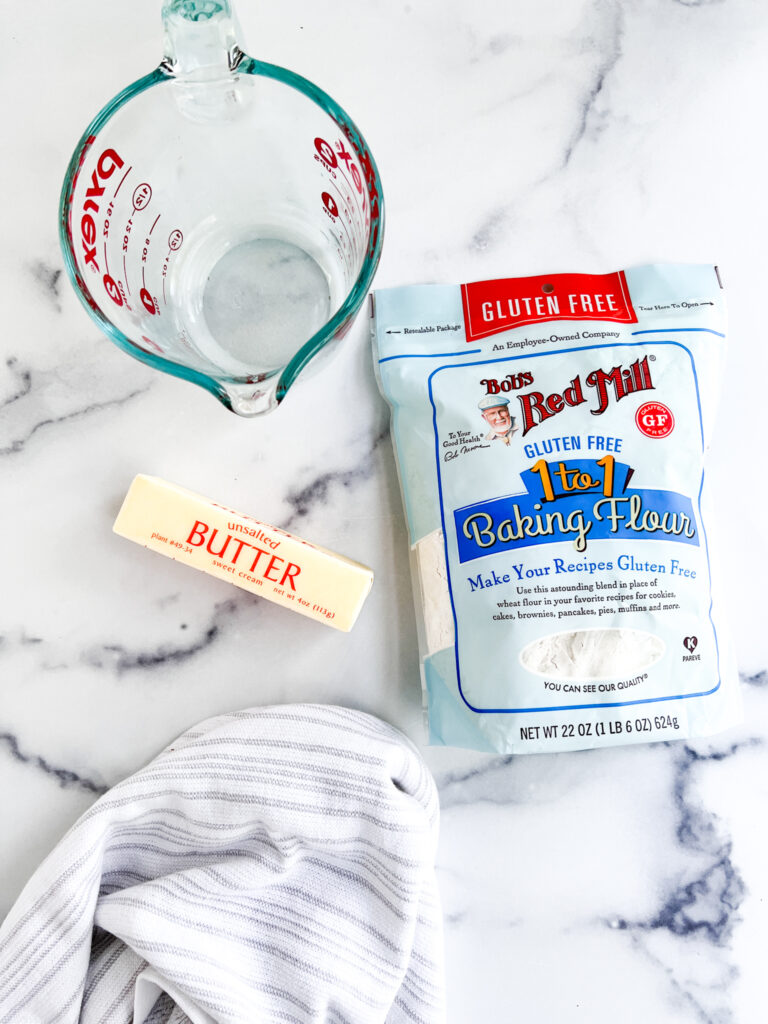
To make a homemade gluten-free pie crust, you need just three ingredients:
Flour: You’ll need 1 1/2 cups of a high-quality gluten-free flour blend. I recommend using Better Batter Gluten-Free Flour, Hand + Heart All Purpose Flour, GF Jules Flour, or Bob’s Red Mill 1-to-1 Gluten-Free Flour Blend. Make sure whatever flour you use contains xanthan gum, an essential binder in gluten-free baking. Without xanthan gum, your pie crust will crumble and fall apart.
Butter (or Shortening): You’ll need 1/2 cup cold butter (preferably salted). I grate the stick of butter with my cheese grater to create small, cold pieces of butter. You can also use a pastry cutter to incorporate the butter into the flour. If you want to make this recipe dairy-free, I recommend using palm oil shortening or vegan butter sticks instead.
Cold Water: You’ll need 1/4 cup cold water. Make sure the water is very cold. I often chill it with an ice cube before using it. Depending on the texture of your dough, you may need to add 1-2 tablespoons more water.
Yes, this delicious gluten-free pie crust comes together with just three ingredients and works beautifully in most pie recipes. Who knew gluten-free pie crust-making could be so simple?!?
How to Make Your Pie Crust
Making a gluten-free pie crust is unlike making a regular pie crust. When you make a traditional pie crust, the gluten bonds hold the flour mixture well. You’ll roll out the pie crust before placing it in your pie dish, being careful not to overwork the gluten.
However, when making a gluten-free pie crust, you need to throw everything you know about making a pie crust out the window because the process is very different.
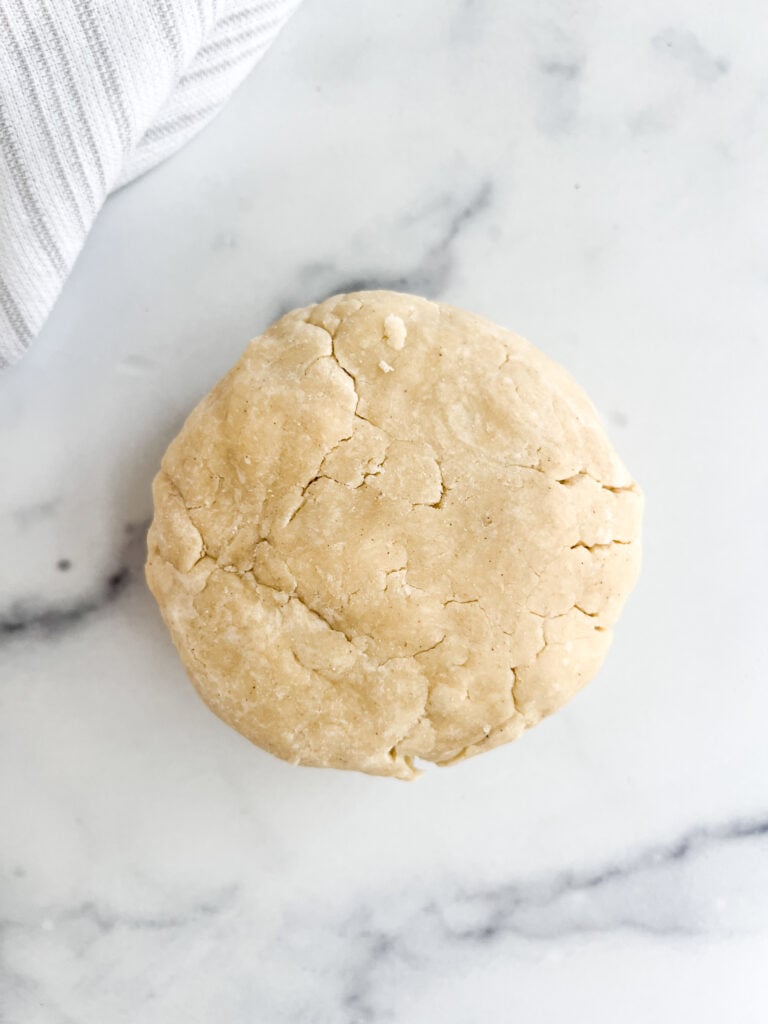
Step #1: Combine the flour and grated butter in a large bowl. Use your hands or a pastry cutter to mix everything together for about 30 seconds. No food processor or stand mixer is needed.
Step #2: Add the cold water. Work the dough until it comes together, about 3-4 minutes. It will appear very dry at first, and you may even question if this will work, but it will. If after 3 minutes, the dough isn’t coming together, add 1 tsp of cold water at a time until it does. Remember, the butter will soften and incorporate more flour as you work it with your hands. Patience is key. Once the dough holds together, form it into a ball of dough.
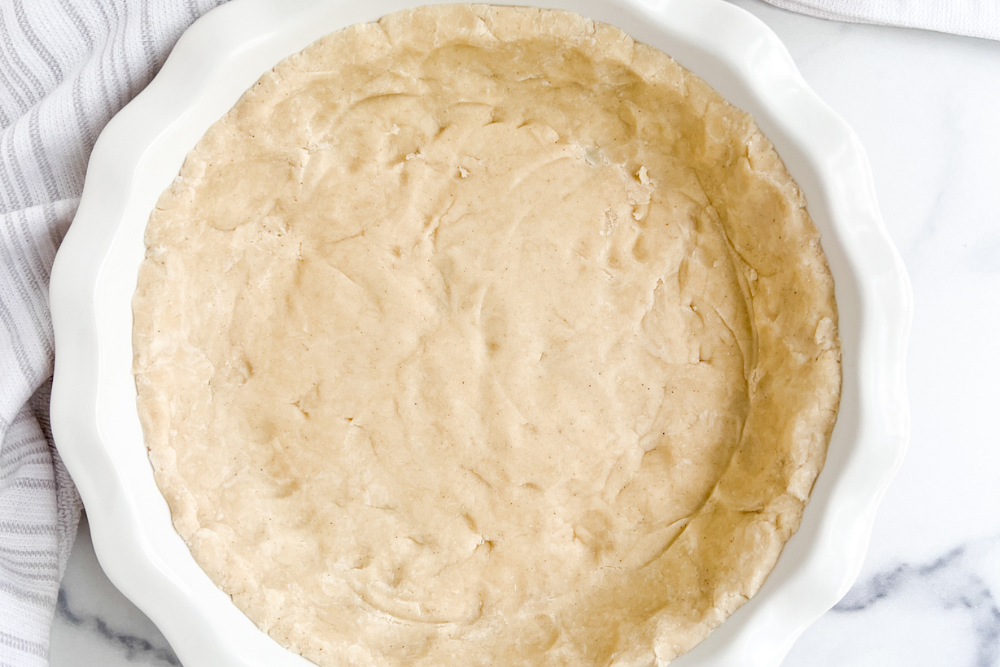
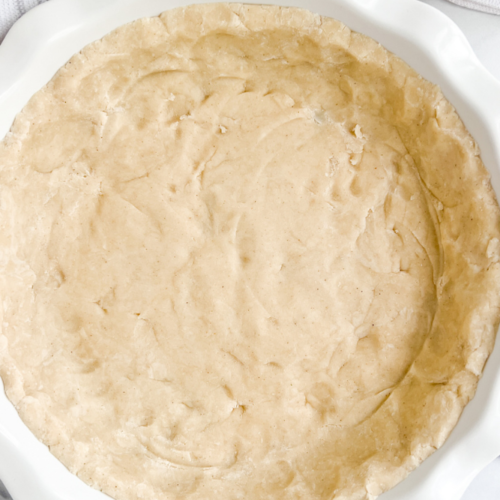
Step #3: Press Out the Dough: Yes, I said “press,” not “roll” out the dough with a rolling pin. I find rolling out the dough useless because the minute you transfer it to your pie dish, it will crack and break. What a mess!
Instead, place the dough in the center of your pie dish and use the palm of your hand and fingers to spread it out to cover the bottom and sides of your pie dish. You could use a flat spatula to help you flatten the dough as evenly as possible (optional).
Don’t worry about it looking perfect. The pie filling is going to cover up the flaws. Just spread the dough so it covers the pan as evenly as possible.
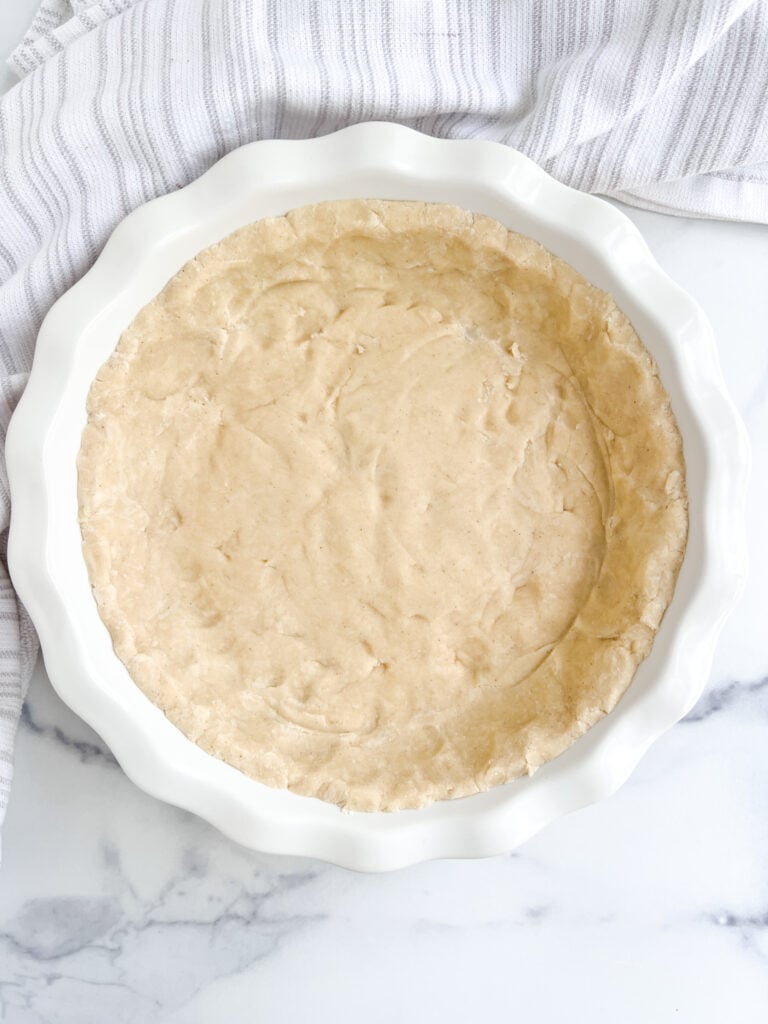
Important Note: Because I was making this pie crust for my pumpkin pie recipe, I don’t like to cover the sides completely with dough. I find the sides of the crust burn when I do that, so I like it when my pumpkin pie filling slightly covers the crust. For other pies, however, I spread the pie crust along the full sides of the pie plate.
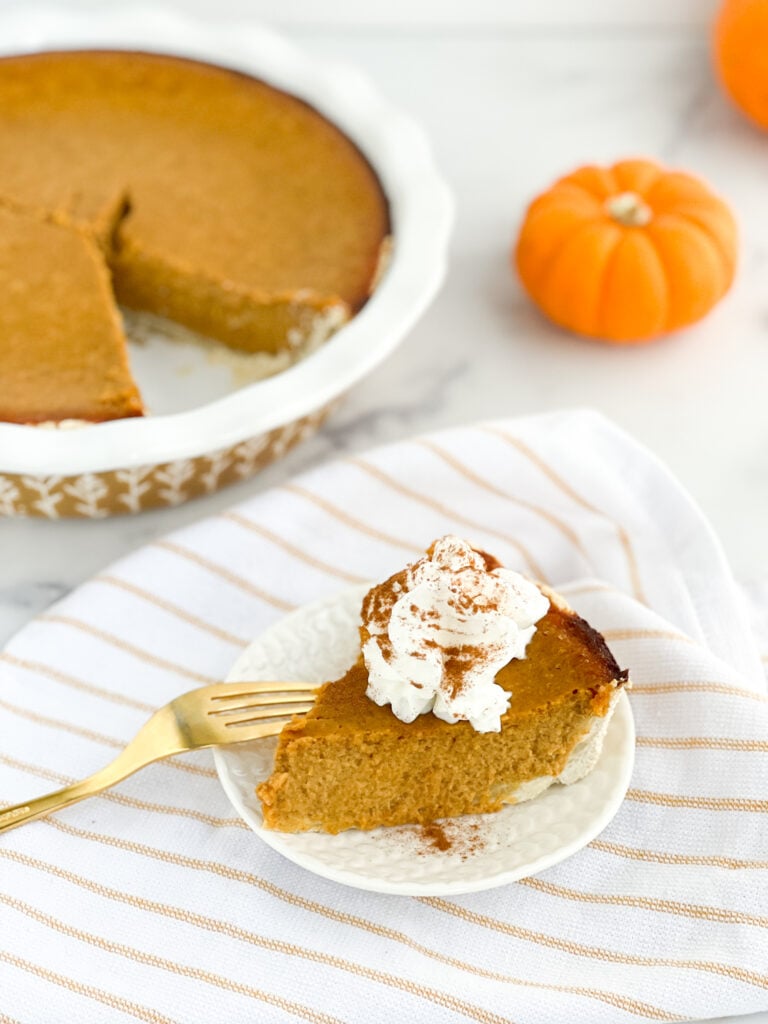
Now you’re ready to fill your pie crust with whatever fillings you desire – like a pumpkin pie or apple pie filling. Bake the pie according to your recipe’s instructions.
Here’s how the flaky crust looked in my simple yet delicious gluten-free pumpkin pie recipe. It was soft and flaky. Truly the perfect pie crust, or at least as perfect as it can be without wheat flour!
Recipe Notes
Use for Sweet and Savory Pies: The pie crust contains no sugar, so it can easily be used for sweet and savory pies. I use it when making gluten-free quiche, and you could also use it to make chicken pot pie. If you want to make the crust a tad sweeter, add 1 tsp of sugar to the pastry dough mixture.
Baking the Crust Ahead of Time: If you want to bake the pie before adding the filling (in case you have a pre-made canned pie filling of sorts), simply add a few fork indentions to the bottom of the pie crust to allow steam to escape, then bake it in a 400º F oven for 12-15 minutes or until the edges are slightly golden brown. Cool completely on a wire rack.
Dairy-Free Option: You can make the pie crust dairy-free by using shortening instead of butter. I recommend sustainable palm shortening over Crisco, although either will work. Butter, however, gives it a buttery flavor, so use real butter if you can. You can also use vegan butter for a similar buttery flavor.
Make-Ahead Instructions: Make this pie crust dough well before baking it. It will last 3-4 days in the fridge covered with plastic wrap or up to three months in your freezer.
Double Crust Recipe? Need two crusts for one pie, like my apple pie recipe? Double the recipe, divide the dough, and proceed as noted in the recipe card below.
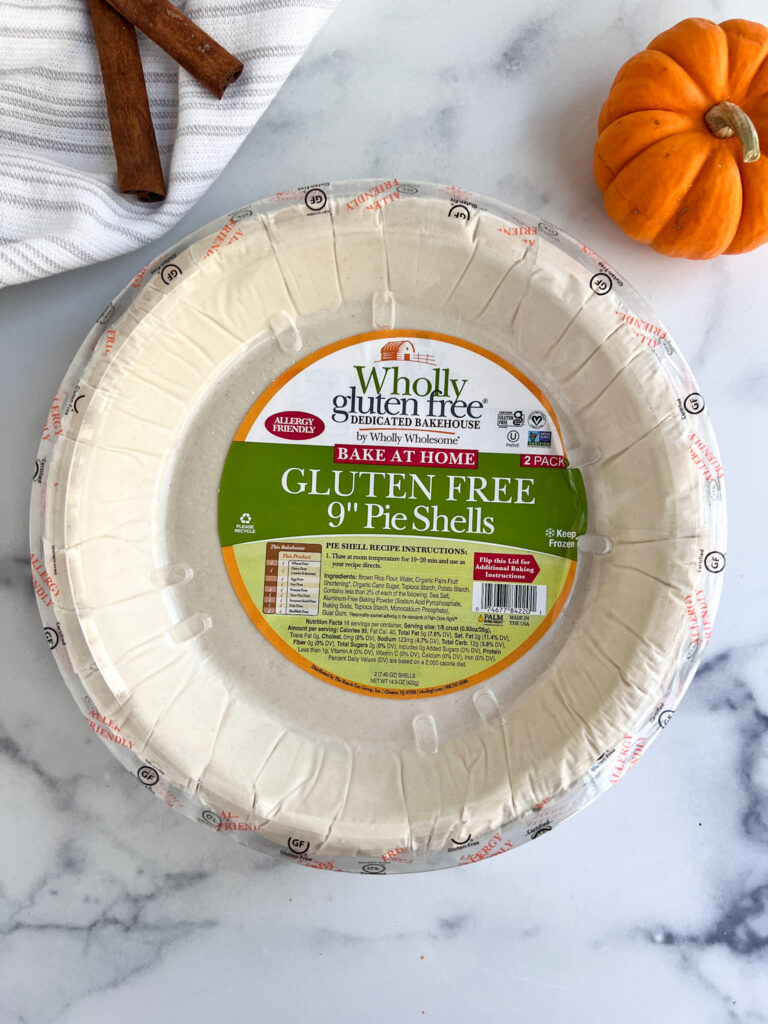
Don’t Feel Like Making a Homemade Gluten-Free Pie Crust? You can buy a ready-made gluten-free pie crust from Wholly Gluten Free. I’ve seen them at Sprouts and Trader Joe’s. The pie crusts are shallower, so you may need to adjust the amount of filling you add.
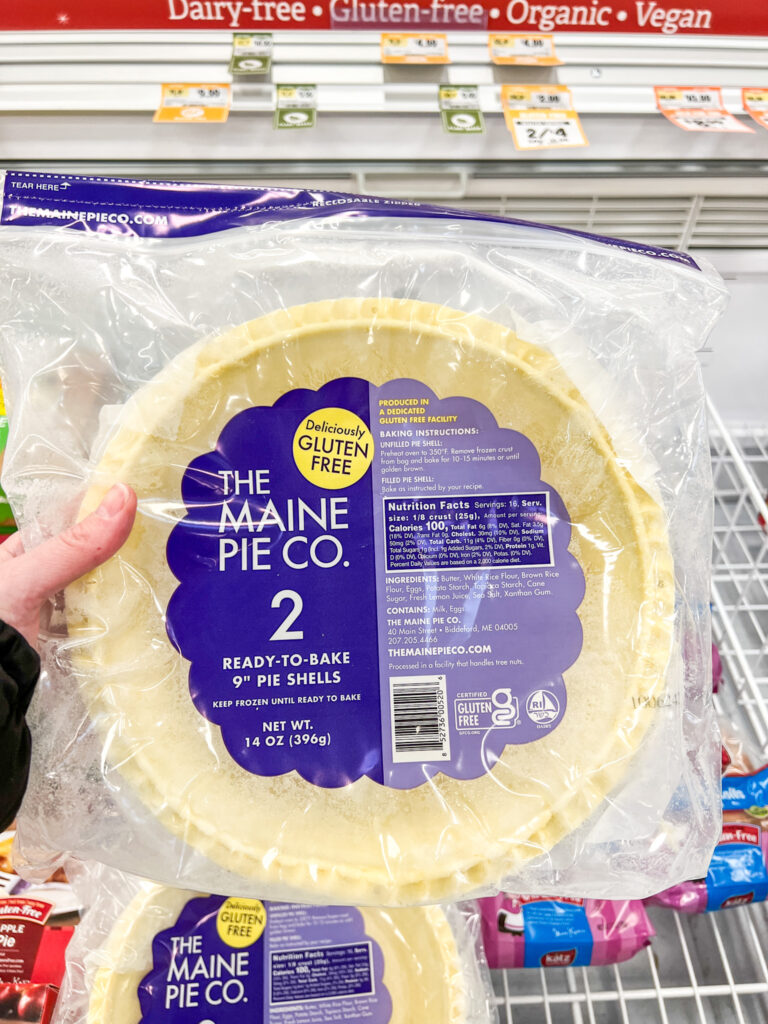
I also found (in 2023) ready-made gluten-free pie crust (and pies) from The Maine Pie Co. at Sprouts. This is a huge find that I can’t wait to try.
Overall, don’t overthink the process of making a homemade gluten-free pie crust. It’s simple to do, and allow yourself to adopt this new method of pie making, sans gluten, of course.
Good luck, and enjoy eating pie again – you deserve it. Happy baking!
More Recipes
You might like these recipes, too:
- 3-Ingredient Gluten-Free Graham Cracker Crust
- Simple Gluten-Free Spinach and Onion Quiche
- The BEST Gluten-Free Apple Pie Recipe (easy too!)
- Gluten-Free Pumpkin Pie Recipe
- Guide to Gluten-Free Puff Pastry
Gluten-Free Pie Crust
Equipment
- 1 9" pie dish
- 1 cheese grater for grating cold butter
Ingredients
- 1 1/2 cups gluten-free flour blend with xanthan gum
- 1/2 cup salted butter cold, grated with a cheese grater
- 1/4 cup water cold
Instructions
- Combine the flour and grated butter in a large bowl. Use your hands or a pastry cutter to mix everything together for about 30 seconds.
- Add the cold water to the flour mixture. Work the dough by hand until it comes together in a large dough ball, about 3-4 minutes. The dough will appear very dry at first, and you may even question if this will work, but it will. Keep kneading the flour together with your hands. The butter will soften with and absorb the flour slowly but surely. If you feel the ball of dough won't come together after a few minutes, add 1 tablespoon of cold water at a time until it does. Use extra water sparingly, only enough to make the dough hold together. Form the dough into a large dough ball.
- Place the dough in the center of your 9" pie dish and use the palm of your hand and fingers to spread it out to cover the bottom and sides of the pie dish. You could use a flat spatula to help you flatten the dough as evenly as possible (optional). Don't worry about it looking perfect. The pie filling is going to cover up the flaws. Just spread the dough so that it covers the pie dish as evenly as possible.
- Fill your pie crust with your choice filling – like a pumpkin or apple pie filling – and bake it according to your recipe's instructions.
Any 1-to-1 gf flour will work. They will all taste and work slightly different. I like Better Batter the most. The coupon code GOODFORYOUGF will get you 30% off.
What flour blend do you use for your pie crusts?
I’m so glad you enjoyed it! I think it tastes better than store bought crusts too.
I love this recipe! It is easier than going to the store to buy pie crusts! Your recipe is a game changer for my family! It was so easy to make, I thought I did something wrong. My family loved the pie crust! Thank you!