Apple pie is the name of the game during Thanksgiving, and this year, I’m pulling out all the stop and sharing this delicious gluten-free apple pie recipe with you. The pie filling is perfection, and I used a shortcut pie crust mix by Bob’s Red Mill. Bob’s Red Mill sponsored this post, and it contains affiliate links. Please see my disclosures.
No Thanksgiving holiday would be complete without apple pie, would it?
If you’ve been scared to make a gluten-free pie crust in the past, I want to tell you that you don’t have to be afraid because it’s simpler than you think, and the pie tastes outstanding.
Don’t be scared about making a homemade gluten-free pie crust easier. The good news is you have options when it comes to pie crust:
- Follow my Homemade Gluten-Free Pie Crust recipe to make a homemade pie crust with just three ingredients: Bob’s Red Mill 1-to-1 Gluten-Free Flour Blend, butter or shortening, and cold water. That’s it! My pie crust contains no sugar and can be used for sweet and savory desserts. You’ll need to double the recipe to get a top and bottom crust for this apple pie recipe.
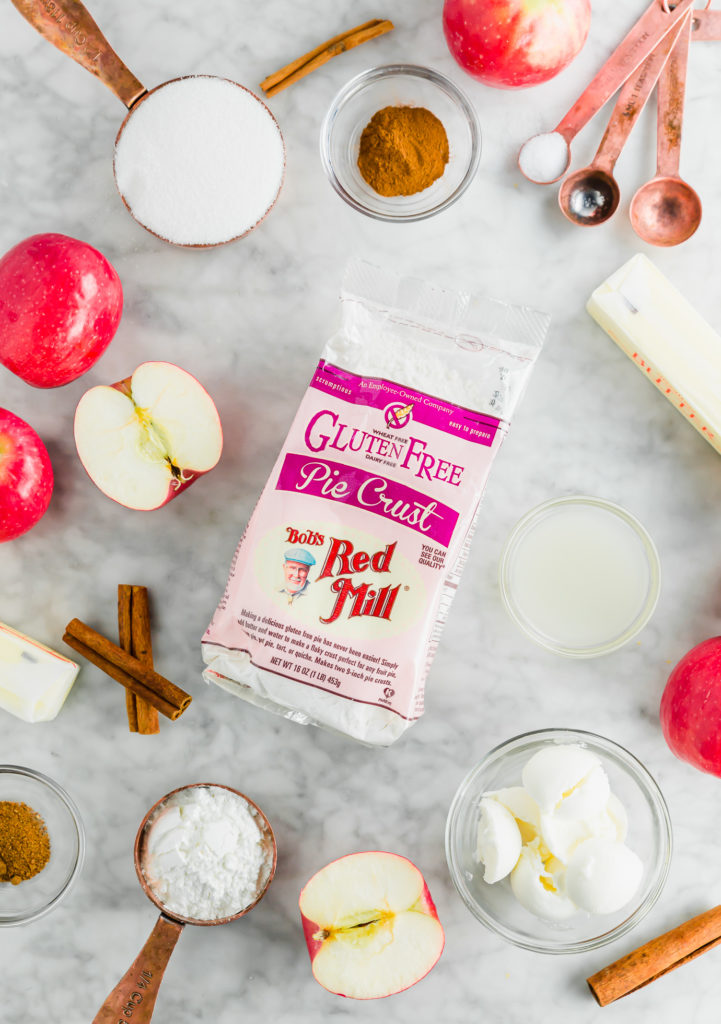
- Purchase Bob’s Red Mill Gluten-Free Pie Crust Mix for a tasty sweet pie crust. This mix contains added sugar, but comes together beautifully and tastes great.
Making Gluten-Free Pie Crust
You can make my homemade gluten-free pie crust recipe, or use the Bob’s Red Mill Gluten-Free Pie Crust Mix. In this post, I want to show you how I made it with the Bob’s Red Mill mix.
First, add shortening and butter in your food processor and pulse 10 times, for one-second each, until the butter is the size of peas.
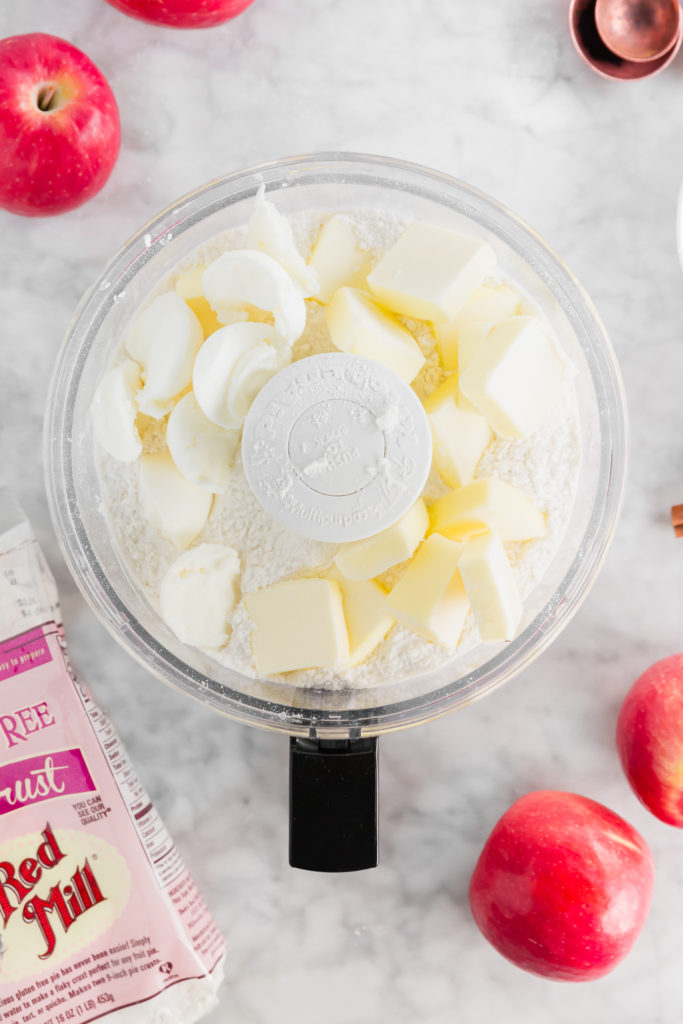
If you have a food processor, use it because it will make preparing the pie crust much easier; however, if you don’t have a food processor, you can use a pastry cutter or two forks to cut the cold butter and shortening into the pie crust mix.
Then you’ll add the cold water, tablespoon by tablespoon, until the dough is able to be pinched together and it holds together nicely. If you need additional water, add one tablespoon at a time until your pie dough comes together and can be handled without crumbling.
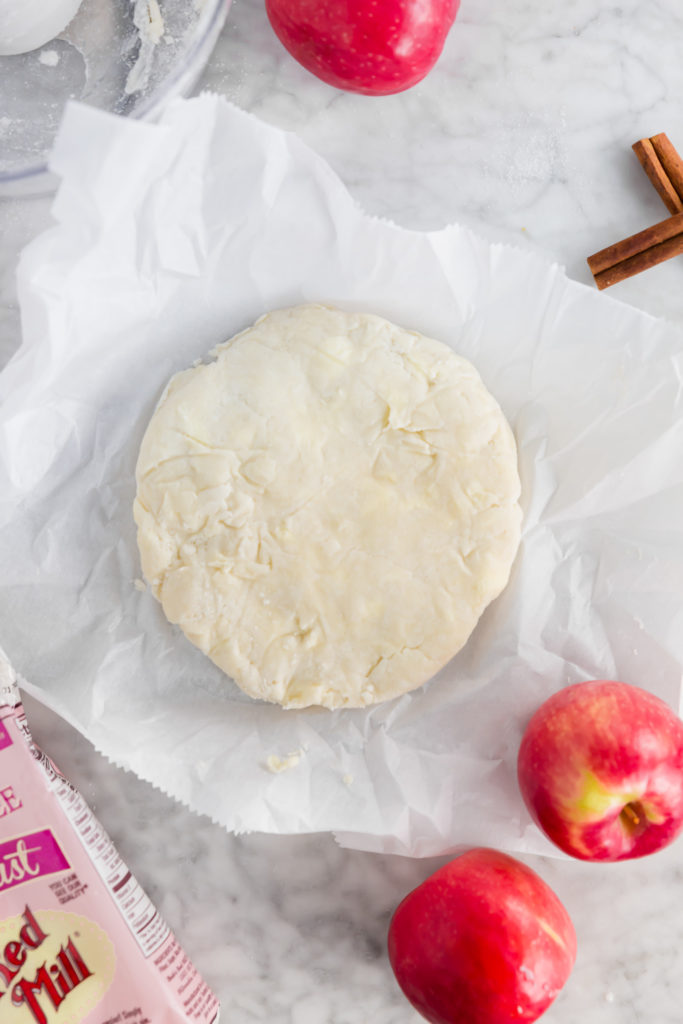
Cut the dough in half to form two equal disks. Wrap each disc in plastic wrap and refrigerate for at least an hour. For best results, the dough should be fully chilled before you begin to assemble the apple pie.
Watch this quick tutorial video on how to make the pie crust from Bob’s Red Mill:
How to Make Apple Pie Filling
While the gluten-free pie crust is chilling in the fridge, you can get to work on your delicious and sweet apple pie filling.
In a large bowl, combine sliced apples (I like honeycrisp apples myself but pink lady and granny smith work well too), sugar, lemon juice, nutmeg, cinnamon, salt and cornstarch.
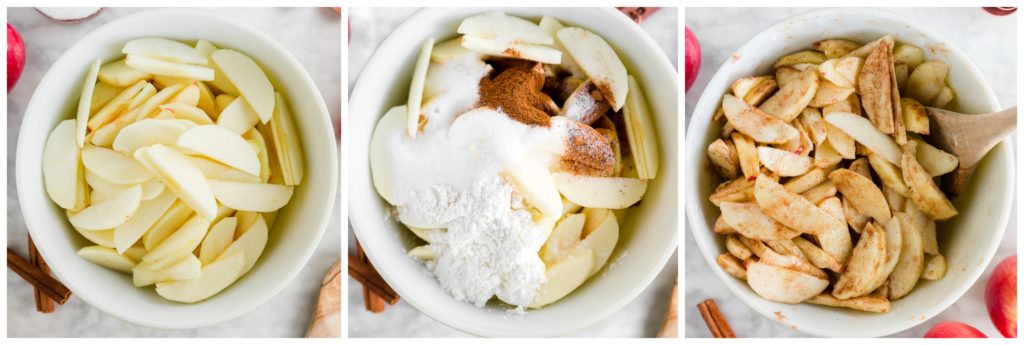
Let the mixture sit for at least 30 minutes to let the juices release before assembling the gluten-free apple pie for baking.
Now it’s pie assembling time!
Generously flour a flat surface or a piece of parchment paper with gluten-free flour. Then, take one of the discs of pie crust dough and roll it out to a round shape that is about 1/8 inch thickness about three inches wider than your pie plate. For example, if your pie plate is 9 inches, you’ll want your dough to be about 12 inches in diameter.
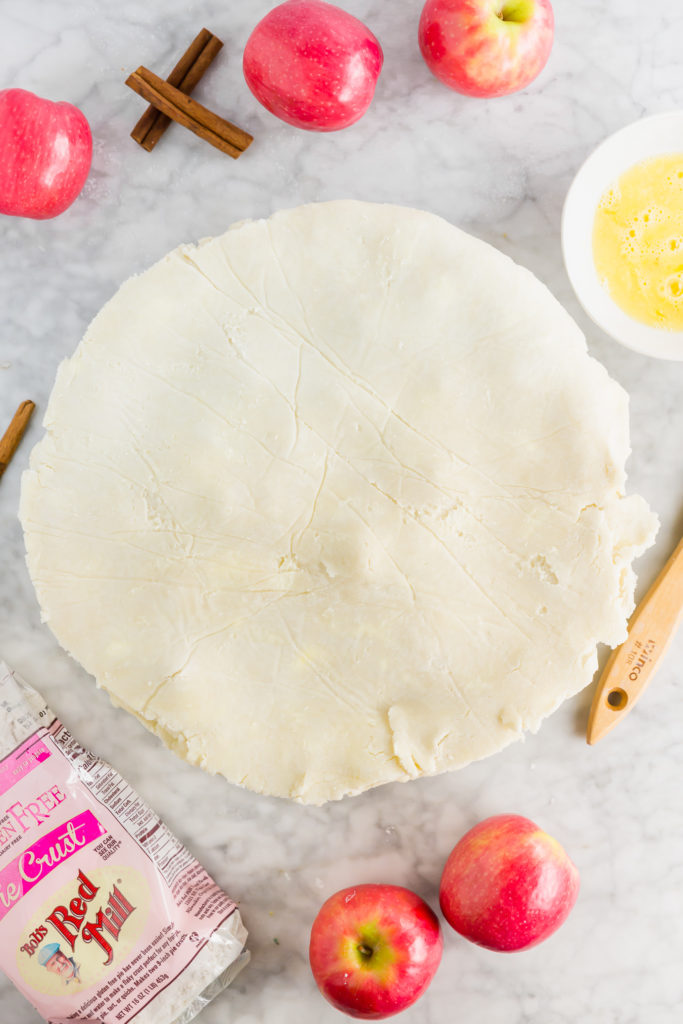
Repeat with the other pie dough portion. Be sure to keep the dough, surface, and rolling pin generously floured to make sure the dough doesn’t stick.
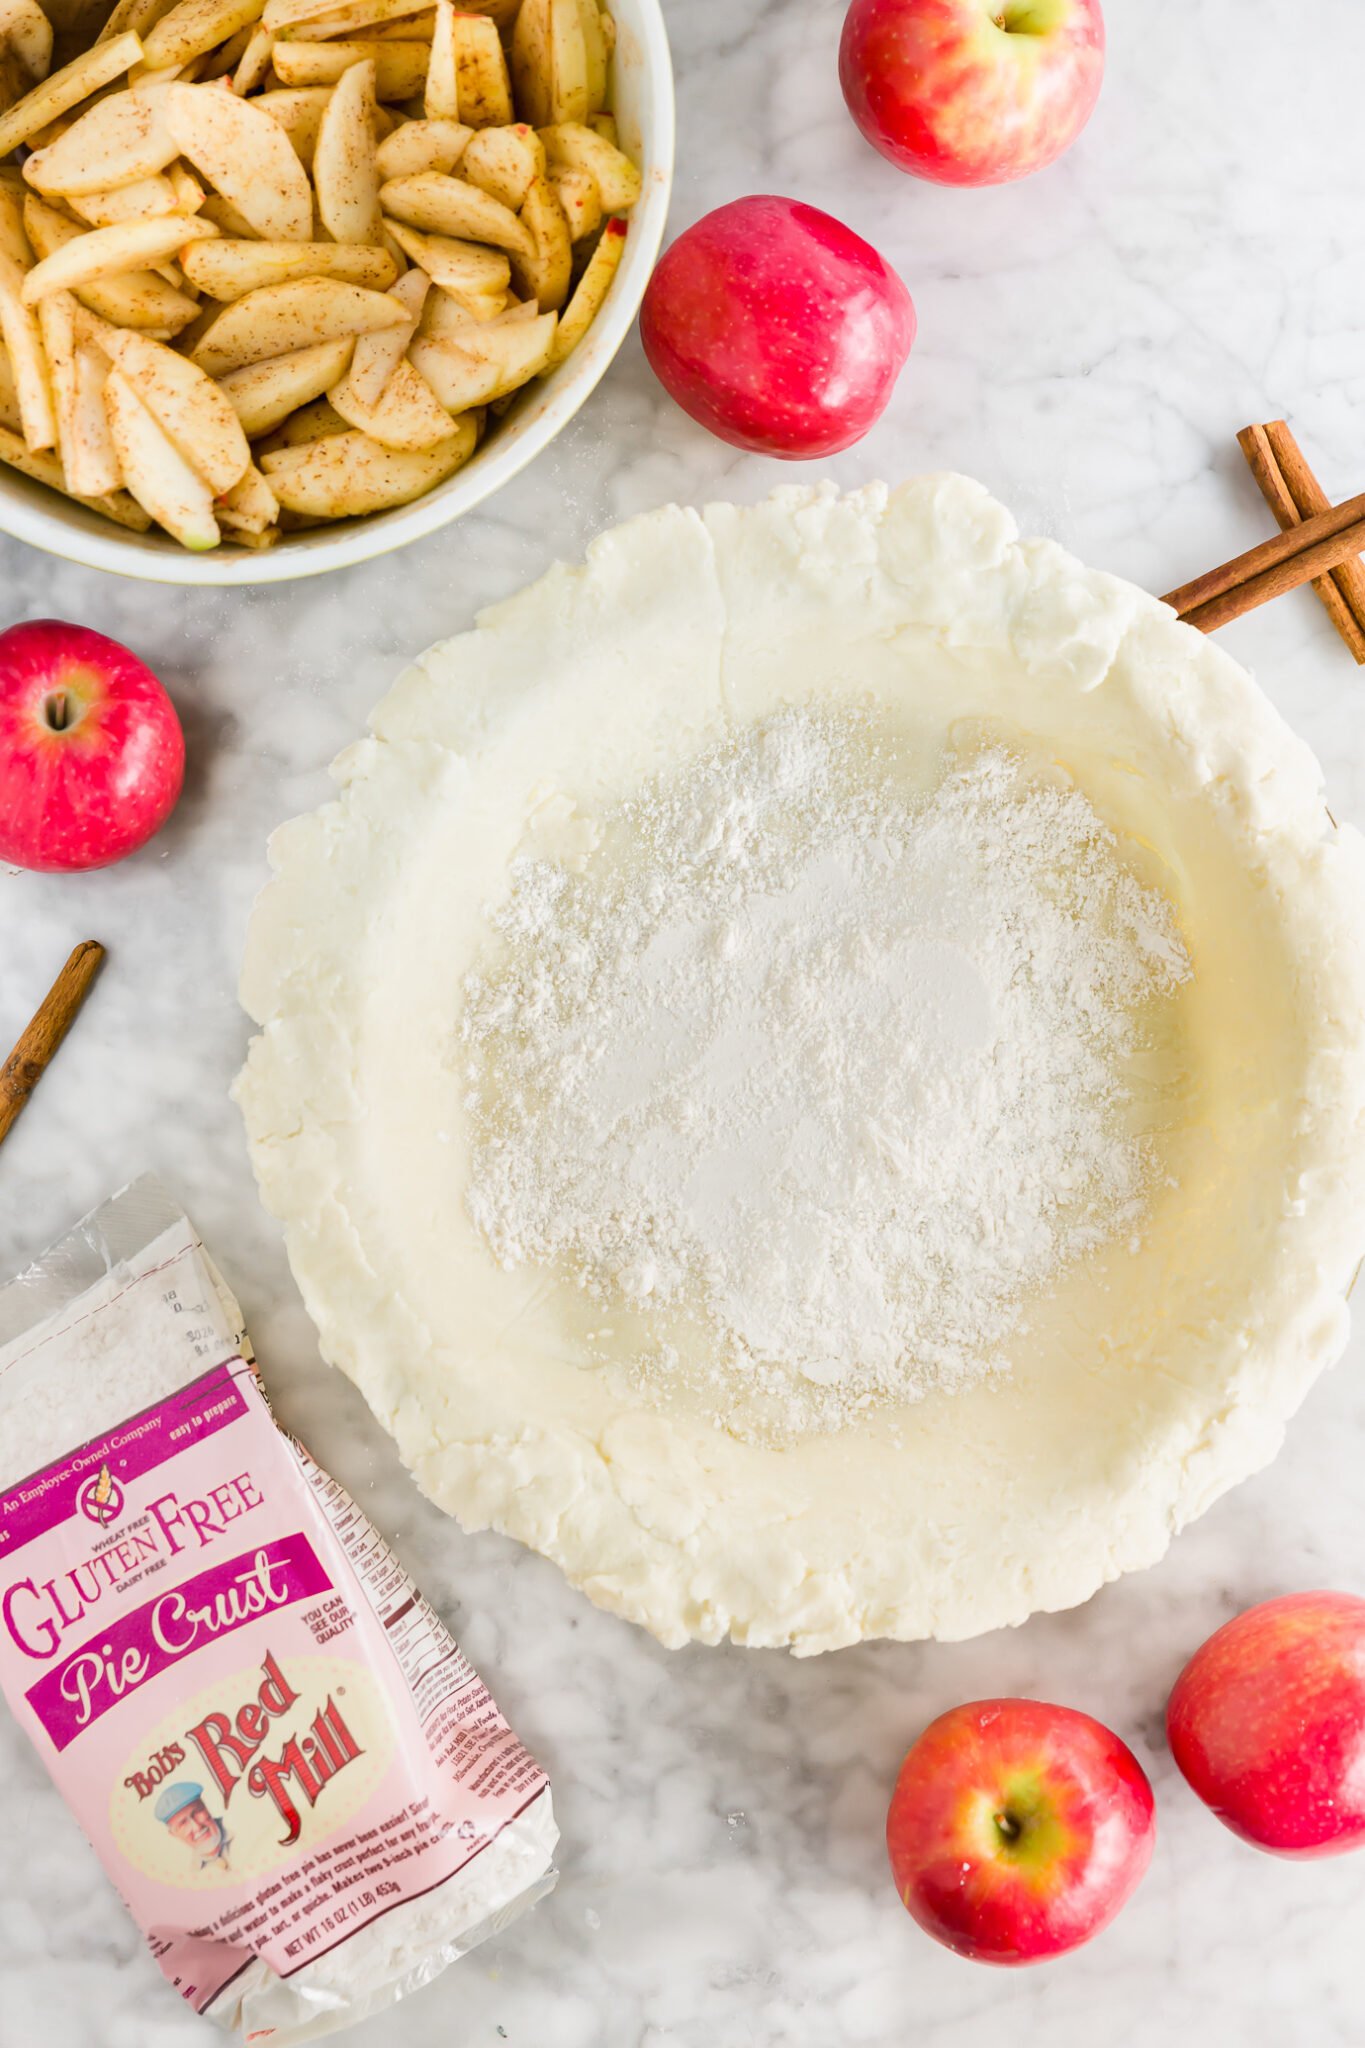
Carefully transfer one of the pie crusts to the pie plate. Gently press the crust into place. About 1/2 inch of the dough should hang over the pie plate.
Please note the crust cracks easily because it doesn’t contain any gluten to bind it. Just smoosh the dough together to seal the cracks, and use extra pie dough to fill in any gaps.
Then, add two tablespoons of gluten-free flour to the bottom crust. This will help soak up any additional juices from the filling.
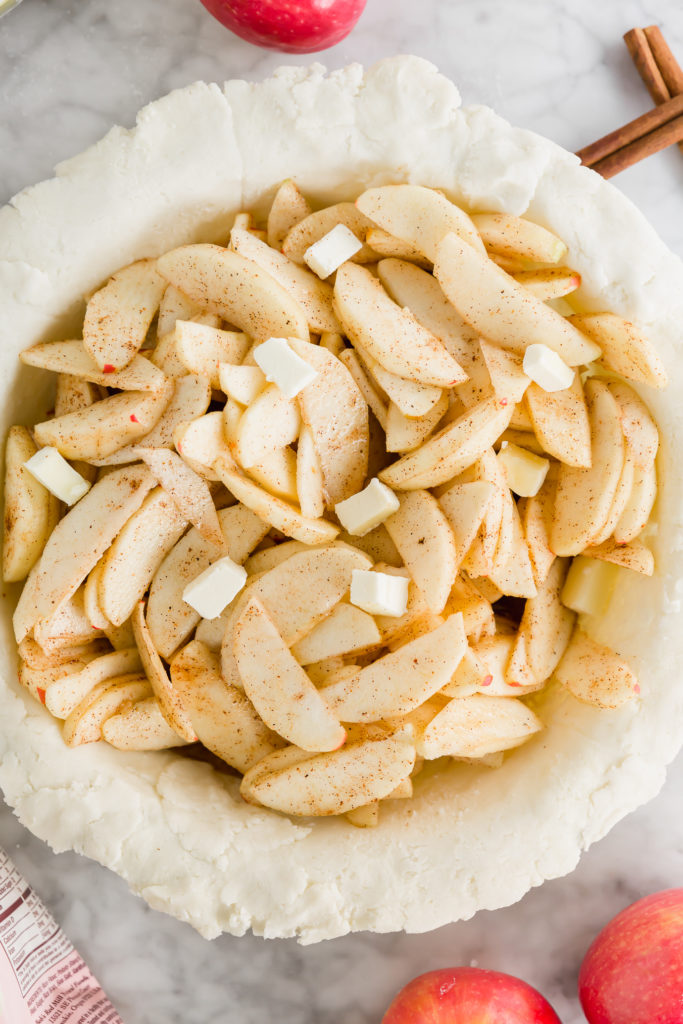
Now you’re ready to pour the apple filling into the pie crust and smooth it into an even layer.
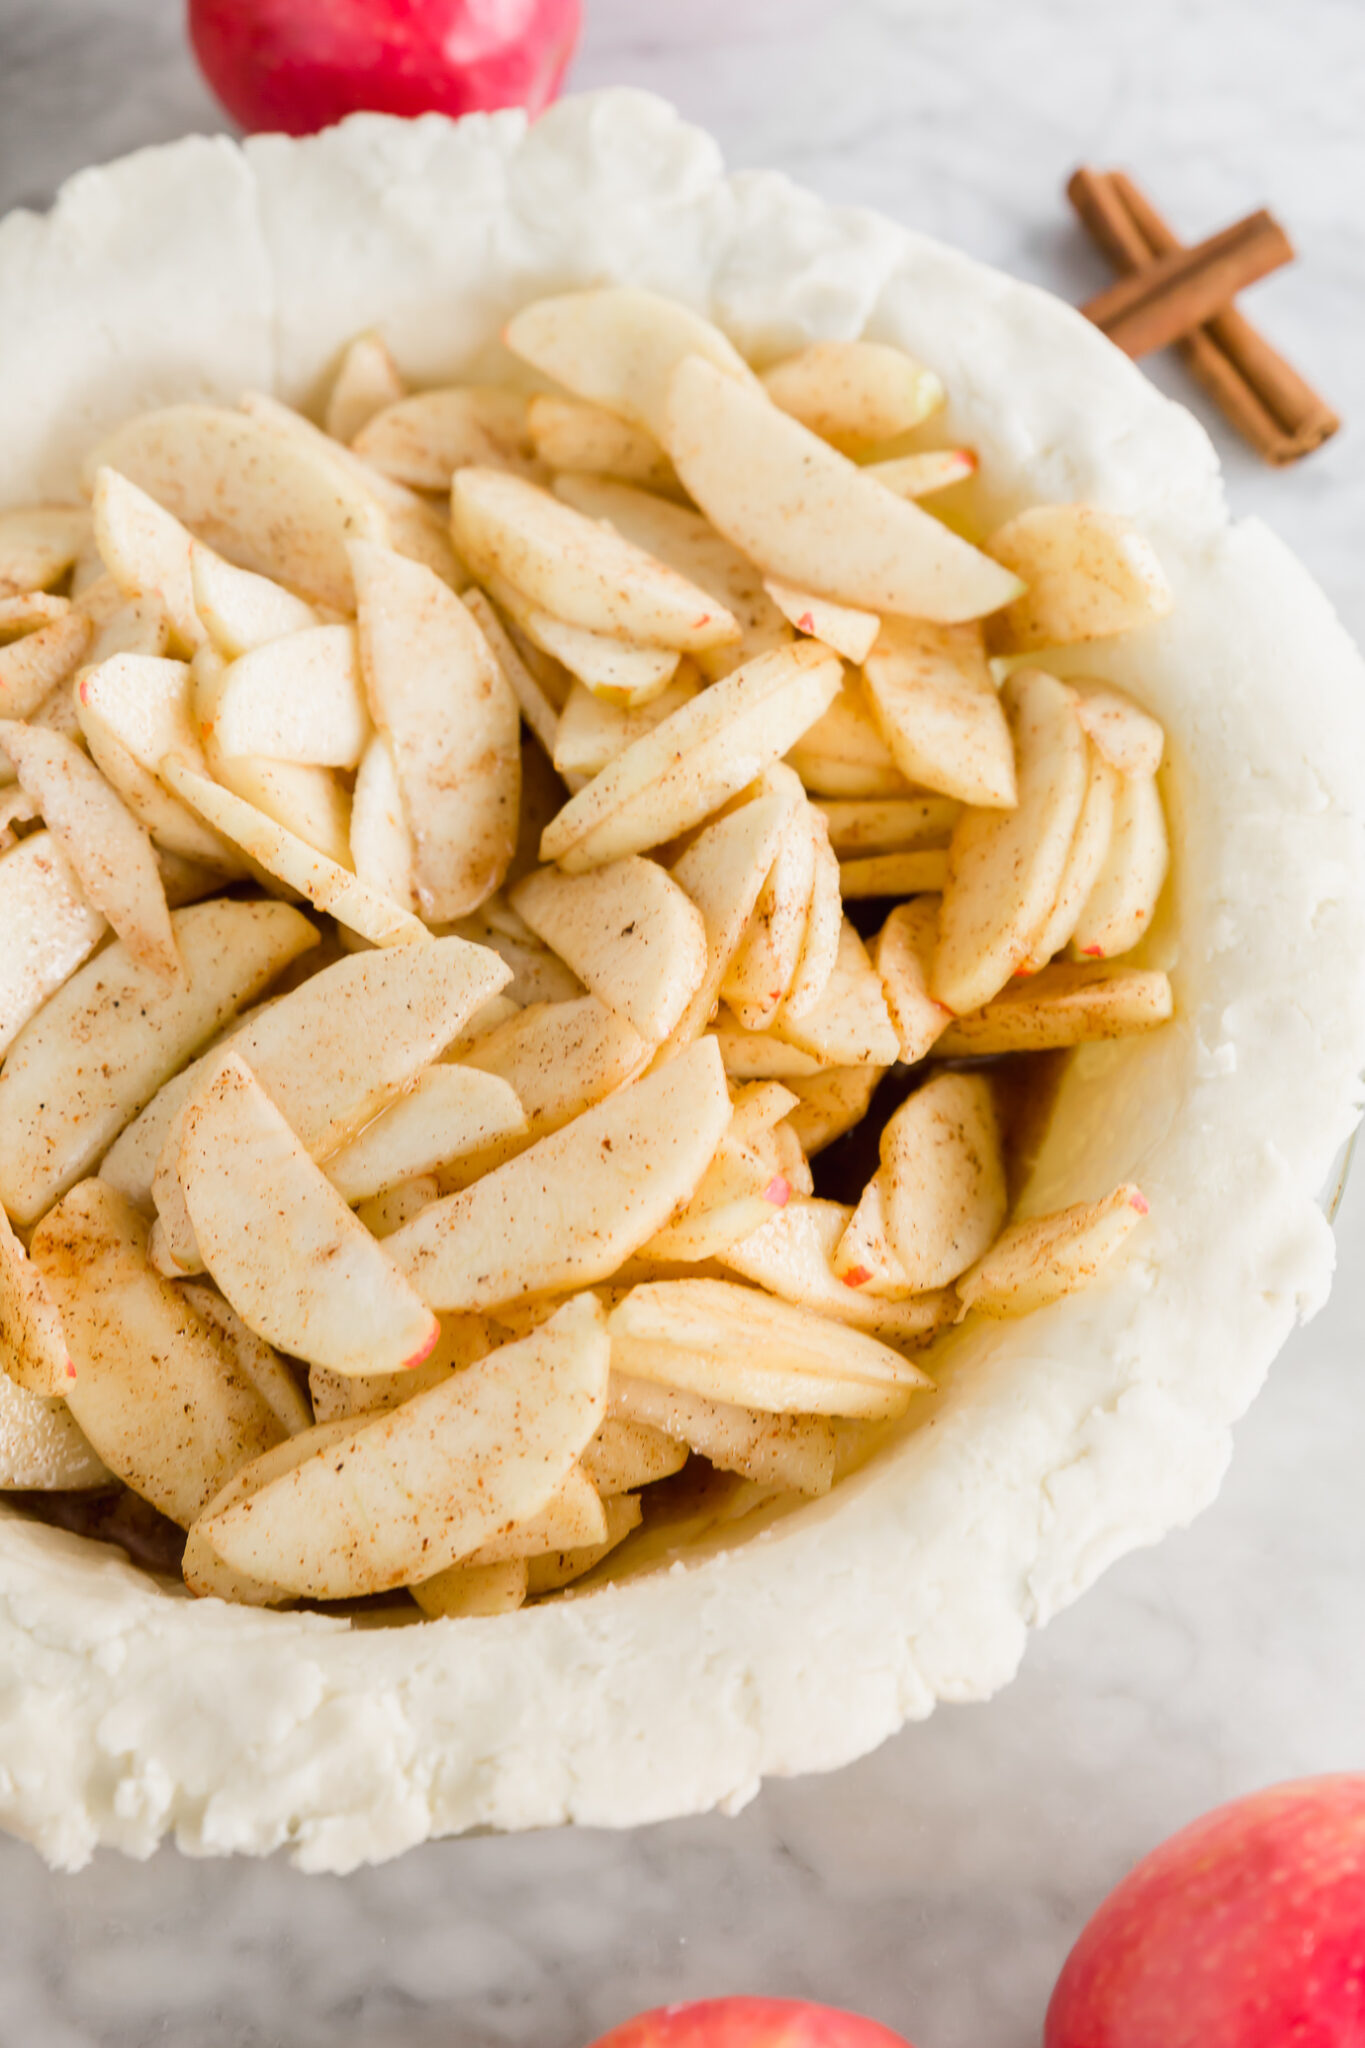
Before covering the apple pie with the top crust, add a few cubes of cold butter to give it an extra buttery flavor. Yum!
Next, add the second piece of pie crust dough to the top of the filling, then roll the edges of the overhanging of the top pie crust under itself until it reaches the pie plate. This will give you a higher crust for crimping. Then crimp the pie crust edges to get your desired look.

Don’t worry if you see a few cracks here and there. It’s normal for gluten-free pie crust to crack. It will look, and more importantly taste, just fine when baked. Add a few of your own slits to the pie using a knife to let air escape during the baking process.
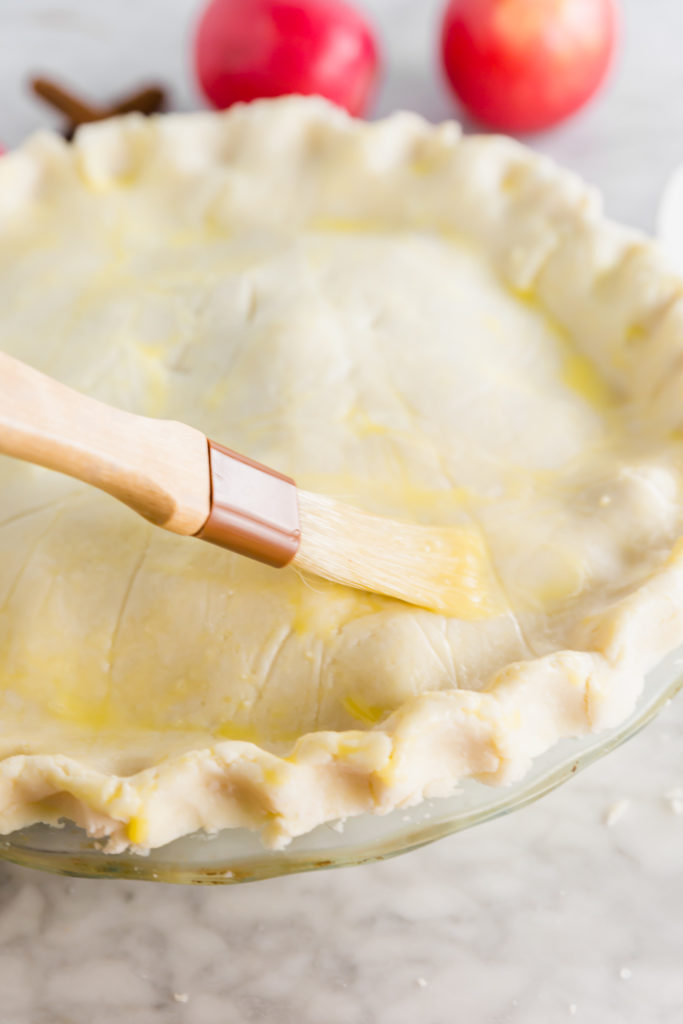
Now you’re ready to brush the pie with an egg wash using a pastry brush to help give the pie a browned sheen once baked. Discard the leftover egg wash.
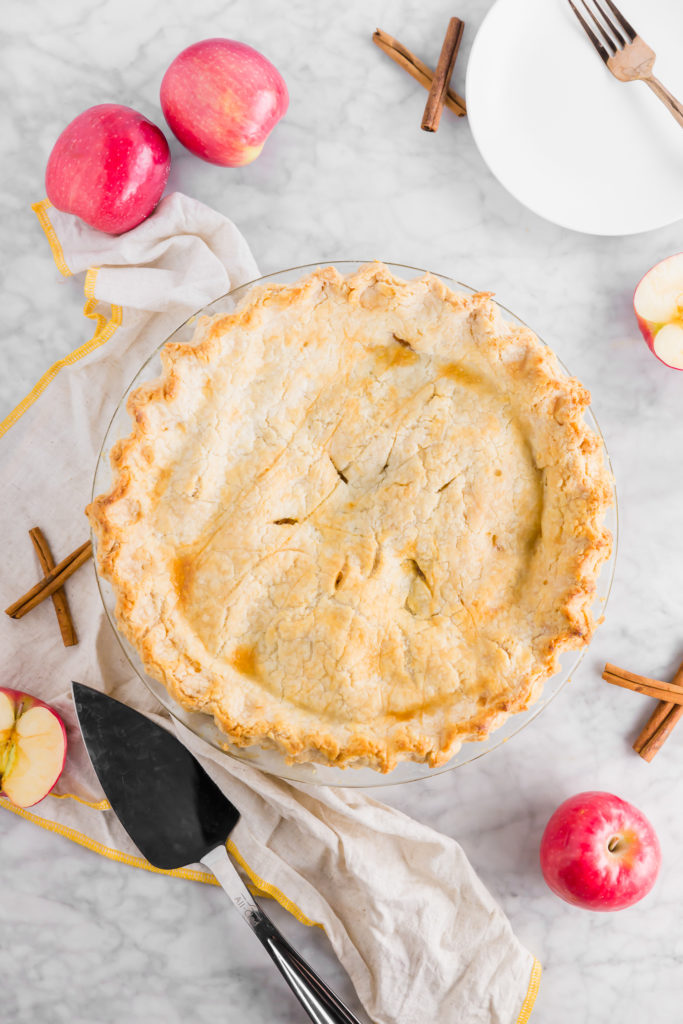
Bake the pie on a baking sheet for 25 minutes on 425º F then reduce heat to 375º F and cook for another 35-45 minutes or until the crust is golden brown and the filling is bubbling. Let the apple pie cool completely before slicing and serving.
Tip! Having troubles? Your pie didn’t turn out quite right? No problem. Scroll to the bottom of this article for some troubleshooting tips.
Are You Down with Pie?
This apple pie recipe is amazing for so many reasons.
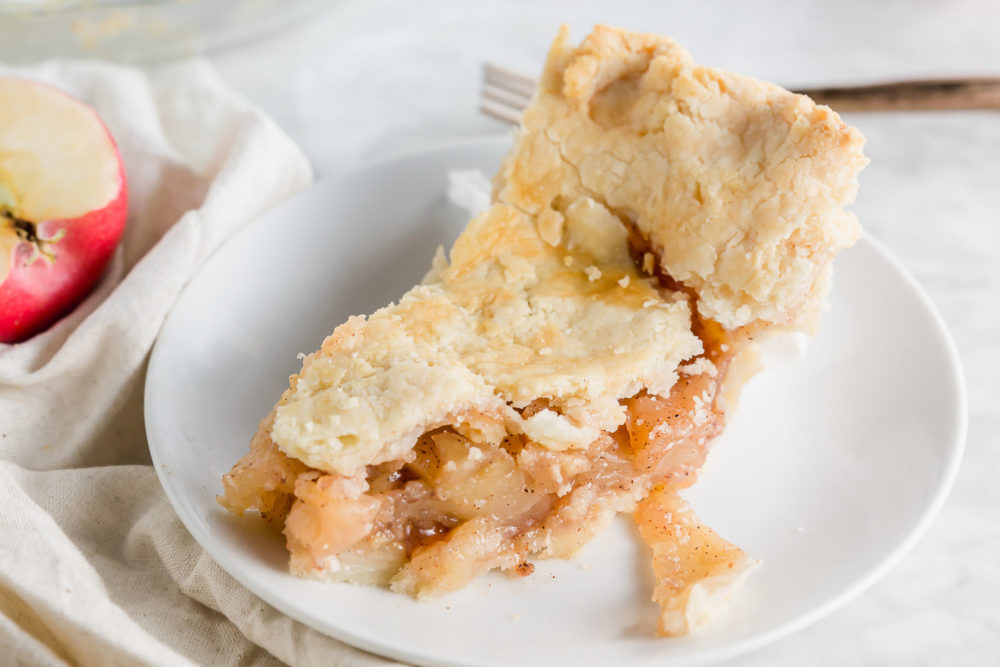
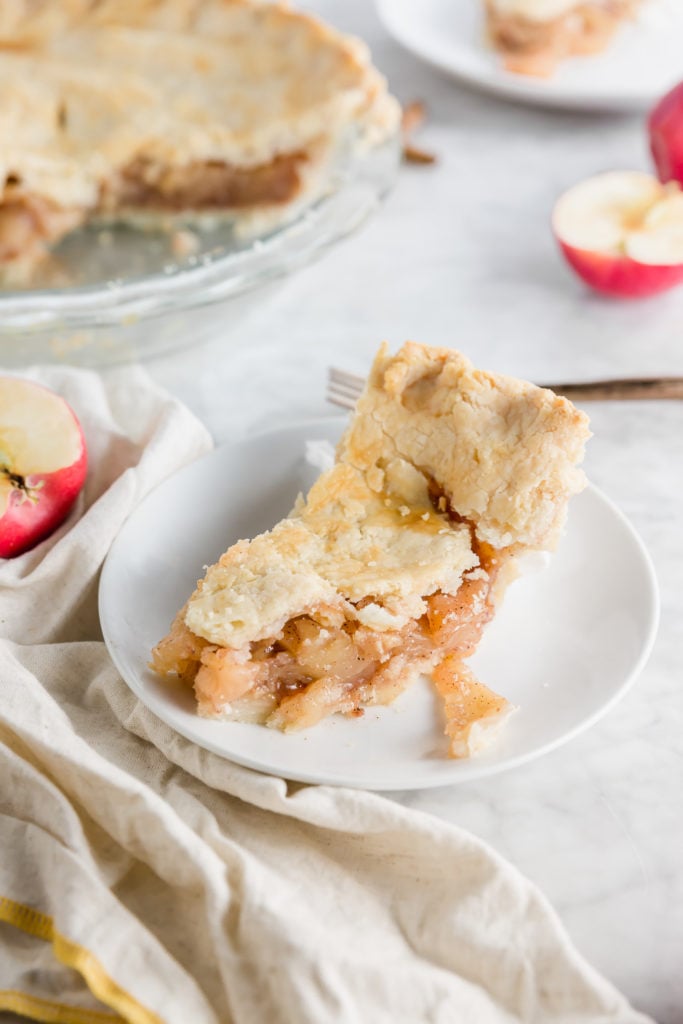
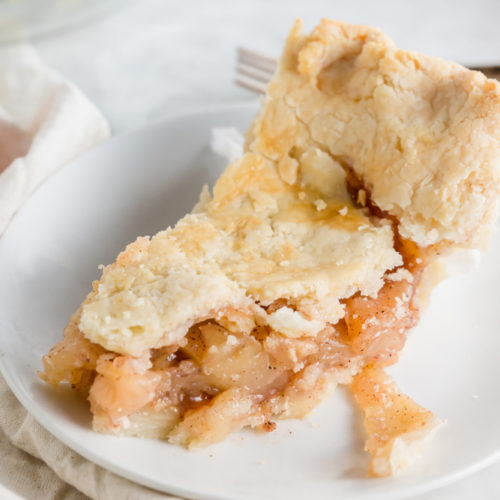
First, the apples come out soft but not mushy, sweet but not too sweet. And of course they’re even a bit buttery. Yum!
Second, OMG, the crust! The crust comes out flaky and doughy. Truly perfect in taste and texture. This pie crust has the mouthfeel and appeal you’ve been looking for all these years. Just look at the gorgeous piece of apple pie!
This Thanksgiving holiday (or any day really), you deserve pie even if you eat gluten-free. And nothing says “Happy Holidays” like a warm, delicious apple pie, sans gluten (of course).
And if you don’t tell your guests it’s gluten-free, they’ll never know the difference.
Don’t make things harder than they need to be. Shop for this miracle gluten-free pie crust mix here and create the perfect gluten-free pie crust for making the best gluten-free apple pie recipe you’ll ever eat!
Troubleshooting the Perfect Pie
This section includes some techniques to help you troubleshoot any potential issues you might run into with assembling the pie crust and baking the pie.
Pie Dough Crumbles: When handling the pie crust dough, simply add more cold water until it comes together nicely when you pinch it. The dough is missing that elasticity that comes when you use gluten and a little more moisture can help hold it all together for better handling.
Pie Dough Breaks: If the dough breaks when you’re adding it to your pie plate, simply use your fingers to press it all together nicely. No one will notice a few cracks here and there if you smooth the dough together with your fingers. It may not look perfect, but it will taste pretty darn close to perfection.
Crust Browning Too Soon: If the top of the crust is browning too fast but the pie isn’t done, cover the pie with aluminum foil and continue baking. This will prevent the top from browning further. It’s important that you babysit your pie and check on it as oven temperatures can vary.
Crust Not Browning: If the pie crust isn’t browning, bake it longer. The pie filling should be bubbling, and the top of the crust golden brown when done. It may need a little more time depending on your oven.
Tip! If you prefer to make a pie without a top pie crust, try my friend Ai’s apple crumble pie. She makes a beautiful pie crust on the bottom and tops it with a sweet crumble instead of a second pie crust.
Happy Thanksgiving!
Need to make a gluten-free dish for Thanksgiving? Try these gluten-free Thanksgiving recipes:
- Gluten-Free Pull-Apart Dinner Rolls
- Gluten-Free Pumpkin Pie
- Savory Gluten-Free Stuffing
- Gluten-Free Cranberry Sauce
- Gluten-Free Turkey Pot Pie
- Easy Gluten-Free Pie Crust Recipe (3 Ingredients!)
- Baked Brie with Walnuts, Pomegranates and Honey
Best Gluten-Free Apple Pie
Equipment
- Food processor or pastry cutter
- Pie plate, 9"
Ingredients
Pie Crust*
- 1 16 oz package of Bob's Red Mill Gluten Free Pie Crust Mix
- 12 Tbsp cold butter cut into small pieces
- 4 Tbsp cold shortening cut into small pieces
- 6-8 Tbsp ice cold water
Apple Pie Filling
- 6 cups honeycrisp apples peeled, cored and thinly sliced, 6-8 medium apples
- 1/2 cup sugar
- 2 Tbsp lemon juice fresh
- 1/2 tsp ground nutmeg
- 1/2 Tbsp cinnamon
- 1/4 tsp salt
- 3 Tbsp cornstarch
- 2 Tbsp Bob’s Red Mill gluten-free flour blend
- 1 Tbsp butter cut into small pieces
Egg Wash
- 1 egg
- 1 Tbsp water
Instructions
For the Pie Crust
- In a food processor, combine the Bob’s Red Mill Gluten-Free Pie Crust Mix, shortening and butter. Pulse 10 times, for 1-second each, until the butter is the size of peas.
- Place the flour/butter mixture in a large bowl. Add the cold water, tablespoon by tablespoon, until the dough is able to be pinched together. If you need additional water, add one tablespoon at a time until your pie dough comes together.
- Cut the dough in half and form into two disks, wrapping each in plastic wrap. Refrigerate the dough discs for at least an hour.
For the Apple Filling
- In a large bowl, mix together sliced apples, sugar, lemon juice, nutmeg, cinnamon, salt and cornstarch.
- Let sit for at least 30 minutes to let the juices release. Set aside until you're ready to assemble the pie.
To Assemble the Pie
- Generously flour a surface or parchment paper with gluten-free flour. Take one of the pie dough portions and roll it out to a round disc that is about 1/8 inch thickness and about 3 inches wider than your pie plate. For example, if your pie plate is 9-inches, you'll want your dough disc to be 12 inches in diameter.
- Repeat with other pie dough portion, keeping the dough, surface and rolling pin generously floured to make sure it does not stick.
- Carefully transfer one of the rolled out pie crusts to a 9-inch pie plate and gently press it into place, being careful not to crack the crust (if you do, just fill in the crust with your fingers). You should have about 1/2 inch overhang of dough.
- Add 2 tablespoons of gluten-free flour over the bottom crust to soak up any additional juices from the filling. Then, pour the apple filling into the crust and add the small pieces of butter to the filling.
- Next, carefully place the other pie crust on top of the filling. Roll the edges of the overhanging pie crust under itself until it reaches the pie plate. This will give you a higher crust for crimping.
- Crimp the pie crust as desired. Make a few slits with a knife in the top crust to let air escape during baking.
Egg Wash
- In a small bowl, whisk together egg and water until combined. Brush the egg wash over the pie crust with a pastry brush. Discard leftover egg wash.
Baking Pie
- Place the pie plate on a baking sheet for easy handling.
- Bake at 425º for 25 minutes, then reduce the temperature to 375º and bake for an additional 35-45 minutes or until the crust is golden brown and the filling is bubbling.
- Let cool completely before slicing and serving. Makes one 9-inch pie.
I made this pie filling yesterday. I used a packaged gluten free pie crust. However, I followed the filling for the pie recipe and it came out fantastic. Maybe the best apple pie I ever made. Everyone loved it.