
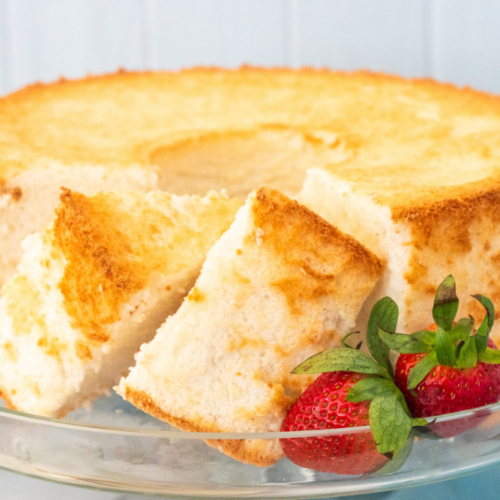
This simple gluten-free angel food cake recipe is airy, light, and beautiful! It’s also delicious. If you miss angel food cake, follow along, and I’ll show you how to make it so it turns out perfect. Get ready to enjoy this quintessential summer dessert with fresh strawberries and whipped cream. Yum! This post contains affiliate links. Please read my disclosures.
I don’t recall the last time I had angel food cake. It was well before I was diagnosed with celiac disease 12+ years ago.
I remember buying the sweet, spongy cake at the supermarket, covering it with fresh-cut strawberries, and dousing it with plenty of sweet whipped cream. It’s an angelic dessert – light, fluffy, airy, and sweet.
If you want to enjoy angel food cake again while following a strict gluten-free diet, I’ll show you how to make it yourself with a few simple ingredients and a popular gluten-free flour blend.
You’ll see that angel food cake gets its shape and texture from whipped egg whites rather than from the proteins found in wheat (aka, gluten!).
So get ready to enjoy angel food cake again. It’s truly a piece of cake to make!

The Ingredients
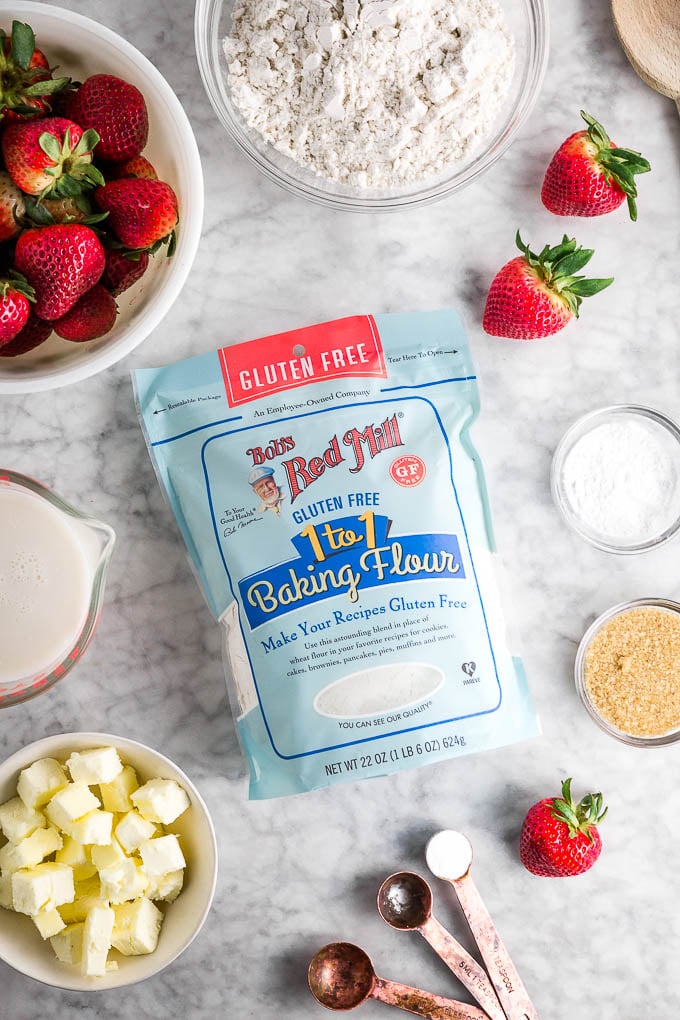
Angel food cake only requires a few simple ingredients, most of which I bet you already have at home. Here’s what you’ll need:
Gluten-Free Flour
While angel food cake doesn’t require a lot of flour, it requires a little bit, and you want to make sure you get this part right.
You can use any gluten-free flour blend that contains xanthan gum, including Better Batter, GF Jules, Hand + Heart Gluten-Free, and more.
I used Bob’s Red Mill 1-to-1 Gluten-Free Flour Blend (in the blue bag), an inexpensive flour blend you can find at most grocery stores across the U.S. It contains a blend of flour, starches, and xanthan gum that work together to mimic the taste and texture of wheat flour.
Egg Whites
You’ll need 12 ounces of egg whites, equivalent to about ten large eggs (whites only). I recommend using fresh egg whites for the best results. You could use egg whites from a carton, but I found they don’t whip as well.
Sugar
You’ll also need granulated sugar for making the meringue (whipped egg whites) and folding it into the batter.
Cream of Tartar
Cream of tartar stabilizes the egg whites and helps to speed up the whipping process. If you want a glossy meringue, you’ll want to add a little cream of tartar to the mixture.
Lemon Juice
A little lemon juice won’t flavor the meringue, but its acidity will help stabilize the whipped egg whites. For the best results, I recommend using fresh-squeezed lemon juice.
Salt
A little salt will enhance the meringue’s overall flavor and cake.
Vanilla Extract
Vanilla will enhance the overall flavor of the cake. Please don’t skip it.

How to Make Gluten-Free Angel Food Cake
Follow these simple steps to make gluten-free angel food cake at home. You’ll impress your guests and enjoy digging into this nostalgic treat!
Step #1: Whip the Egg Whites
Start by whipping the egg whites into weak peaks using the whisk attachment of a standing mixer for about one minute.

I highly recommend using real eggs instead of store-bought egg whites for the best results. The yolks will be wasted, but the cake will have a greater chance of success with fresh egg whites.
Add the salt, cream of tartar, lemon juice, and vanilla to the egg whites and continue mixing at medium to high speed for another minute.
Slowly add 3/4 cup of sugar while the mixer is on and mix for another 1-2 minutes until the egg whites form weak peaks and the mixture is pourable. Do not overmix. Stiff peaks will affect the cake’s ability to rise. You want weak peaks that are still pourable. Remove the bowl from the mixer.
The perfect whipped egg whites should hold weak peaks and be pourable. This is how you know you mixed them correctly.

Step #2: Fold in the Remaining Sugar and Flour
Slowly sift the flour and 3/4 cup of sugar directly over the egg white mixture. You’ll want to add the mixture 1/4 cup at a time so as not to overwhelm the whipped egg whites at one time.

Using a spatula, gently fold the flour-sugar mixture into the egg-white mixture until all flour is incorporated into the batter. Do not overmix.
NOTE: Sifting the flour mixture directly over the top of the meringue and gently incorporating/folding in the flour will decrease the risk of the cake deflating when baked.
Step #3: Pour the Batter into the Cake Pan
Pour the batter into a non-stick angel food cake pan (this is the exact pan I use). It’s a round pan with a hole in the center and a detachable bottom. The carved-out center gives the cake more surface area to cling to as it rises.

Be sure to use an angel food cake pan. It’s essential for several reasons:
- The shape allows the cake to rise and bake evenly, with air circulating the entire cake.
- The pan is made of aluminum or other lightweight materials that allow the cake to rise without collapsing under its weight, which could happen with heavier pans.
- Their non-stick coating makes removing the cake from the pan easy once it’s baked. Angel food cake is delicate and can easily stick to the sides of the pan.
- Some angel food cake pans also have feet at the bottom, which allows air to circulate under the pan when it’s inverted after baking. This helps the cake cool evenly and prevents it from collapsing. If your pan doesn’t have feet, turn it onto a cooling rack, allowing air to circulate under it as it cools.

Do NOT grease an angel food cake pan when making an angel food cake! The cake needs plenty of surface area to “grab” onto as it rises in the oven.
Step #4: Bake and Cool
Bake the cake in a 350º F preheated oven for about 35-40 minutes or until a toothpick inserted into the center comes out clean.
Immediately invert the cake onto a cooling rack to cool.

Please note that the cake will not fall onto the rack; air will circulate through it and cool it evenly, and it may slowly inch down the pan.
As the cake cools, it eventually falls onto the cooling rack, but if it doesn’t, you can gently and evenly push the middle of the angel food cake pan down to loosen the cake from the pan. I recommend pushing the cake over your final serving tray so you don’t have to transfer it later.

Step #5: Serve and Enjoy
Be sure to use a serrated knife when cutting angel food cake. Straight, sharp edges compress and squish the cake, whereas a serrated knife gently punctures the cake and offers perfectly fluffy slices. Use a back-and-forth motion when cutting the cake to ensure fluffy (not flattened) pieces.

I highly recommend enjoying the cake with strawberries and whipped cream. Blueberries, blackberries, and raspberries work well, too, and all feel very summery and light.

FAQs
Pan: I highly recommend investing in an angel food cake pan. An angel food cake pan is a large bundt-like pan with a detachable bottom and a hole in the center. You could also use a large springform pan with an oven-safe glass inserted in the center.
Measuring Flour: How you measure flour really makes a big difference in the results. Four ounces of flour is equivalent to 2/3 cup plus two tablespoons using the “fork, spoon, knife” method.
The method goes as follows: Mix the flour with a fork, then spoon it into a measuring cup, and then level it off with a knife. Measuring by weight is the most accurate, but if you don’t have a scale, use the “fork, spoon, knife” method for the best results.
Eggs: You’ll get better results when you use egg whites from actual eggs vs. store-bought egg whites from a carton.
Is there an Egg-Free Version of Angel Food Cake? I haven’t made this cake without eggs, and to be honest, egg whites are a crucial ingredient. I recommend Googling “Vegan Angel Food Cake.” You might be able to use an egg-white replacement or aquafaba.
Whipping Tips: The egg whites should be whipped to perfection. Over-whipping or under-whipping could affect the rise of the cake. Whip the egg whites over medium speed until you achieve weak peaks that are still pourable. The cake’s ability to rise will be impacted if the peaks are too stiff.
Do NOT grease the pan. Greasing the pan will cause the cake to fall out of the pan too quickly when inverted to cool. It will immediately inflate, and you won’t have a light and airy cake. You also want to allow the cake to rise (in the oven) by crawling up the sides of the pan, which it can’t do if you grease the pan.
Storing leftovers: Cover the cake with cling wrap and store it in the fridge. You can also freeze it and defrost it to room temperature before serving.
Pin Me
If you enjoyed this article, please share this image on Pinterest. Thank you!

More Recipes
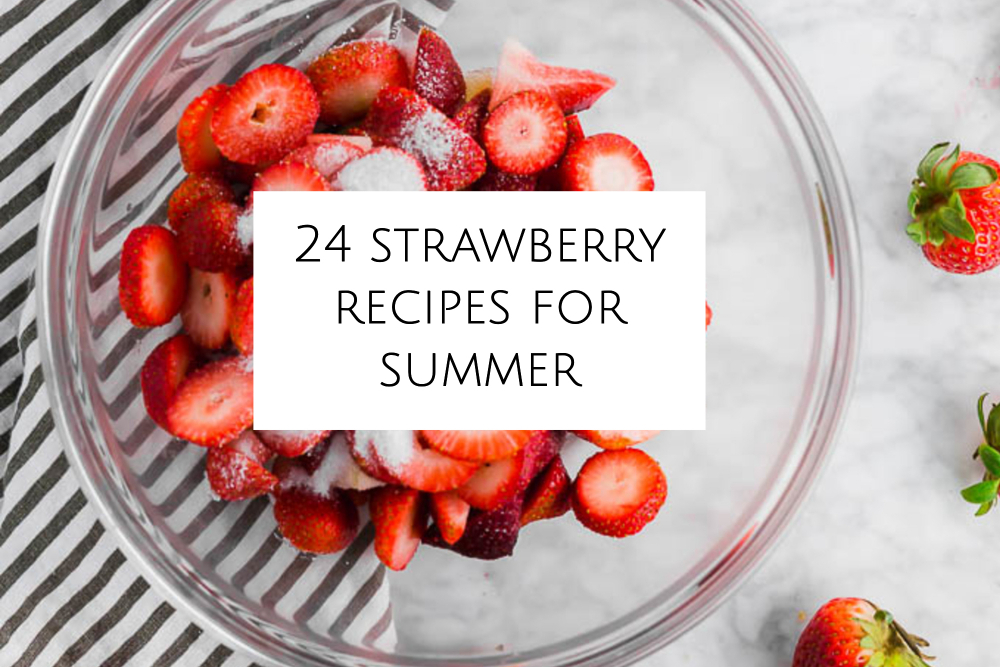
Are you looking for more recipes featuring delicious strawberries? Check out my article, 24 Amazing and Gluten-Free Strawberry Recipes.
Strawberry Chia Jam: This homemade strawberry chia jam is addictive and has a lovely taste and texture.

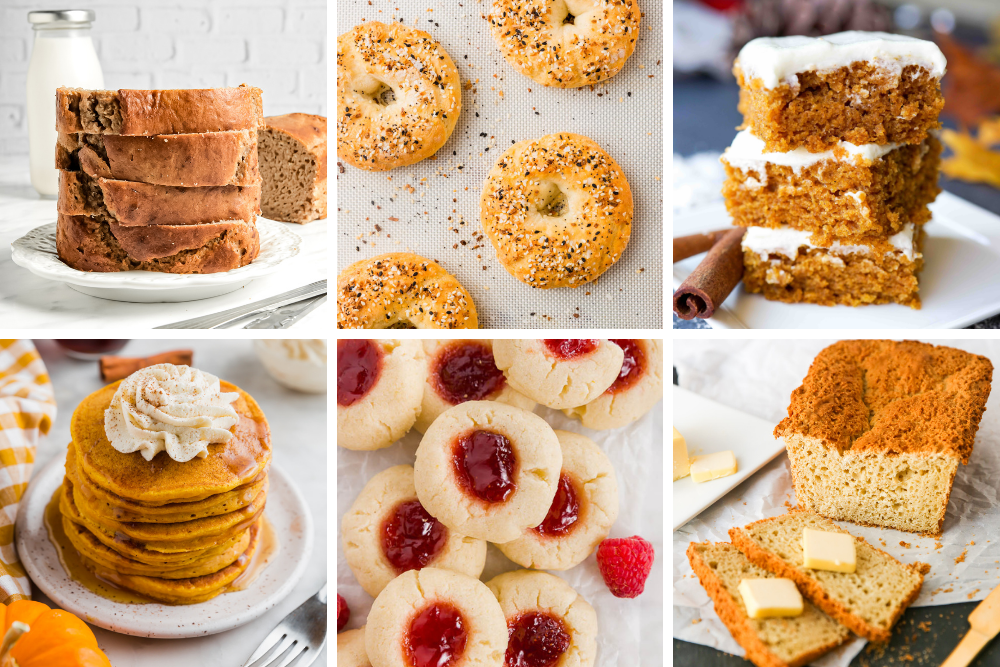
More Recipes with Bob’s Red Mill: I’ve created 23 Classic Bob’s Red Mill Gluten-Free Flour Recipes for your viewing pleasure.
Gluten-Free Angel Food Cake
Equipment
- 1 9" angel food cake pan see notes
- 1 standing or handheld mixer with whisk attachment
Ingredients
Step #1
- 12 ounces egg whites about 10 large eggs
Step #2
- 1/2 tsp salt
- 1/2 tsp cream of tartar
- 1 tbsp lemon juice fresh squeezed
- 1 tsp vanilla extract
- 3/4 cup granulated sugar 6 ounces
Step #3
- 4 ounces Bob’s Red Mill 1-to-1 gluten-free flour blend This is equivalent to 2/3 cup plus two tablespoons using the "fork, spoon, knife" method. SEE NOTES for tips for correctly measuring flour.
- 3/4 cup granulated sugar 6 ounces
Toppings
- strawberries optional
- whipped cream optional
Instructions
- Preheat the oven to 350º F and have your 9" non-stick angel food cake pan ready. Do NOT grease the pan.
Step #1
- Add 12 ounces of egg whites to a large bowl attached to your standing mixer (or use your hand mixer) using the whisk attachment. Mix the egg whites on medium speed for one minute.
Step #2
- Add the salt, cream of tartar, lemon juice, and vanilla to the egg whites and continue mixing at medium-high speed for another minute.
- Slowly add 3/4 cup of sugar while the mixer is on and mix for another 1-2 minutes until the egg whites form weak peaks and the mixture is pourable. Do not overmix. Stiff peaks will affect the cake's ability to rise. You want weak peaks that are still pourable. Remove the bowl from the mixer.
Step #3
- Slowly sift together the flour and 3/4 cup of sugar directly over the egg white mixture, adding about 1/4 cup of the mixture at a time. Using a spatula, gently fold the flour-sugar mixture into the egg-white mixture until all of the flour is incorporated into the batter. Do not overmix.NOTE: Sifting the flour mixture directly over the top of the meringue and gently incorporating/folding in the flour will decrease the risk of the cake deflating when baked.
Step #4
- Pour the mixture into the angel food cake pan. Again, do NOT grease the pan.
- Add the cake to the oven and bake for 35-40 minutes until a toothpick inserted into the center comes out clean.
- Remove the cake from the oven and immediately invert it onto a cooling rack. (If you don't invert the cake immediately, it may start to deflate.)The cake will not budge when flipped; rather, as it cools, it will slowly move down the pan. Allow the cake to cool for 2+ hours in the inverted position before lightly pressing the detachable centerpiece down to wiggle it from the pan. Be gentle. Before removing the top piece of the pan from the cake, use a flat spatula or knife to loosen it gently.
Step #5
- Cut the cake with a serrated knife to ensure you get fluffy pieces. The cake is very airy and delicate and will flatten if you cut it too agressively. Gently cut each piece with a serrated knife using a back-and-forth motion.
- Serve with fresh strawberries and whipped cream. Enjoy!
My mom’s angel food cakes usually rose above the top of the pan so she couldn’t cool them on a wire rack, and the legs on her pan weren’t long enough. She cooled her angel food cakes upside down on top of a glass soda/pop bottle. Her cakes never fell out of the pan as they cooled, and neither have mine. We’ve always had to loosen the edges and coax them out gently. Also, no need to waste all the egg yolks–they can be used in homemade pudding; if you have any cake left over make a trifle with the cake and the pudding! Some cookie recipes also call for an egg yolk. Google “what to do with leftover egg yolks.” You can also Google “how to store (or freeze) leftover egg yolks.
So happy I found this recipe! I didn’t think I’d have angel food cake ever again! Will definitely make this again and again!
I have been gluten free and milk (no not lactose intolerant) since 1973. I found a LONG time ago to use the correct rice flour and all I do is change rice flour for the wheat flour and it is fine. Unless someone knows me well enough to know I have never bought flour (wheat) they have absolutely no idea they are eating gluten free. But I must admit, I have had bakers that “know what they are doing” back things for me with me supplying the flour and it tastes like crap and I throw it away. Because they know you have to have a “gluten free” recipe. These people that “know” will also tell you that oats are not gluten – my gut tells me they are wrong, painfully too. If someonejust has a problem with wheat they can have oats but a true gluten allergy you do not want oats. Glad to see so much out of rice and almond. For YEARS spaghetti was rice for me now I have noodles, but as with the flour I am very picky as to what brand I will buy.
I don’t have nutrition information available at this time.
Do you know how many carbs per serving?