This post is for my gluten-free pan-fried chicken and contains affiliate links. Please see my disclosures.
One of the most versatile recipes you can make for dinner is pan-fried chicken breasts. In fact, I’d venture to say I make this recipe at least once per week!
Today, I’m going to share with you just how easy this recipe is to make, as well as share with you some gluten-free breadcrumb options worth trying.
Gluten-Free Breadcrumb Options
There are two gluten-free breadcrumbs that I find myself using when I make this gluten-free pan-fried chicken breast recipe.
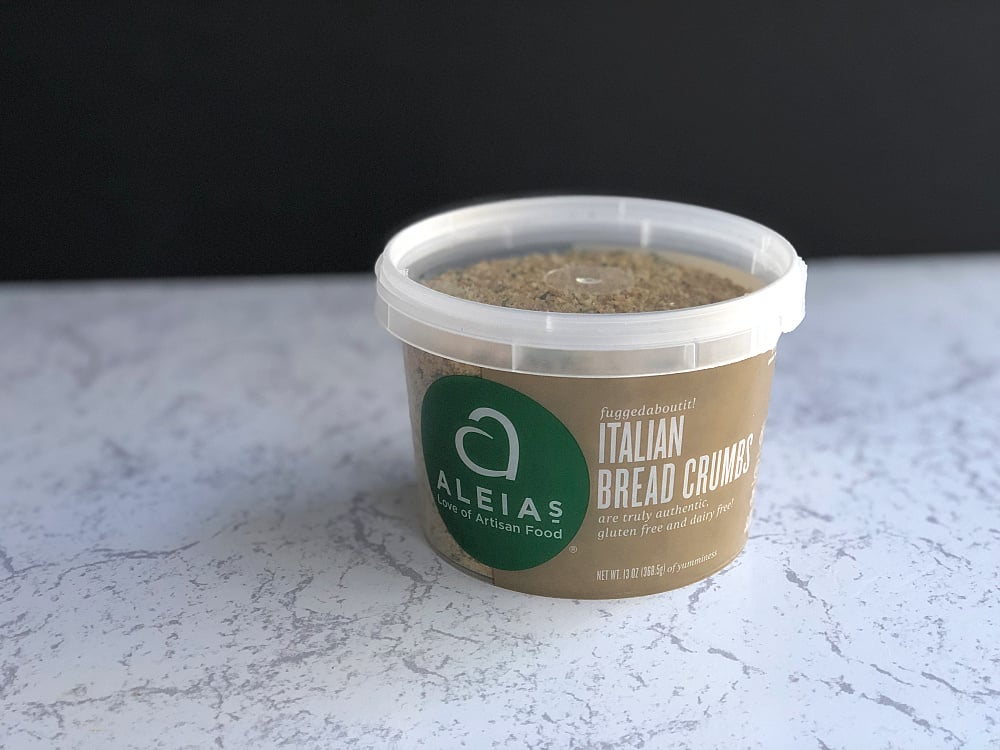
The first brand is Aleia’s Gluten-Free Panko Crumbs (both original and Italian seasoned). I find that these breadcrumbs hold well to the chicken and come out nice and crispy when fried in a little oil. I also love that Aleia’s is a dedicated gluten-free company.
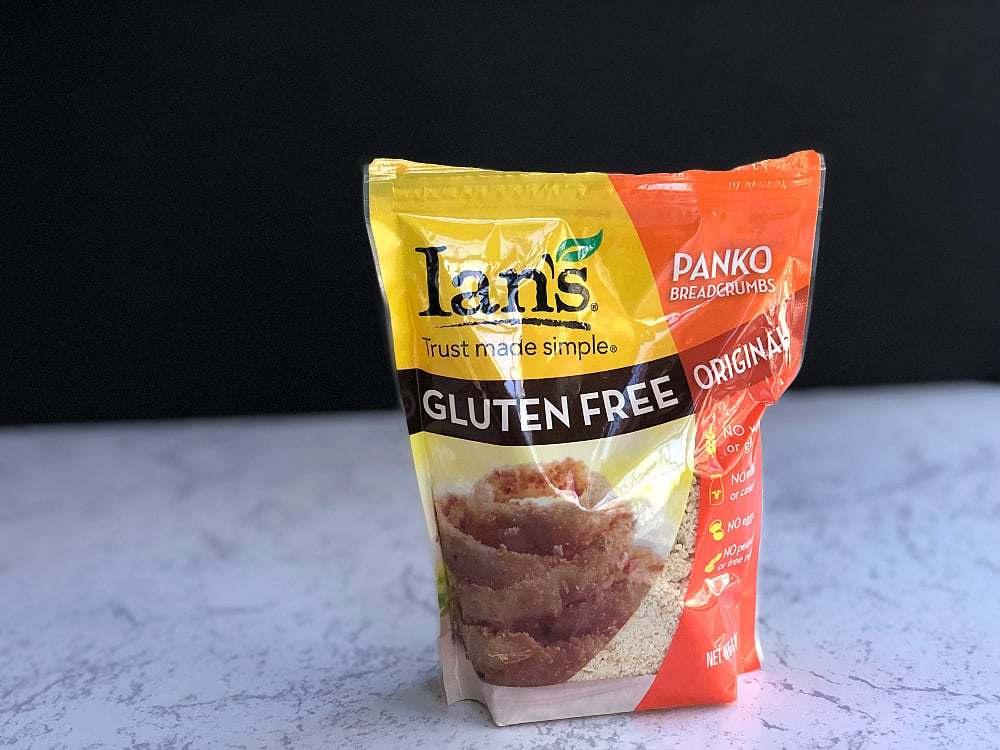
The second breadcrumb brand I like, and use is Ian’s (both original and Italian style). Ian’s is more widely available than Aleia’s and a good option.
Please note that Ian’s makes regular (wheat-based) breadcrumbs as well, so be sure to purchase only the bags marked “gluten-free.” The packaging looks almost identical, and this is not a mistake you want to make!
I’m sure there are other gluten-free breadcrumb options, so please leave a comment if there is another brand you think I should try… and if I like it, I will add them to this article!
How to Make Gluten-Free Pan-Fried Chicken Breasts
This recipe is so super easy that I sometimes can’t believe I’m calling it a recipe. Alas, I have learned that few people know how to make basic pan-fried chicken breasts the right way, so I’ve decided to create this post to teach one of my favorite and most basic recipes.
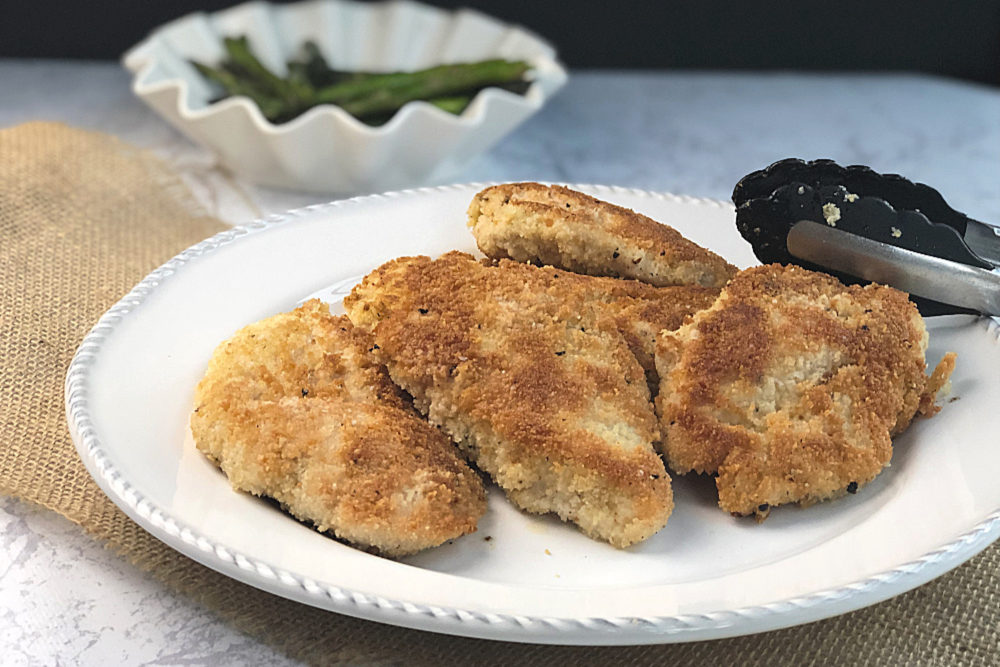
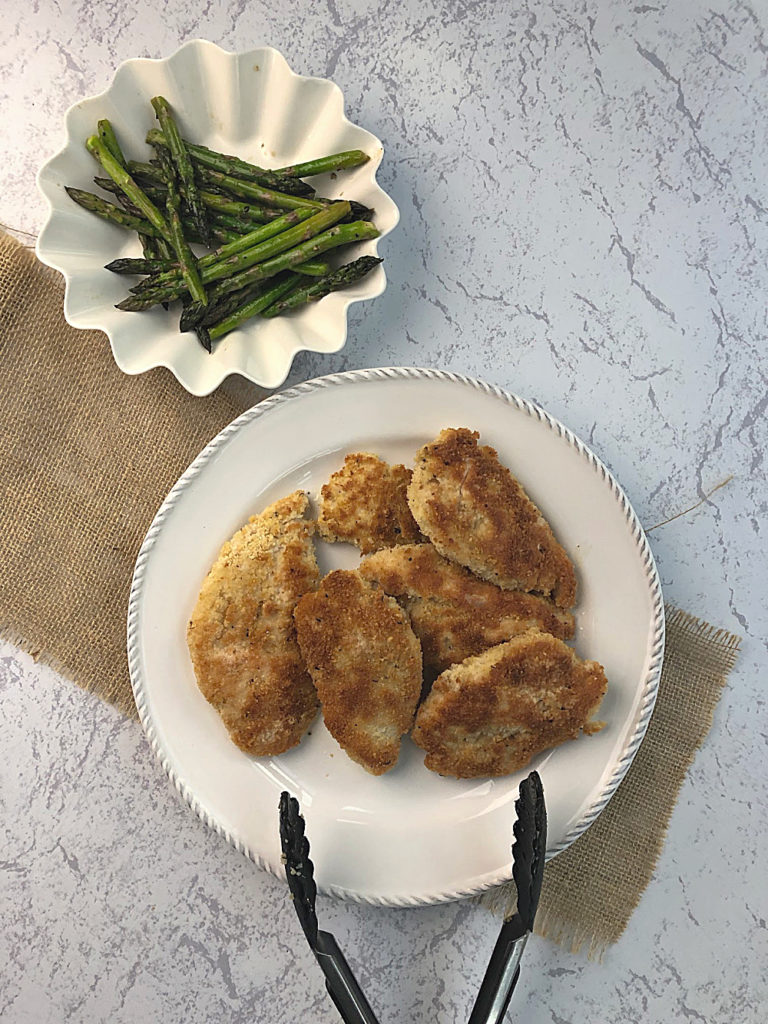
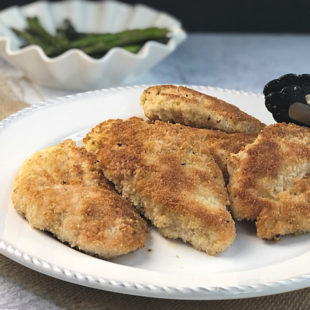
When you make gluten-free pan-fried chicken the right way, you are left with a crispy, slightly browned coating and a juicy chicken inside.
And it’s really easy to do.
The first thing you want to do is prepare the chicken breasts just right. When you buy chicken breasts at the store, they are often so darn thick. This won’t work. You want to slice each chicken breast in half, right down the middle horizontally, so you have two evenly sized breasts.
Alternatively, you can pound the chicken until it’s thin and then cut the breast into smaller pieces.
Either method will work to ensure you have nice, evenly-sized chicken breasts from the start.
The reason for using thin chicken breasts is simple. When the chicken is too thick, the outside gets burned and the inside is still pink. You then end up frying the chicken longer and burning the breadcrumbs. Not good.
Plus, in addition to cooking more evenly, thinner chicken breasts will cook up quickly, too so you’re not slaving over the stovetop longer than needed.
(If you’re advanced at cooking chicken, you can lightly salt both sides of the chicken breasts and allow them to sit for 1 hour – or longer – before cooking. I learned this method in a book called Salt Fat Acid Heat: Mastering the Elements of Good Cooking. The chicken comes out a bit juicier when it’s pre-salted. I usually forget, though.)
In addition to having evenly sized chicken breasts, you want to use an egg as the first coat of the chicken. It will help the breadcrumbs stick to the chicken breast. Don’t substitute another liquid.
A few years ago, I didn’t have any eggs, and I substituted water. The chicken turned out so rubbery and awful! Water reacts with the heat in the pan and cooks the chicken on the outside way faster than on the inside. Just think of when you put something wet into the pan… it cooks so fast, as evidenced by the sizzling. Stick with eggs. Trust me.
Furthermore, you’ll want to season your breadcrumbs nicely. You can purchase Italian seasoned breadcrumbs or add a little garlic powder, onion powder, dried Italian herbs, Kosher salt, and pepper to a plain gluten-free panko breadcrumb mixture. The seasoning adds a nice touch.
If you’re making a spicy, Mexican-style meal, season your breadcrumbs with chili powder and cumin instead!
The final key to pan-frying chicken is to use a non-stick pan with a nice coating of avocado oil. Remember to use avocado oil or another high-heat oil. Otherwise, you’ll be cooking with a carcinogen oil (read more about why cooking oils matter in this post). I almost exclusively use avocado oil for all my high-heat cooking and baking.
Commence Frying
Roll each chicken breast through the egg and then the breadcrumb mixture. Add each piece to your pan, leaving plenty of space around each breast. Do not overcrowd the pan.
While the chicken is cooking, spray the top of each chicken breast with Chosen Foods avocado oil spray, this way, the top gets a little oil to help it fry and lightly brown. You can use any cooking spray you like, or add more avocado oil to the pan once you flip the chicken.
After about 3-4 minutes, flip the chicken and cook for another 3-4 minutes.
You can test for doneness by cutting into the thickest part of one of the breasts. Make sure there is no pink and that the juices run clear.
Remember When I Said Versatile?
This pan-fried chicken breast recipe is so versatile you can use it for a variety of dishes:
- Top each breast with jarred marinara sauce and shredded mozzarella cheese for chicken parmesan.
- Cover each breast with jarred salsa for a Mexican-style chicken.
- Cut each breast into strips and serve over a salad.
- Top it with lemon sauce and capers for a variant of lemon piccata chicken.
- Cut the chicken breasts (before frying) into strips or nuggets for a fun chicken strip or chicken nuggets meal.
- Simply serve the chicken alongside some rice and vegetables (along with some ketchup or BBQ sauce) for a quick weeknight meal everyone loves.
As you can see, the options are endless once you have mastered the pan-fried chicken breast recipe.
So without further ado, here is how you, too, can make this staple and winner-winner chicken dinner. Enjoy!
Gluten-Free Pan Fried Chicken
Ingredients
- 1 lb organic chicken breasts
- 1 egg
- 1 cup gluten-free Italian breadcrumbs be sure to season them with seasonings of choice
- 4 Tbsp Chosen Foods avocado oil
- 1 spray Chosen Foods avocado oil spray
Instructions
- Either pound chicken into 1/2 inch thick breasts or slice each breast in half horizontally so it is about 1/2 inch thick.
- In a bowl, blend an egg. In a separate bowl, add GF breadcrumbs (and other seasonings of choice like garlic powder, onion powder, Italian seasonings, Kosher salt and pepper).
- Heat avocado oil in a large non-stick pan over medium high heat.
- Dip each chicken breast first into the egg mixture, then coat with breadcrumbs, then add to hot oil in pan. Continue doing this until all chicken pieces are added to the pan. Do not overcrowd the pan. Work in batches if needed.
- Coat tops of chicken with avocado oil cooking spray.
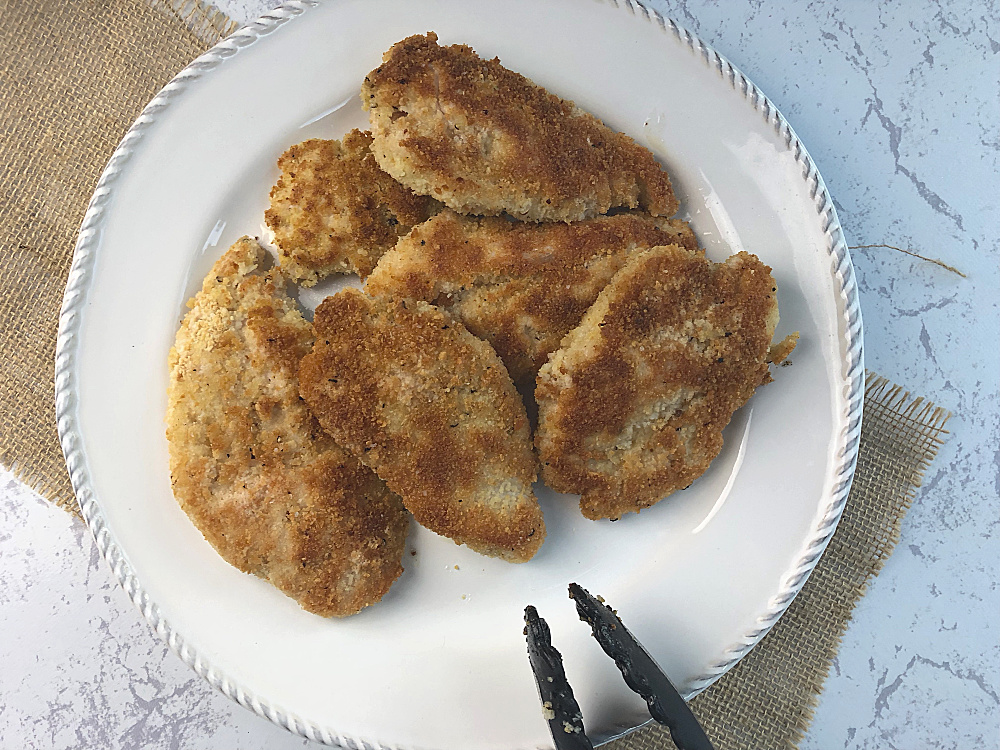
- Flip chicken after about 4-5 minutes or until breadcrumbs start to brown. Lower heat if the breadcrumbs start burning. Cook on reverse side for another 4-5 minutes until done. Test for doneness by cutting into a thick part of one of the breasts. There should be no pink and juices should run clear.
- Transfer chicken breasts to serving dish and enjoy!
Leave a Comment