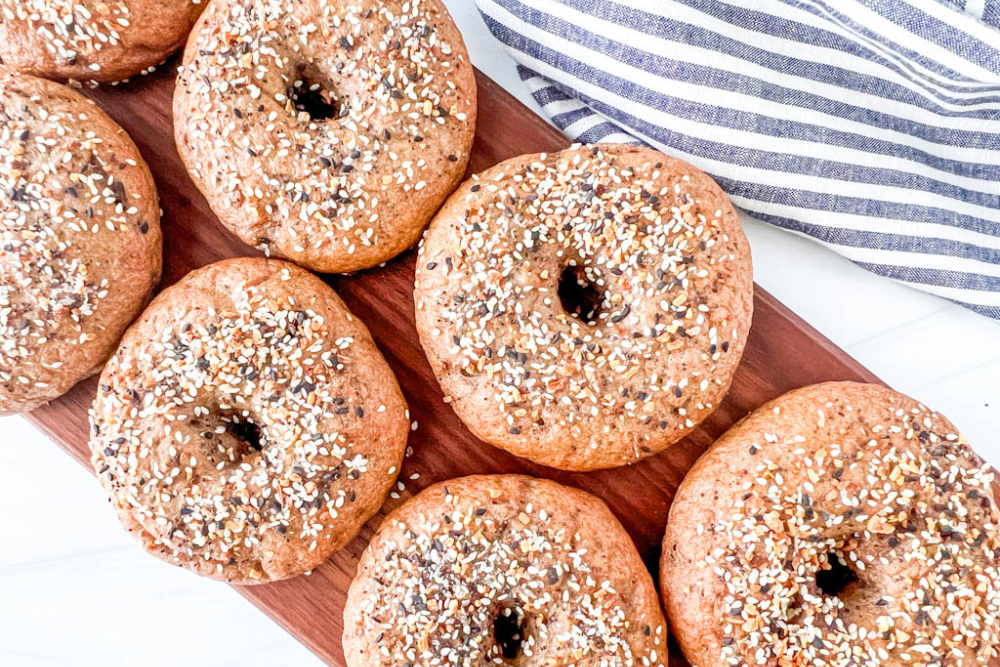
Do you love a good New York-style bagel but can’t eat gluten? If so, get ready to make and eat an authentic gluten-free New York-style bagel worth bragging about. This bagel recipe offers the beloved chewy texture and doughy center reminiscent of an authentic New York bagel. This post is sponsored by Hand + Heart Gluten Free (formerly Lorraine’s Gluten-Free) and contains affiliate links. Please see my disclosures.
My family is from New York, so I grew up eating New York bagels. New York bagels are known for their intoxicating aroma, shiny, golden brown crust, and soft and doughy center. Authentic, high-quality New York bagels also have a signature chewiness you don’t find with other bagels, especially gluten-free bagels.
New York bagels come with various toppings, including sesame seeds, poppy seeds, or onion, or they’re often enjoyed plain. However you top it, a New York bagel will always taste great with a cream cheese schmear on top!
If you have celiac disease, non-celiac gluten sensitivity, or gluten intolerance, you might be thinking you’d like to experience the joy of a New York-style bagel, but there’s no way you can eat one made without gluten, a protein found in wheat, barley, and rye. Traditional bagels made with wheat flour are off-limits to anyone following a strict gluten-free diet.
But thanks to the new Hand + Heart Gluten Free Artisan flour blend, bagel lovers can make a gluten-free New York bagel that tastes pretty darn close to the real thing. These hearty, flavorful, and satisfying gluten-free bagels will bring back the joy of eating bagels again, whether you’re a New Yorker or just enjoy good food.
Please note that Lorraine Fagela, the founder of Hand + Heart Gluten Free (formerly Lorraine’s Gluten Free), provided this well-tested recipe that I’m going to show you how to make today.

Ingredients
Before I show you how to make a delicious, gluten-free New York-style bagel, let’s review the all-important ingredient list.
Gluten-Free Flour: You need to use the right kind of flour for this job, and I don’t recommend using a one-to-one gluten-free flour blend. Most one-to-one gluten-free flour blends are not recommended for making bread and other yeast-risen baked goods.
Instead, I recommend using the new Artisan Blend from Hand + Heart Gluten-Free. The mix is gluten-free, wheat-free, and grain-free, as it’s made from a combination of buckwheat flour, potato starch, tapioca starch (aka tapioca flour), potato flour, and psyllium husk. You can only order it online.
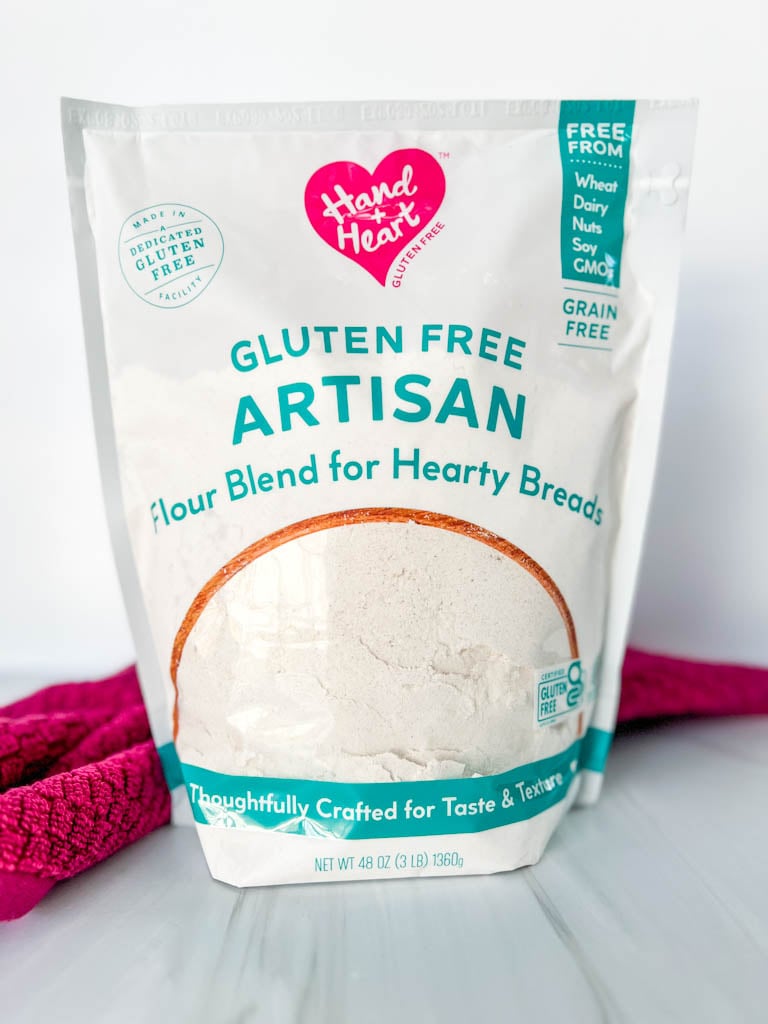
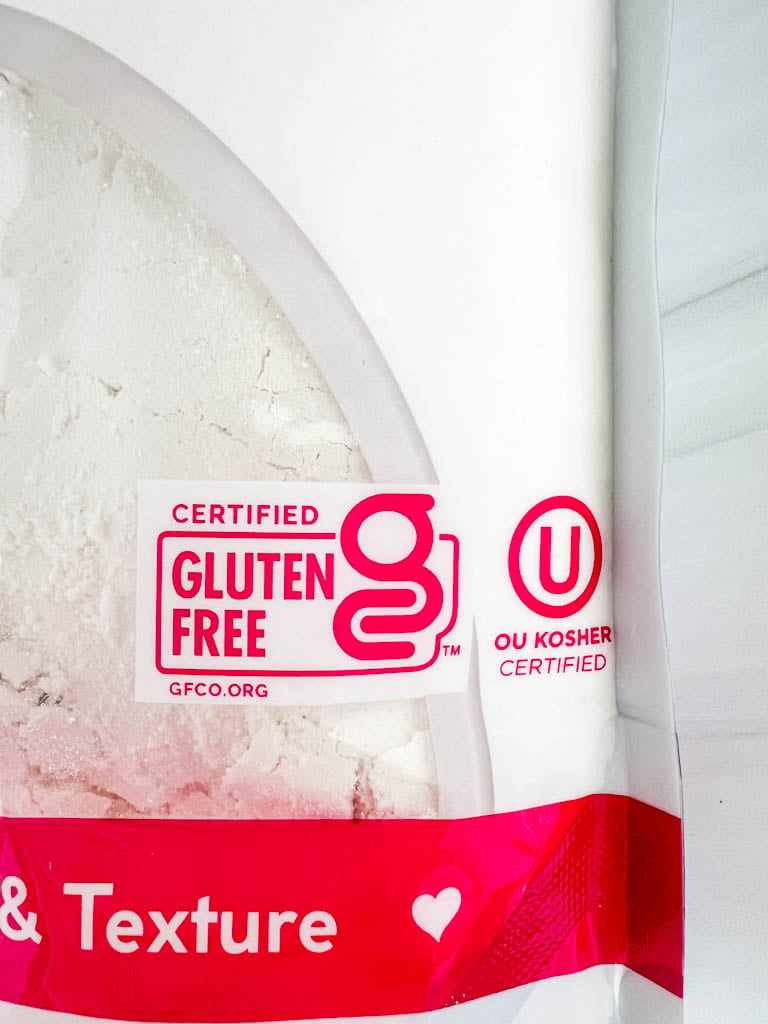
Please note that Hand + Heart was formerly known as Lorraine’s Gluten Free. In January 2024, the company underwent a major rebranding with new packaging, products, and certifications. All Hand + Heart products are now certified gluten-free by the GFCO and OU Kosher-certified.
Salt: This recipe requires two teaspoons of salt and is necessary for adding flavor and structure.
Yeast: These are yeast-risen bagels, so you’ll need 2¼ teaspoons of active dry yeast to help them puff up.
Water: Warm water (about 110º F) will help to activate the yeast and add moisture to the bagels.
Honey: This recipe requires one tablespoon of honey, agave nectar, or maple syrup. I use raw local honey. Using honey or another sweetener is essential. It adds a touch of sweetness to your bagels and helps the yeast bloom, ensuring a good rise.
Vegetable Oil: You’ll need two tablespoons of vegetable oil (I used avocado oil), which adds moisture and fat to the bagel dough.
Topping(s): You can enjoy the bagels plain or top them with sesame seeds, onion flakes, poppy seeds, or the proverbial favorite, Everything But the Bagel Seasoning.
Water Bath: You’ll also need a few ingredients for the water bath, including water, brown sugar, and baking soda.
Instructions
Be sure to read all the instructions before beginning this recipe. The recipe requires overnight refrigeration, so plan accordingly.
(1) Make the Bagel Dough
To make the bagel dough, combine the flour, salt, yeast, warm water, honey, and vegetable oil in the bowl of a stand mixer fitted with the dough hook attachment.
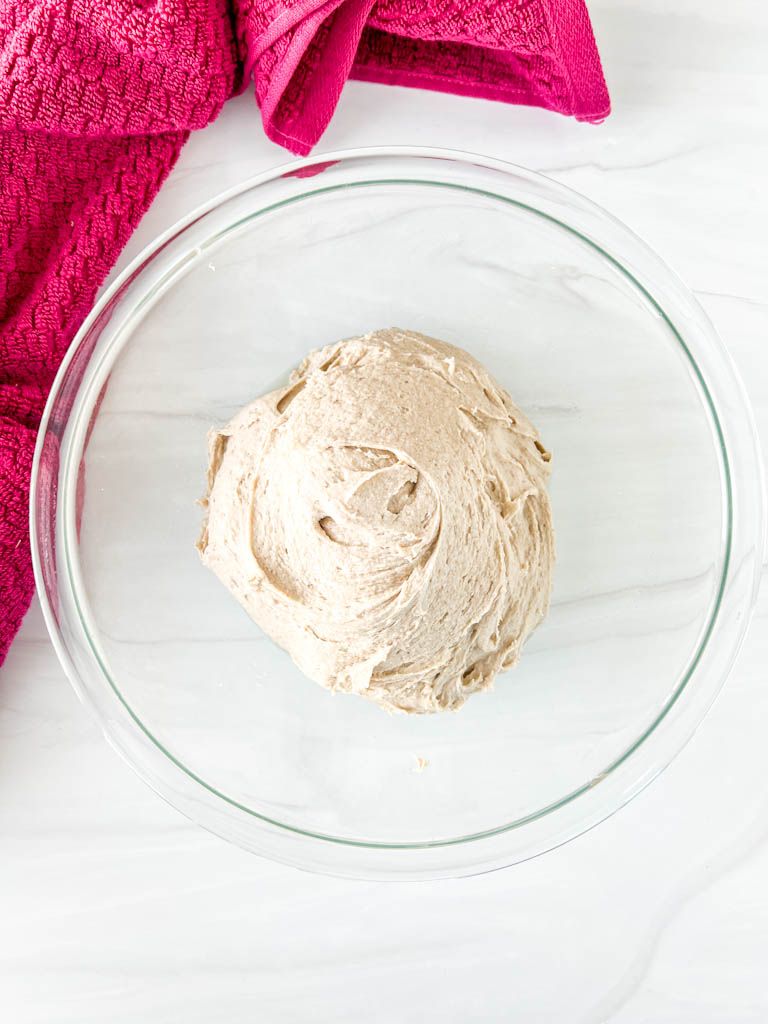
Mix everything on low until lightly combined, then mix on medium-high speed for 10 minutes, stopping midway to scrape down the sides of the bowl. (If you don’t have a standing mixer, mix vigorously for 10 minutes with a wooden spoon or spatula. The dough will be very sticky.)
Remove the dough hook and use a spatula to gather the dough into a ball inside the mixing bowl. Cover the dough with a clean dish towel and allow it to rest at room temperature for 30 minutes.
(2) Shape the Bagels
While the dough rests, prepare two baking trays with parchment paper. Also, prepare your work surface by lining your countertop with plastic wrap or by placing a large silicone kneading mat on the counter. Drizzle some vegetable oil on the plastic wrap or silicone mat.
Shape the dough into a log and divide it into eight equal portions. Form each portion into a ball and flatten it slightly.
Use your finger or the edge of a small rolling pin to poke a hole in the center of the dough, and use your hands to form the hole to be about 1½” thick to resemble a bagel shape.
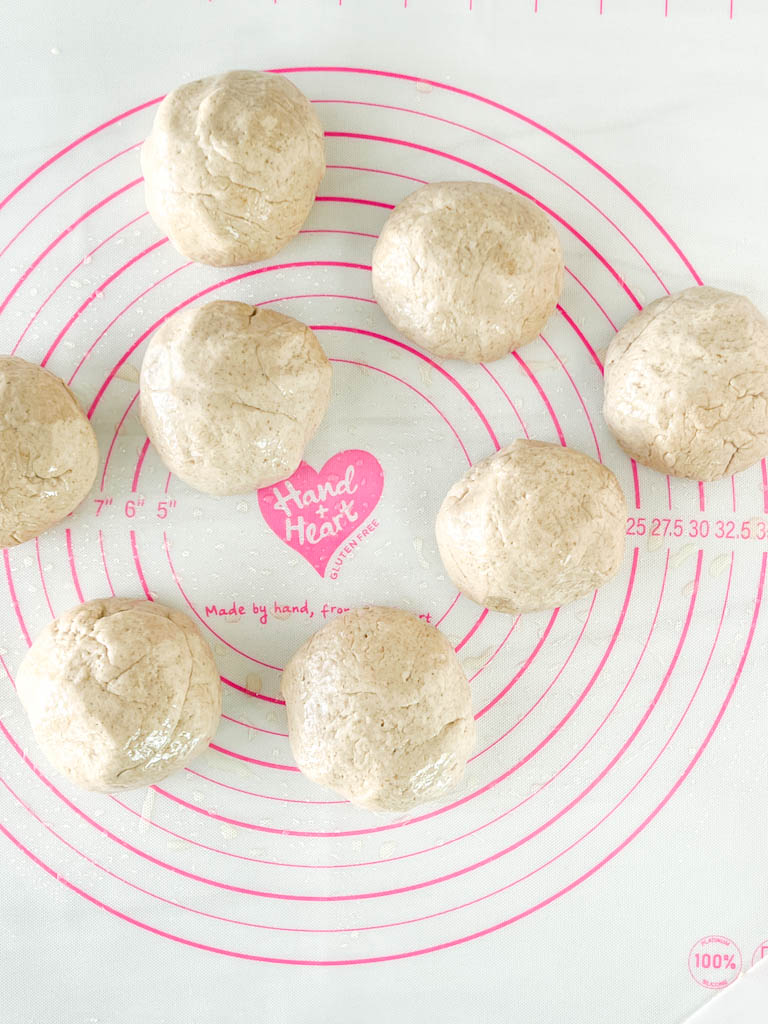

Place the bagel on the parchment-lined baking trays, spacing them at least 3″ apart. Cover with plastic wrap and let them rest in the refrigerator overnight. Resting will allow the flour to soak up the wet ingredients and net a moister, softer bagel.

(3) Boil and Bake the Bagels
Remove the trays from the fridge and allow the bagels to come to room temperature for at least 30 minutes.
Preheat the oven to 430º F and allow it to preheat for at least 30 minutes.
Bring a large pot of water to a boil, then stir in the brown sugar and baking soda. Reduce the temperature so that the water is simmering.
Using kitchen shears or scissors, cut the parchment paper beneath each bagel into a square so each bagel is on its own piece of paper. This will help you transfer the bagels to the boiling water without them becoming misshapen.
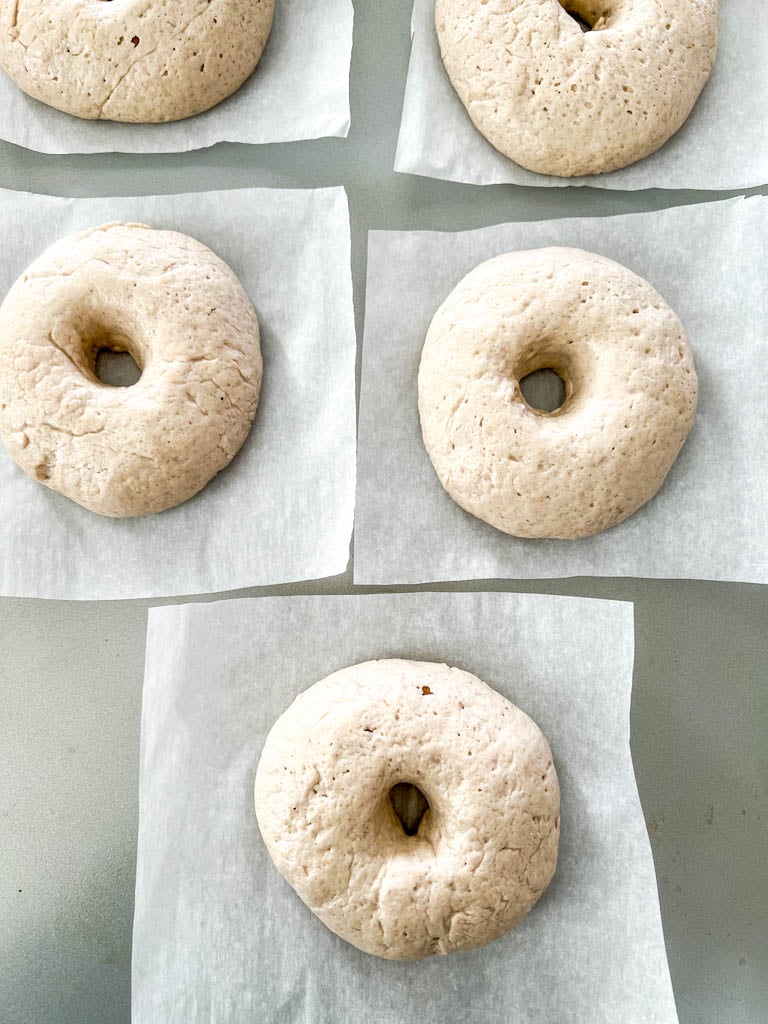
Carefully transfer each bagel (on top of its parchment square) into the boiling water. Boil the bagels in batches (4-6 at a time) so you don’t overcrowd the pot. The water will start to bubble vigorously when you add the bagel.
After a few seconds, you can use tongs to remove the pieces of parchment paper. Boil the bagels for 1-2 minutes on each side. They will slightly puff up.
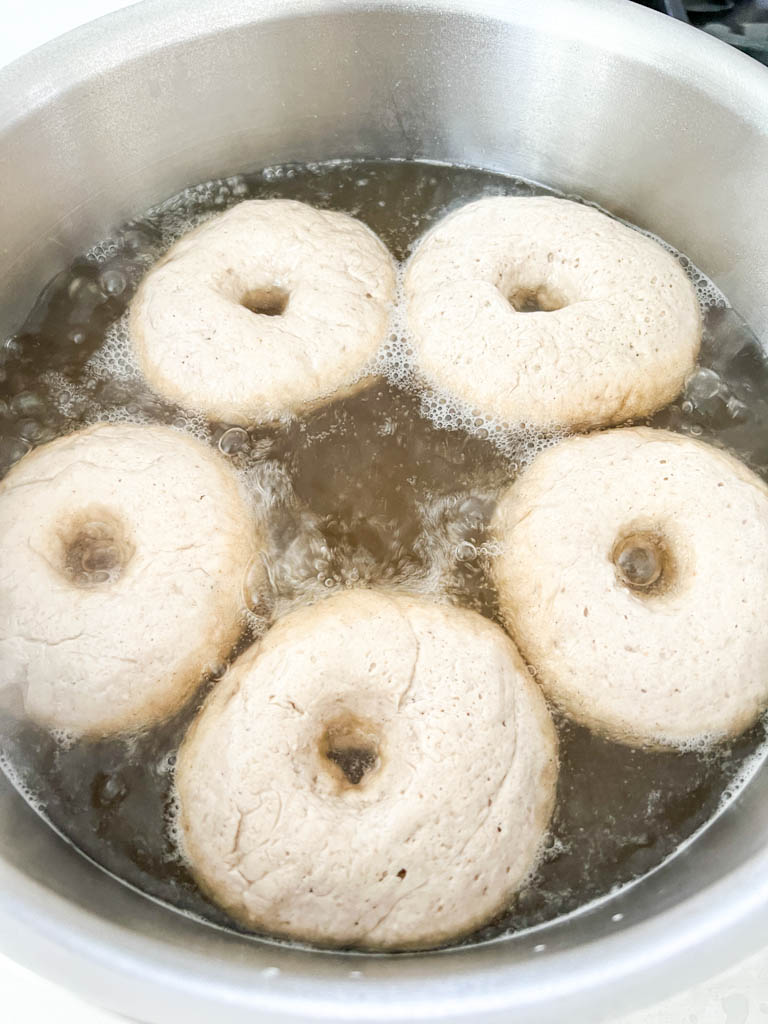
While the bagels are boiling, line the baking sheets with new parchment paper.
Use a slotted spoon to remove each bagel from the boiling water, allowing them to drain briefly. Blot the slotted spoon on a dish towel to remove extra water before placing them on the parchment-lined baking sheet at least three inches apart.
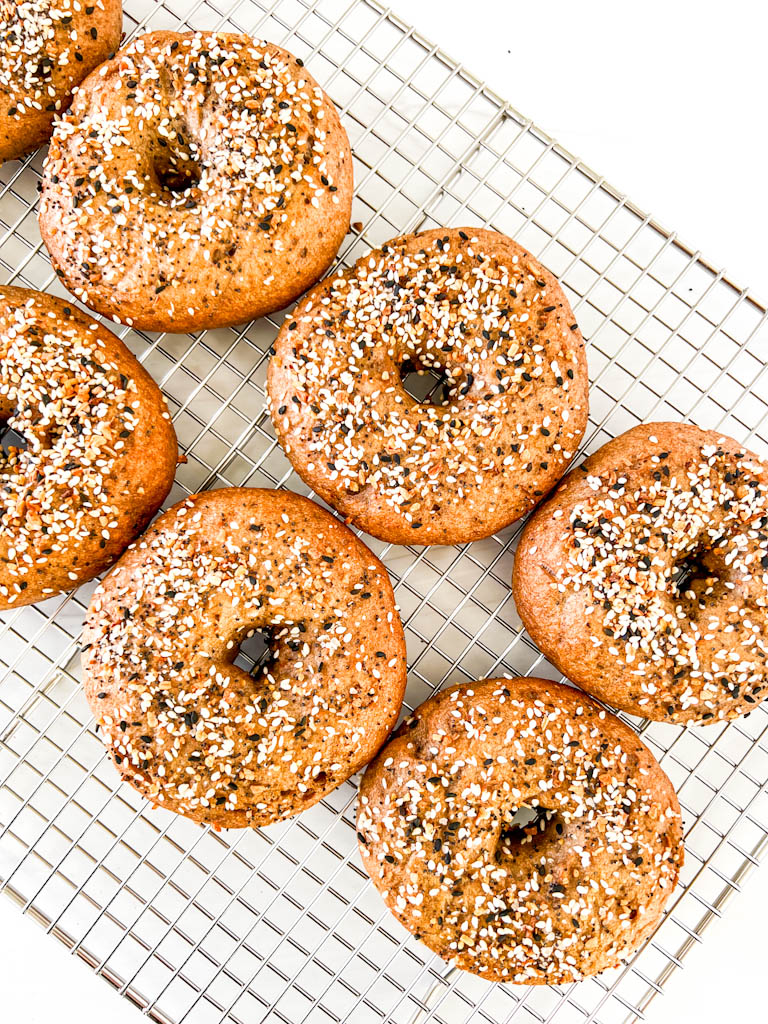
Top the bagels with sesame seeds, poppy seeds, or Everything but the Bagel Seasoning immediately while wet so the topping sticks to the bagels.

Place the bagels in the preheated oven and bake for 20-25 minutes until golden brown. Allow the bagels to cool on a wire rack for five minutes before slicing and enjoying them with your favorite spread or toppings. Store leftover bagels in a ziptop bag on your countertop for 2-3 days or freeze for up to three months.
The Taste
I haven’t had a New York bagel in my 11+ years of following a strict gluten-free diet. From what I remember, these bagels are pretty darn close to how a crusty and flavorful bagel tastes.
The chewy crust. The soft and doughy inside. I absolutely love how they turned out! The texture is a million times better than regular bagels that may have been baked vs. boiled.
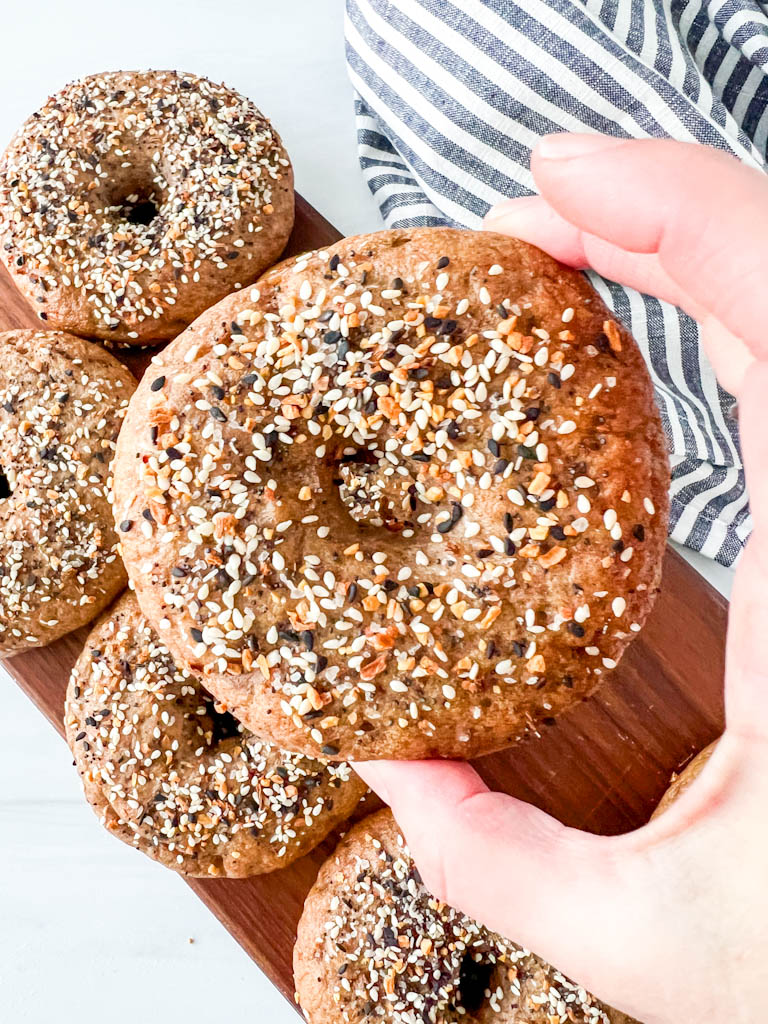
My bagels didn’t rise as fluffy as traditional bagels (blame it on the lack of gluten), but the flavor, texture, and smell were there even if they weren’t as fluffy and tall.

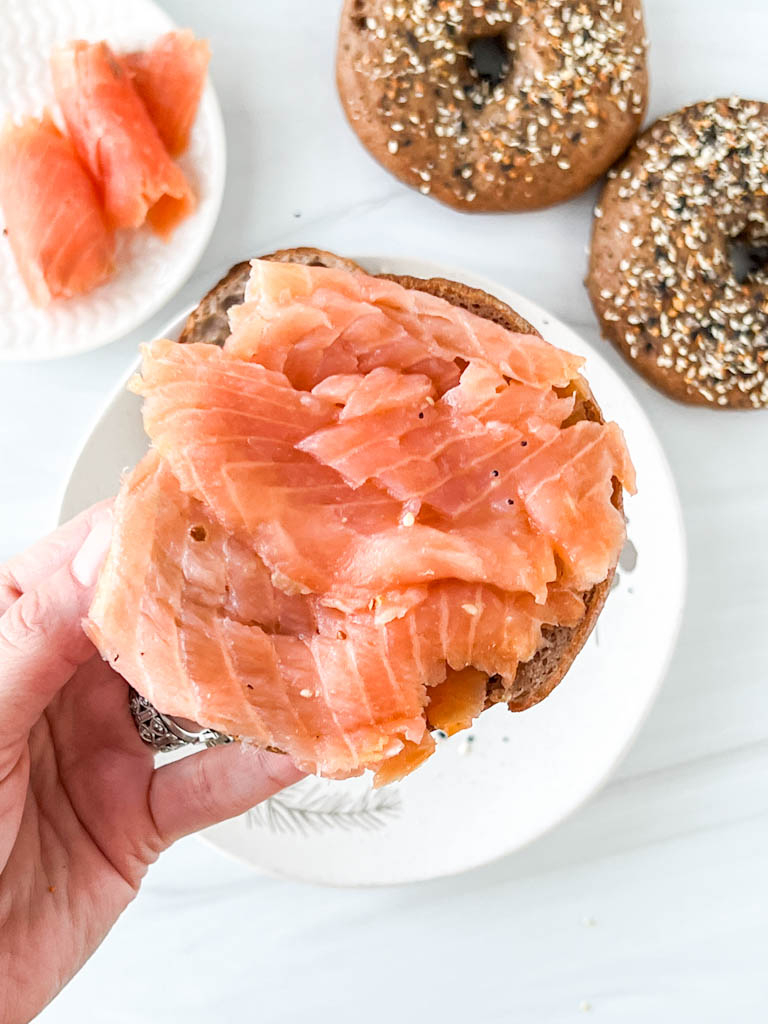
The bagels are best served warm, preferably toasted, and topped with your favorite bagel toppings from cream cheese, peanut butter, lox, and/or wherever your newfound gluten-free bagel adventures take you.
You don’t have to go to New York City for New York-style bagels; instead, bring the New York bagel to your home for comfort food that smells, looks, and tastes delicious without any pesky gluten in sight.

FAQs
Can I Use a Different Flour? This recipe was formulated using Hand + Heart Gluten-Free Artisan Flour Blend. It will not work with another flour blend. I have always recommended Hand + Heart products (formerly known as Lorraine’s Gluten-Free) because they’re high-quality and they work! Hand + Heart knows a lot about gluten-free breadmaking, and this new flour blend is specially formulated for gluten-free breadmaking.
Can I Use an Alternative Sweetener? I used honey, but you could also use maple syrup, agave sweetener, or sugar.
Can I Skip the Water Bath? Do not skip the water bath. The bath will ensure you get a crusty bagel on the outside and a doughy bagel on the inside. Without the water bath, these would just be baked bread, not crusty bagels.
Why Doesn’t the Mix Use Xanthan Gum? Xanthan gum is a binder commonly used in gluten-free baked goods to help hold the ingredients together. The Hand + Heart Artisan Flour Blend uses psyllium husk, which is a fiber-rich binder that acts similarly to xanthan gum and is more commonly used as a binder in gluten-free bread baking.
How Do You Best Enjoy a New York bagel? A New York bagel is meant to be sliced, toasted, and topped with cream cheese and lox.
Are These Bagels Really Grain-Free? Yes, they are because buckwheat is not a grain, and the blend doesn’t contain any white rice flour or brown rice flour like other flour blends. Buckwheat is a seed from a plant related to rhubarb. Remember, just because something is grain-free doesn’t mean it’s calorie- or carb-free.
More Recipes
I love baking with Hand + Heart flours. Here are some of my favorite recipes featuring the company’s products:
- Gluten-Free Cinnamon Coffee Cake
- Gooey Gluten-Free Cinnamon Rolls
- Easy Gluten-Free Babka (with Chocolate Nutella)
- Gluten-Free Soft Pretzels
- Copycat Gluten-Free Krispy Kreme Donuts
You might also like my Classic Gluten-Free Black & White Cookies, another New York staple!

Gluten-Free New York Style Bagels
Equipment
- 1 electric standing mixer
- 2 baking sheets
- 1 large pot
- 1 slotted spoon
- 1 scissors
- Parchment paper
- 1 large silicon baking mat optional
Ingredients
For the Dough
- 3 cups Hand + Heart Gluten-Free Artisan Flour see notes (500 grams)
- 2 teaspoons salt
- 2¼ teaspoons active dry yeast
- 1¾ cups warm water (110ºF)
- 1 Tablespoon honey or other sweetener (see notes)
- 2 Tablespoons vegetable oil
For the Water Bath
- 12 cups water (fill a large pot halfway)
- 3½ Tablespoons brown sugar
- 1½ Tablespoons baking soda
Toppings (optional)
- ¼ cup topping of choice (everything bagel, seesame seeds, etc.) see notes
Instructions
- Be sure to read all the instructions before beginning this recipe. It requires overnight refrigeration, so plan accordingly.
(1) Make the Bagel Dough
- Combine the flour, salt, yeast, warm water, honey, and vegetable oil in the bowl of a stand mixer fitted with the dough hook attachment. Mix everything on low until lightly combined, then mix on medium-high speed for 10 minutes, stopping midway to scrape down the sides of the bowl. (If you don't have a standing mixer, mix vigorously for 10 minutes with a wooden spoon or spatula. The dough will be very sticky.)
- Remove the dough hook and use a spatula to gather the dough into a ball inside the mixing bowl. Cover the dough with a clean dish towel and allow it to rest at room temperature for 30 minutes.
(2) Shape the Bagels
- While the dough rests, prepare two baking trays with parchment paper. Also, prepare your work surface by lining your countertop with plastic wrap or by placing a large silicone kneading mat on the counter. Drizzle some vegetable oil on the plastic wrap or silicone mat.
- Shape the dough into a log and divide the log into eight equal portions. Form each portion of the dough into a ball and flatten it slightly. Use your finger or the edge of a small rolling pin to poke a hole in the center of the dough, and use your hands to form the hole to be about 1½" thick to resemble a bagel.
- Place the bagel on the parchment-lined baking trays, spacing them at least 3″ apart. Cover with plastic wrap and let them rest in the refrigerator overnight. Resting will allow the flour to soak up the wet ingredients and net a moister, softer bagel.
(3) Boil and Bake the Bagels
- Remove the trays from the fridge and allow the bagels to come to room temperature for at least 30 minutes.
- Preheat the oven to 430º F and allow it to preheat for at least 30 minutes at 430º F.
- Bring a large pot of water to a boil, then stir in the brown sugar and baking soda. Reduce the temperature so that the water is simmering.
- Using scissors, cut the parchment paper beneath each bagel into a square so each bagel is on its own piece of paper. This will help you transfer the bagels to the boiling water without having to handle them and ruin their shape.
- Carefully transfer each bagel (while on top of its own parchment square) into the boiling water. Boil the bagels in batches (4-6 at a time, depending on the size of your pot) so you don't overcrowd the pot. The water will start to bubble vigorously when you add the bagel. After a few seconds, you can use tongs to remove the pieces of parchment paper. Boil the bagels for 1-2 minutes on each side. They will slightly puff up.
- While the bagels are boiling, line the baking sheets with new parchment paper.
- Use a slotted spoon to remove each bagel from the boiling water, allowing them to drain briefly and blotting the slotted spoon on a dish towel to remove extra water before placing them on the parchment-lined baking sheet at least three inches apart.
- Top the bagels with sesame seeds, poppy seeds, or Everything Bagel Seasoning immediately while they’re still wet so the topping sticks to the bagels.
- Place the bagels in the preheated oven and bake for 20-25 minutes until golden brown.
- Allow the bagels to cool on a wire rack for five minutes before slicing and enjoying them with your favorite spread or toppings. Store leftover bagels in a ziptop bag on your countertop for 2-3 days or freeze for up to three months.


Leave a Comment