Have you ever wanted to learn how to make homemade peanut butter using clean and simple ingredients? If so, today is your lucky day because I will show you how to make homemade peanut butter using three simple ingredients and nothing else! This post is sponsored by Crunchmaster Crackers and contains affiliate links. Please see my disclosures.
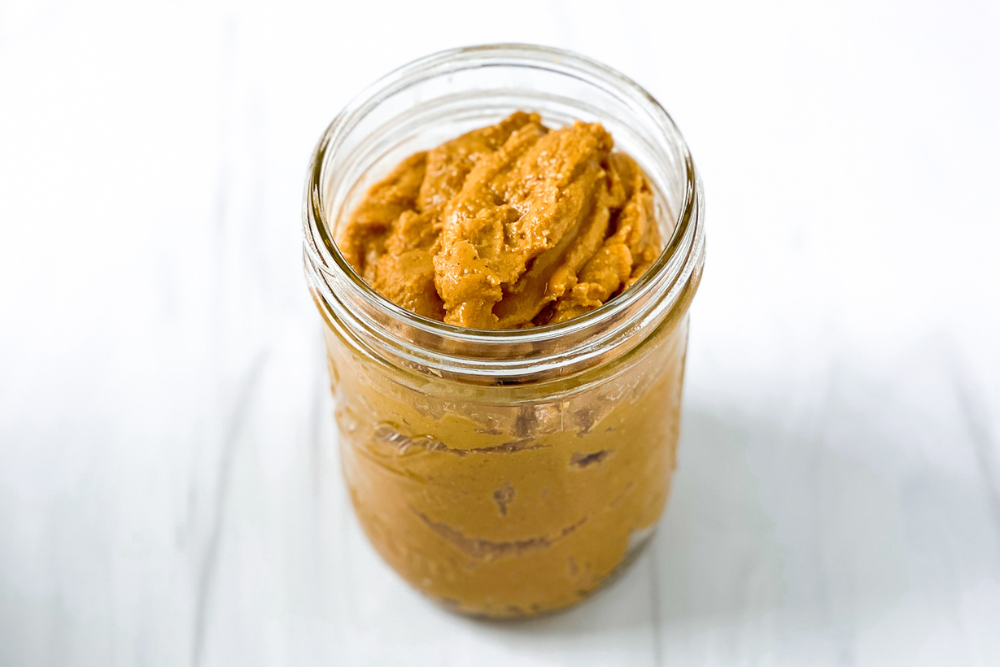
Get ready to make a jar of homemade peanut butter – or “liquid gold,” as my family calls it – using a few simple, easy-to-find ingredients.
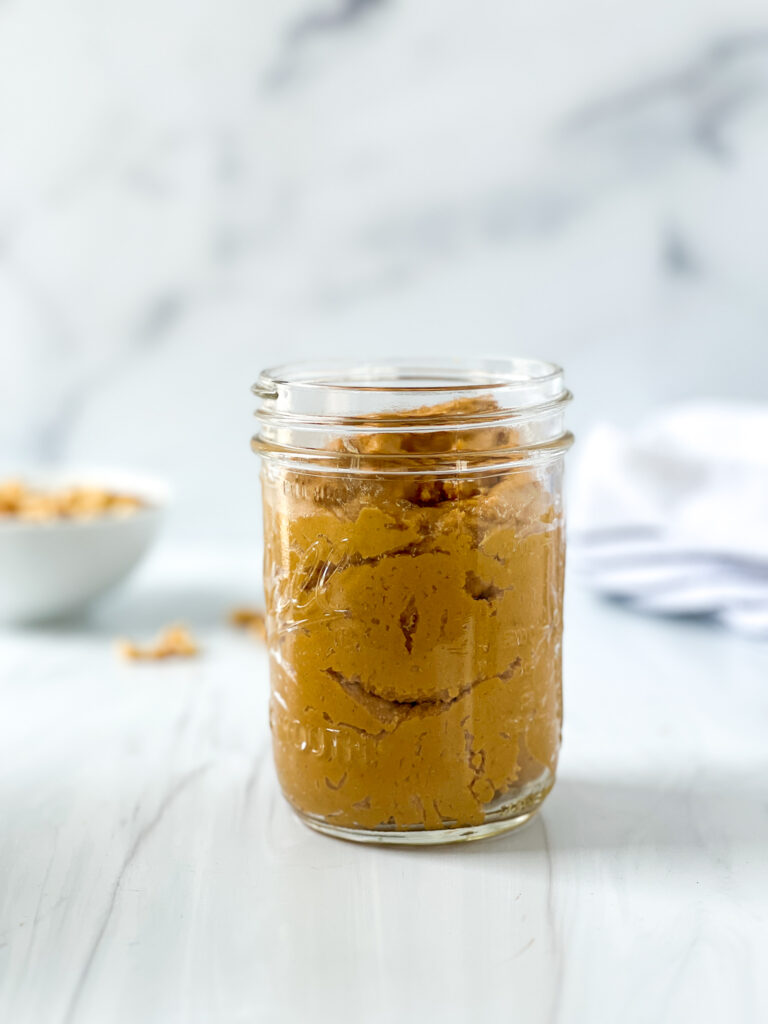
Since making this beautiful and tempting jar of peanut butter, I’ve been helping myself to spoonfuls every time I walk by the kitchen. This is definitely better than store-bought peanut butter, and I can’t stop eating it!
I love homemade peanut butter for many reasons. It’s tasty, simple, and made without palm or partially hydrogenated vegetable oil.
Palm oil is a controversial ingredient, mainly because it’s rarely sustainably produced and is linked to adverse environmental impacts, such as deforestation.
Companies started using palm oils as a substitute for partially hydronated oils when the FDA exposed trans fats as a harmful ingredient that, if removed from foods, “could prevent thousands of heart attacks and deaths each year.”
You’ll easily avoid palm oil and trans fats when making peanut butter at home. And, on top of it all, making homemade peanut butter is super-duper easy to do at the touch of a button on your food processor.
What You Need
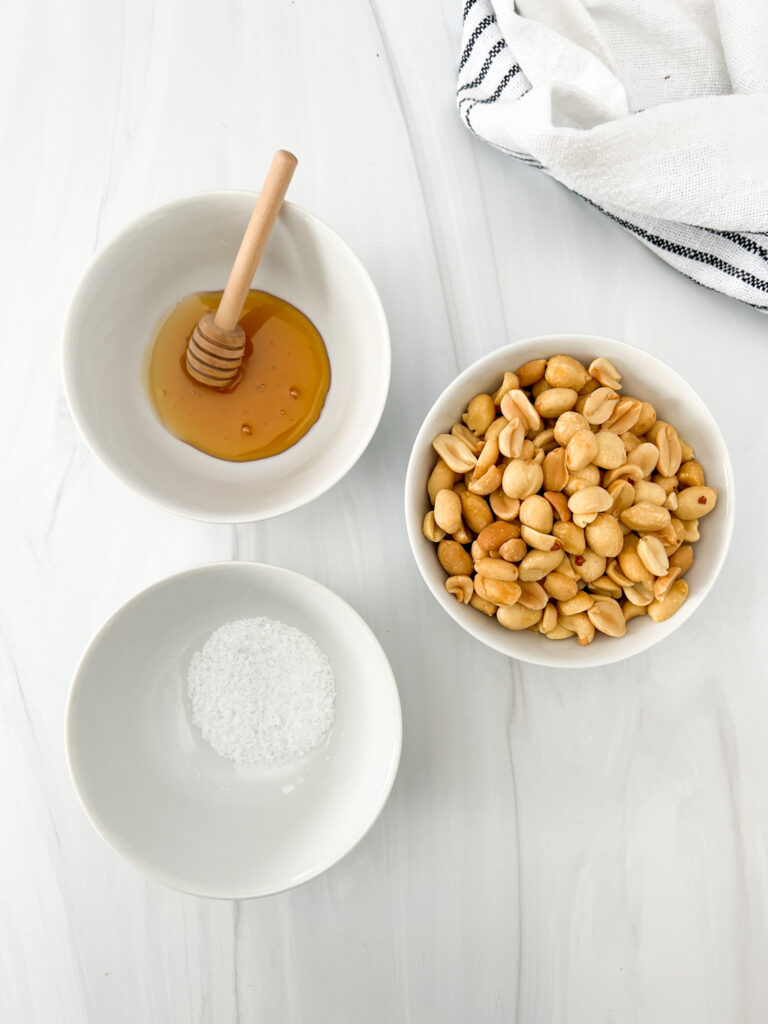
You’ll need three ingredients to make this super-spreadable honey-sweetened peanut butter from scratch.
(1) Dry-Roasted Peanuts: I used a bag of dry-roasted unsalted peanuts that I found at the grocery store. Purchase whatever you can find that is safely labeled gluten-free. Avoid peanuts from the bulk bins due to the potential for cross-contamination. (Read: 5 Hidden Sources of Gluten at the Grocery Store.)
(2) Salt: You’ll need only a pinch of kosher salt to enhance the flavor of the peanuts. Instead of buying salted peanuts, I prefer to add salt at the end and adjust to my taste. If the peanuts you’re using are already salted, omit the salt. A little salt goes a long way.
(3) Honey: Honey is optional, but I recommend adding it to enhance the flavor and sweetness of the peanut butter. I usually add 2-4 tablespoons, but truth be told, I don’t measure it. I adjust the amount to what I think tastes good.
How to Make Homemade Peanut Butter
Making homemade peanut butter is easy to do in three simple steps:
(1) Roast the Peanuts: Add the peanuts to a baking sheet in a single layer, then roast them in your oven at 375º F for about 8-10 minutes. Roasting will help the peanuts release their oils, improving the peanut butter’s spread and creaminess.

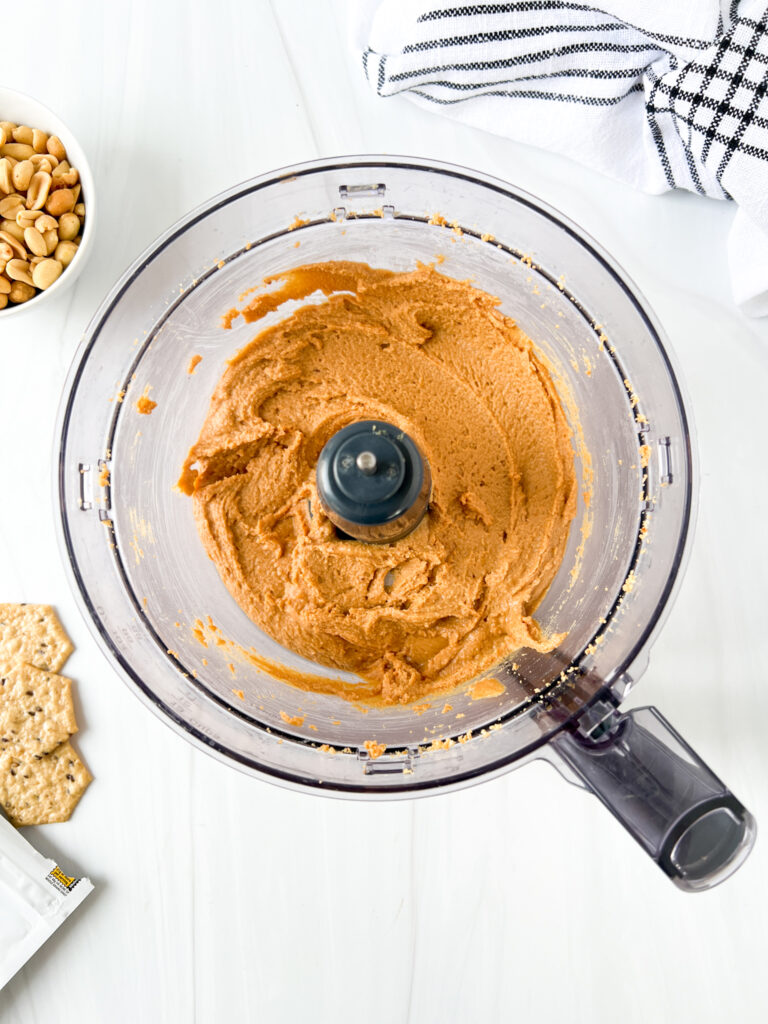
(2) Blend the Peanuts: Add the slightly cooled peanuts to a food processor and process on high for 8-10 minutes until the mixture is smooth. Scrape down the sides 3-4 times, especially in the beginning.
Be patient. The peanuts will look like a hot mess and go through various forms. They will eventually turn into creamy peanut butter, and that’s when you know they’re ready to be enjoyed.
(3) Add Flavor Enhancements: Once the peanut butter is smooth and creamy, add a pinch of salt (a little goes a long way) and a drizzle of raw honey. Mix the peanut butter for about 20-30 seconds until just combined.
The honey may stiffen the peanut butter. If it hardens too much, add a teaspoon of neutral-flavored vegetable oil to smooth it out. Only add a little oil until you achieve the desired texture.
How to Enjoy Homemade Peanut Butter
There are endless ways to enjoy homemade peanut butter:
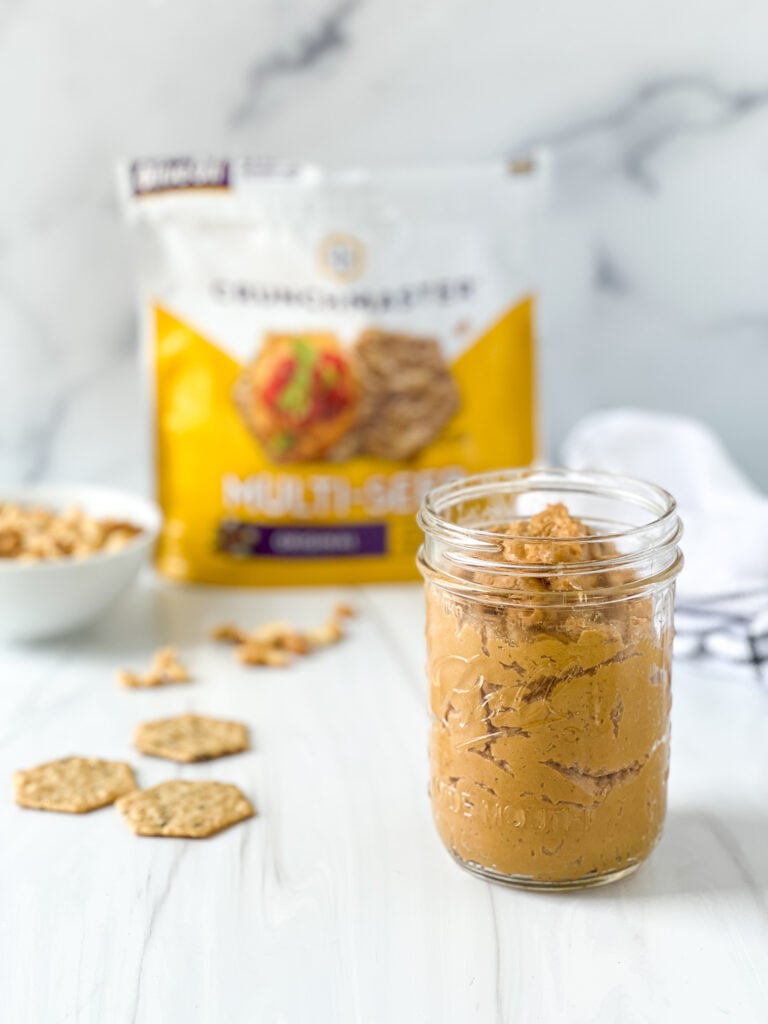
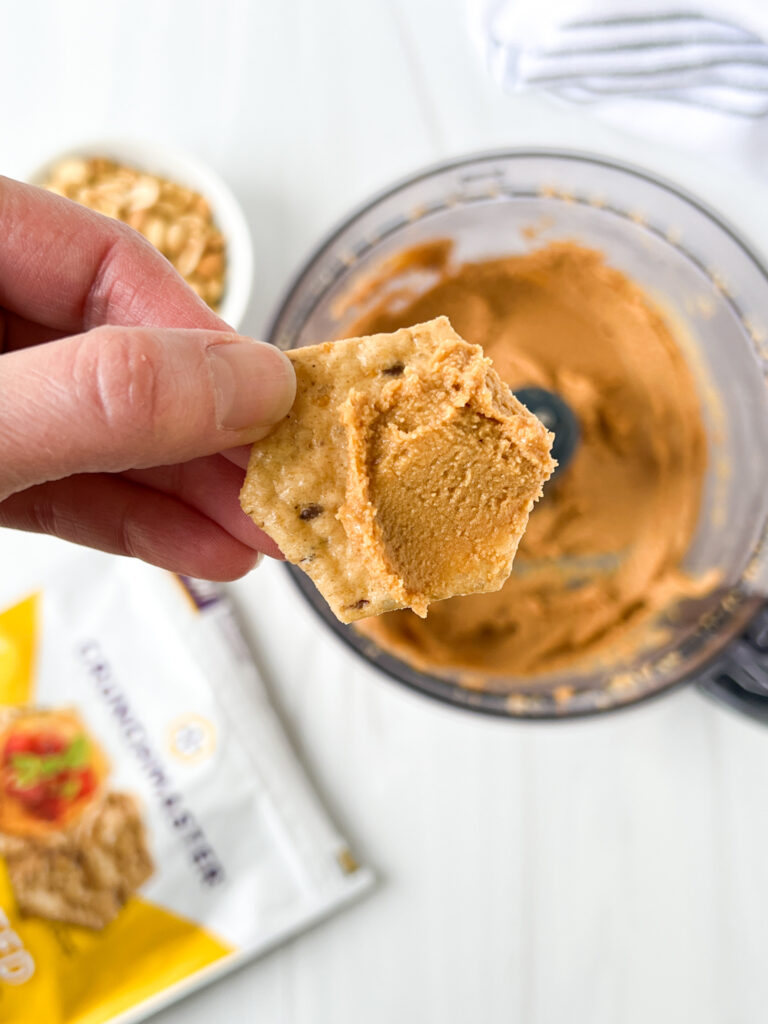
- Spread on Crunchmaster Crackers and drizzle with honey. This is one of my favorite ways to enjoy homemade peanut butter.
- Make a peanut butter and jelly sandwich using bread or crackers.
- Spread the peanut butter on toast and top with banana slices and honey.
- Use it as a dip for apple slices.
- Add a dollop of it to your morning smoothie or oatmeal.
- Use in a dessert recipe, like my Gluten-Free Peanut Butter Brownies, No-Bake Gluten-Free Peanut Butter Bars, or Gluten-Free Peanut Butter Oat Bars.
Troubleshooting
Help, My Peanut Butter is Not Smooth: A few things might affect the smoothness of the peanut butter.
- Did you blend the peanuts long enough? Be patient. It may take the full 10 minutes for the peanuts to turn into creamy butter. Every food processor is slightly different; some may not blend as fast or thoroughly as others.
- Another issue could be that your peanuts aren’t fresh. I once used peanuts slightly past their prime and noticed the peanut butter struggled to come together and didn’t taste right. Use fresh peanuts for the best results.
- Be sure to use dry-roasted peanuts. Raw peanuts may not blend well and don’t taste as good, either.
- The honey can stiffen the peanut butter, so add only what you need, and don’t overmix it after adding it. If it’s too stiff, add a little neutral vegetable oil to the peanut butter and blend in your food processor for 30-45 seconds to incorporate. Add a little oil at a time until you reach the desired consistency.
Can I Use Another Sweetener Besides Honey? I recommend using honey or maple syrup for the best results. I haven’t tried other sweeteners, like granulated sugar. If you’re avoiding sugar, you can omit the honey altogether.
How Do I Store It? Store the peanut butter at room temperature and enjoy it for up to two weeks. If you think it’ll take longer to use, you can keep it in your fridge for 1-2 months.
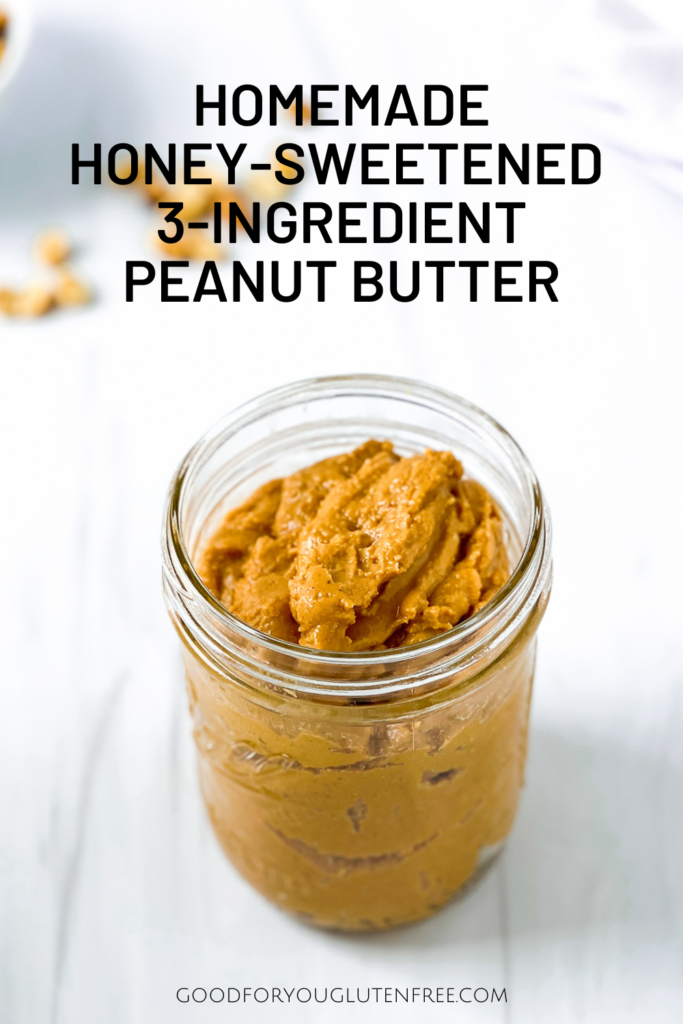

Homemade Peanut Butter Sweetened with Honey
Equipment
- 1 Food processor
- 1 Baking Sheet
- 1 8-ounce mason jar
Ingredients
- 3 cups dry-roasted unsalted peanuts
- 1 pinch Kosher salt to taste
- 2-4 Tbsp honey to taste
Instructions
- Add the peanuts to a baking sheet in a single layer, then roast them in your oven at 375º F for about 8-10 minutes. Roasting will help the peanuts release their oils, improving the peanut butter's spread and creaminess.
- Add the slightly cooled peanuts to a food processor and process on high for 8-10 minutes until the mixture is smooth. Scrape down the sides 3-4 times, especially in the beginning. Be patient. Don't worry, the peanuts will look like a hot mess and go through various forms. They will eventually turn into creamy peanut butter, and that's when you know they're ready to be enjoyed.
- Once the peanut butter is smooth and creamy, add a pinch of salt (a little goes a long way) and a drizzle of raw honey. Mix the peanut butter for about 20-30 seconds until just combined. The honey may stiffen the peanut butter. If it hardens too much, add a teaspoon of neutral-flavored vegetable oil to smooth it out. Only add a little oil until you achieve the desired texture.
Leave a Comment