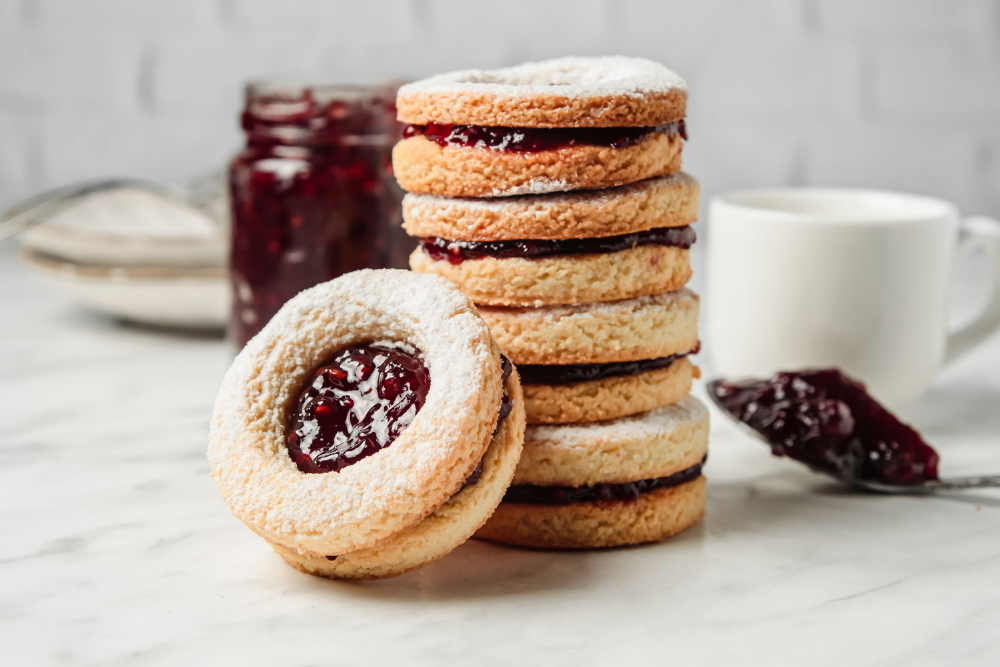
These almond flour thumbprint cookies are soft, chewy, and made with nutrient-dense ingredients and no refined sugar. Eating grain-free and gluten-free? These cookies are for you! If you’re looking for a traditional linzer cookie, you’ll like my gluten-free linzer cookie recipe instead. This post contains affiliate links. Please read my disclosures.
I love baking with almond flour because it’s naturally gluten free, grain free, and offers baked goods added moisture and a nutritional boost.
I bake with almond flour all the time and love how I’m able to enjoy so many of my favorite treats without the gluten or grains.
If you’re craving a delicious cookie, but you’re on a restricted grain-free diet, my almond flour thumbprint cookies are for you.
How to Make Almond Flour Thumbprint Cookies
These cookies are super simple to make, and they take just a few minutes to assemble.
First, you’ll want to gather all your ingredients. You’ll need:
- 2 1/2 cups almond flour
- 1 tsp baking soda
- 1 pinch salt
- 1 large egg
- 1/4 cup honey
- 1 tsp vanilla extract
- 2 tbsp vegan butter, softened
- 2 tbsp applesauce, unsweetened
- 1/2 cup jam, store bought; flavor of choice; see notes
- 1-2 tbsp coconut shreds for topping, optional

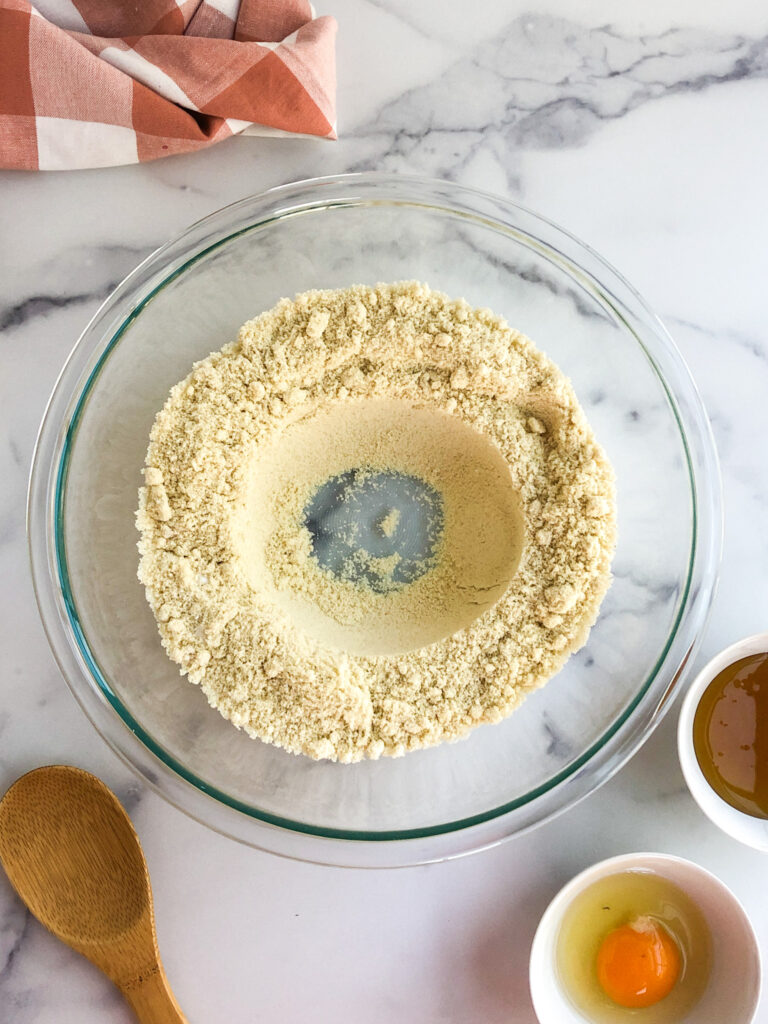
Now you’ll want to make your dough. Simply combine the almond flour, baking soda and pinch of salt in a large bowl. Swirl it all together, then create a small cavity in the center.

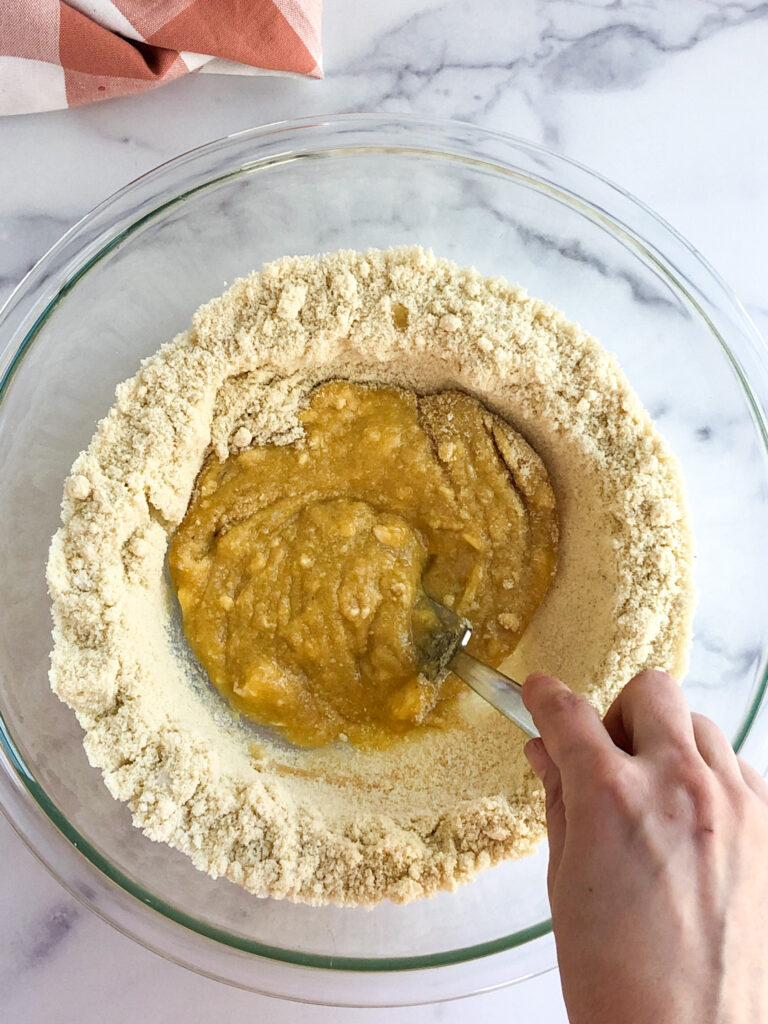
In the cavity, add your egg, honey, vanilla extract, butter, and applesauce, then use your fork to slowly incorporate the wet mixture into the dry mixture.

After a minute or so of mixing, you’ll have a sticky, wet dough. Gather the dough into a ball, cover with plastic wrap, and refrigerate the dough for at least 30 minutes. This will help the ingredients stick together so you can easily handle the dough.
Once the dough is cold, preheat your oven to 350º F and line a large baking sheet with parchment paper.
Using lightly wet hands, grab some of the dough and form it into 1-1.5 inch balls. You’ll have enough dough for 24 cookies.
Next, use your thumb or index finger to poke a hole in the center of each cookie. While these are “thumbprint” cookies, I actually have found better results using a lightly wet index finger.

Now add about 1/4-1/2 tsp of jam to the center of each cookie. I used a cherry jam, but it tastes great with any flavor of jam – strawberry, raspberry, apricot or grape.

Bake the cookies for 10 minutes until they are lightly brown, then allow them to cool on the baking tray for 10 minutes before enjoying. The center filling will be hot.

A fun way to jazz up the cookies is to add shredded coconut on top. The coconut adds nice color, taste and texture. Add the coconut after the cookies have slightly cooled.

Store cookies in a sealed container. They will stay soft and last for 3-4 days after baking.
There you have it, a wonderful almond flour thumbprint cookie recipe to remember! Enjoy these sweet, soft and nutrient-dense cookies at your leisure. You deserve it!
Other Recipes You Might Enjoy
Raspberry Thumbprint Cookies: These gluten-free raspberry thumbprint cookies are buttery, soft and tasty. It’s no wonder they’re so popular!

Gluten-Free Linzer Cookies: These flakey almond flour linzer cookies are made from a combination of flours and offer great crunch.


Almond Flour Thumbprint Cookies
Ingredients
- 2 1/2 cups almond flour
- 1 tsp baking soda
- 1 pinch salt
- 1 large egg
- 1/4 cup honey
- 1 tsp vanilla extract
- 2 tbsp vegan butter softened
- 2 tbsp applesauce unsweetened
- 1/2 cup jam store bought; flavor of choice; see notes
- 1-2 tbsp coconut shreds for topping, optional
Instructions
- Combine flour, baking soda and salt in a large bowl. Create a cavity in the middle of the flour to add the egg, honey, vanilla extract, butter and applesauce. Use a fork to mix all the wet ingredients and begin to slowly but surely incorporate the dry ingredients until the dough is combined, about 1 minute.
- Cover the dough and refrigerate for 30 minutes. The dough is sticky and chilling it will allow you to handle the dough more easily.
- Preheat oven to 350 degrees F and prepare a large baking sheet with parchment paper.
- Using lightly wet hands, roll the dough into about 1-1.5 inch balls and place on parchment paper. You'll have enough dough to make 24 dough balls.
- Use your slightly wet thumb or index finger to create a cavity in the center of each cookie. I find it easier to use my index finger after dipping it in a bit of water to prevent the dough from sticking to my finger. Fill each cavity with jam.
- Bake cookies for 10 minutes until they are slightly brown in color and soft to the touch. Allow cookies 10 minutes to cool on the baking tray before enjoying.