This gluten-free devil’s food cake recipe is sponsored by Bob’s Red Mill and contains affiliate links. Please see my disclosures for details.
Last month I created a light, fluffy, and slightly sweet gluten-free angel food, and today, I’m making the antithesis of angel food cake with a gluten-free devil’s food cake.
Devil’s food cake is a moist and chocolatey layered cake. For all intents and purposes, this “sinful” cake is a rich chocolate cake. It often contains real chocolate, not just cocoa powder, making its chocolate flavor rich and intense.
I decided to conduct a little experiment today. I’m using this Devil Food’s Cake recipe by Martha Stewart, and seeing if it works using Bob’s Red Mill 1-to-1 Gluten-Free Flour Blend in lieu of wheat flour. Ambitious, I know. Let’s find out together if it works.
Making a Gluten-Free Devil’s Food Cake
I’m not going to lie to you, this gluten-free devil’s food cake recipe requires a lot of work from start to finish.
In order to make this cake, you’ll need a few supplies and ingredients.
First, you’ll need two 9″ round cake pans. I mistakenly used 8″ round pans at first (I didn’t realize it until it was too late). I cut off the excess cake after it baked, but there was quite a bit of excess. Nine-inch pans are the way to go.
You’ll also need a sturdy standing Kitchenaid mixer. You’ll be mixing for a while, so there’s nothing like having a tool to do the hard work for you.
I’d also venture to say you’d want a frosting spatula. It makes frosting a cake much easier!
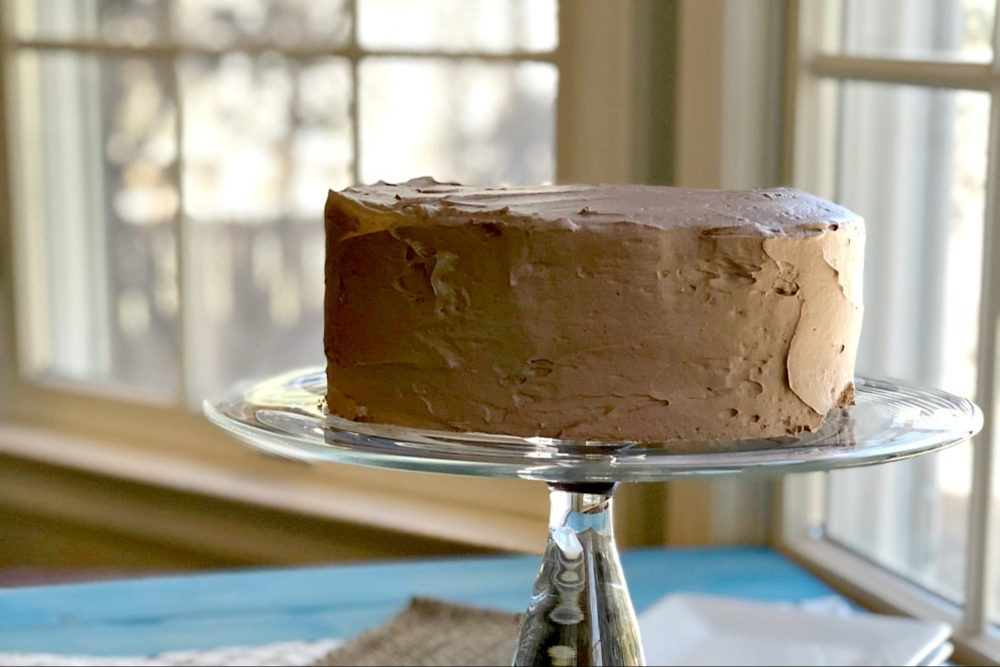
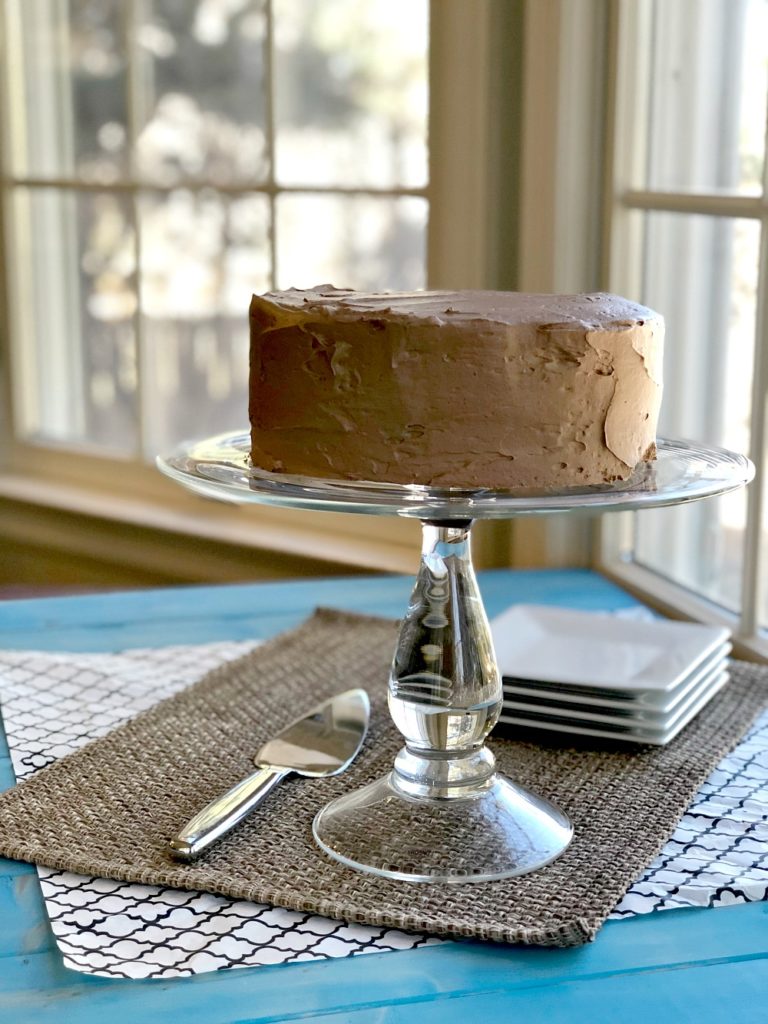
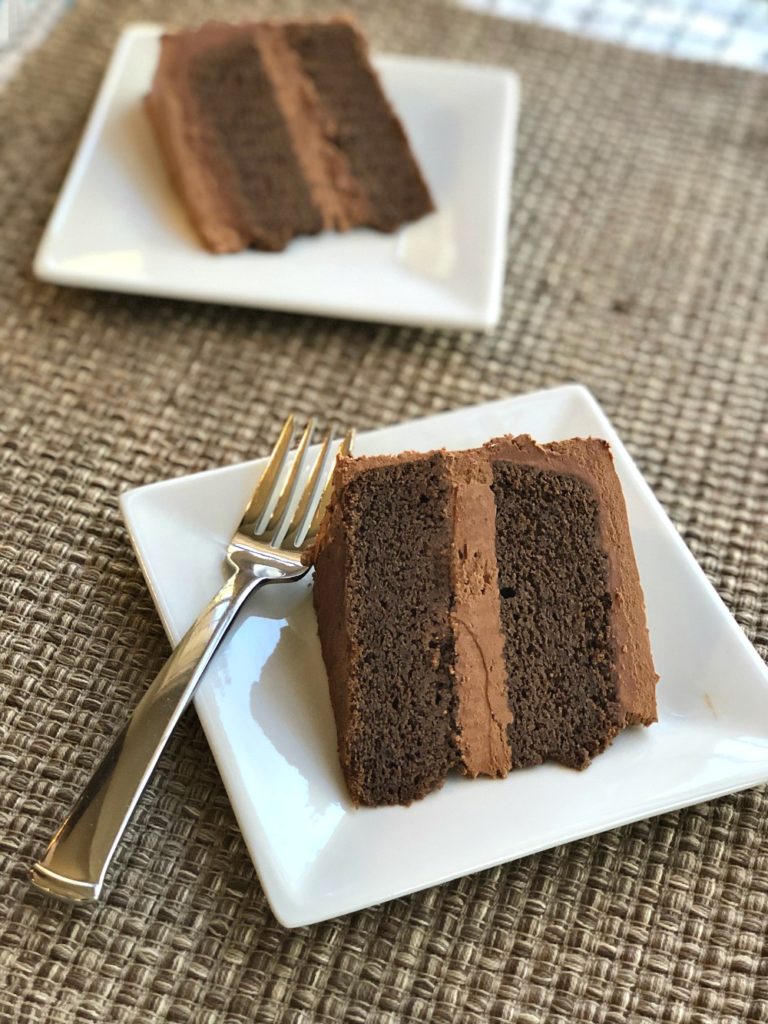
So after I spent a few hours making this cake, here is the final result. Get ready to oooh and aaah! Isn’t she pretty?!?

Before you set off to make this gluten-free devil’s food cake recipe, I’d like to share a few tips to ensure your cake-making process is a success.
First, make sure you have all the cake and frosting ingredients on hand and ready to go, including Bob’s Red Mill 1-to-1 Gluten-Free Flour Blend.
Second, follow the instructions carefully. This cake takes patience, and that means adding ingredients slowly and purposefully. Don’t rush the process.
Third, allow the cake ample time to cool before frosting it. If you frost it too soon, you’ll have crumbs in your frosting, melted frosting, and it won’t look pretty.
Fourth, enlist [lots of] help to eat this cake. It’s big, and it will be calling your name day and night. You’re welcome (and I’m sorry).

One of my favorite things about this cake is the light, whipped Swiss meringue buttercream frosting. The frosting truly is to die for – and combined with this rich, moist, chocolatey cake, it’s a match made in heaven.
Thank you to Bob’s Red Mill for sponsoring this devilish post and allowing me to put your amazing gluten-free flour blend against Martha Stewart’s tasty recipe! It was a success, and this recipe is definitely a keeper!

Gluten-Free Devil’s Food Cake
Equipment
- 1 Standing mixer
Ingredients
For the Cake:
- 3 sticks butter unsalted and at room temperature, plus additional butter for greasing pans (3 sticks = 1 1/2 cups)
- 1 cup boiling water
- 3/4 cup unsweetened cocoa powder
- 4 ounces bittersweet chocolate broken into small pieces
- 3 1/2 cups gluten-free flour (with xanthan gum) I used Bob's Red Mill 1-to-1 Gluten-Free Flour Blend (in the blue bag)
- 1 tsp baking powder
- 3/4 tsp baking soda
- 1 1/2 tsp salt
- 2 cups light brown sugar packed
- 4 eggs (large) room temperature
- 2 tsp vanilla extract
- 1 cup sour cream
For the Chocolate Swiss Meringue Buttercream:
- 1 1/4 cups sugar
- 5 large egg whites
- 3 sticks unsalted butter, room temperature
- 9 ounces bittersweet chocolate, melted and cooled
Instructions
For the cake
- Preheat oven to 325º F and lightly butter two 9-inch round cake pans. Line the bottom of the pans with round pieces of parchment rounds; butter parchment.
- In a small bowl, stir together boiling water, cocoa, and chocolate. Allow mixture to cool for 10 minutes.
- In a separate bowl, whisk together flour, baking powder and soda, and salt. Set aside
- Using your standing mixer, beat together butter with sugar on medium-high until fluffy, 2 to 3 minutes.
- Add in eggs, one at a time, occasionally scraping down the sides of bowl.
- Add in vanilla, then chocolate mixture, and continue to beat mixture for another minute.
- Reduce speed to low and add in half of the flour mixture at a time, alternating with the sour cream, until just combined.
- Transfer the batter evenly into two 9" inch pans and place in oven. Bake the cakes until a toothpick inserted in the center comes out with moist crumbs attached, about 35 to 40 minutes.
- Allow the cakes to cool in their pans placed on a wire rack for about 20 minutes, then turn the cakes onto the wire rack, leaving the top-sides up.
- Once the cakes cool completely, use a serrated knife to trim tops so they're level.
For the Buttercream:
- To prepare the buttercream, whisk the sugar and egg whites in a heat-proof mixing bowl. Place the bowl over a pot of simmering water and whisk mixture constantly for about 2-3 minutes or until the suga is completely dissolved. Remove from heat.
- Pour the mixture into the bowl attached to your standing mixer. Using the whisk attachment, mix on high speed for 7-10 minutes until the bottom of the bowl is no longer warm to the touch.
- Change to the paddle attachment and set the mixer on medium-high speed. Add the butter, 2 tablespoons at a time, until well combined, then mix in the chocolate.
- Cut four strips of parchment paper and place on the edges of your cake pan to prevent the frosting from getting all over your cake pan (you'll remove the paper before serving). Place one cake layer on the stand, trimmed-side up, and spread 1 1/2 cups buttercream evenly over the top. Add the second cake layer and spread another layer of frosting on the top and sides.
- Refrigerate the cake for 30 minutes or until it's firm to ensure your frosting doesn't collect chocolate cake crumbs. Spread the remaining frosting evenly over the top and sides and enjoy!
- Cover leftoves and store them in the fridge. Bring the cake to room temperature before serving for the best results.
This cake is AMAZING! Thanks for sharing