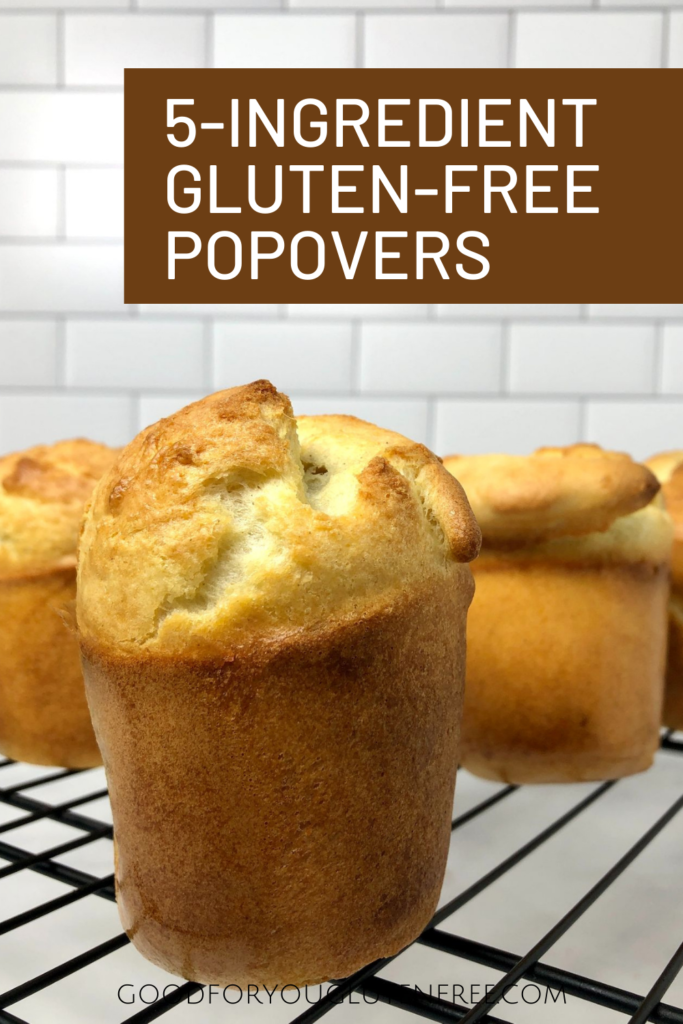
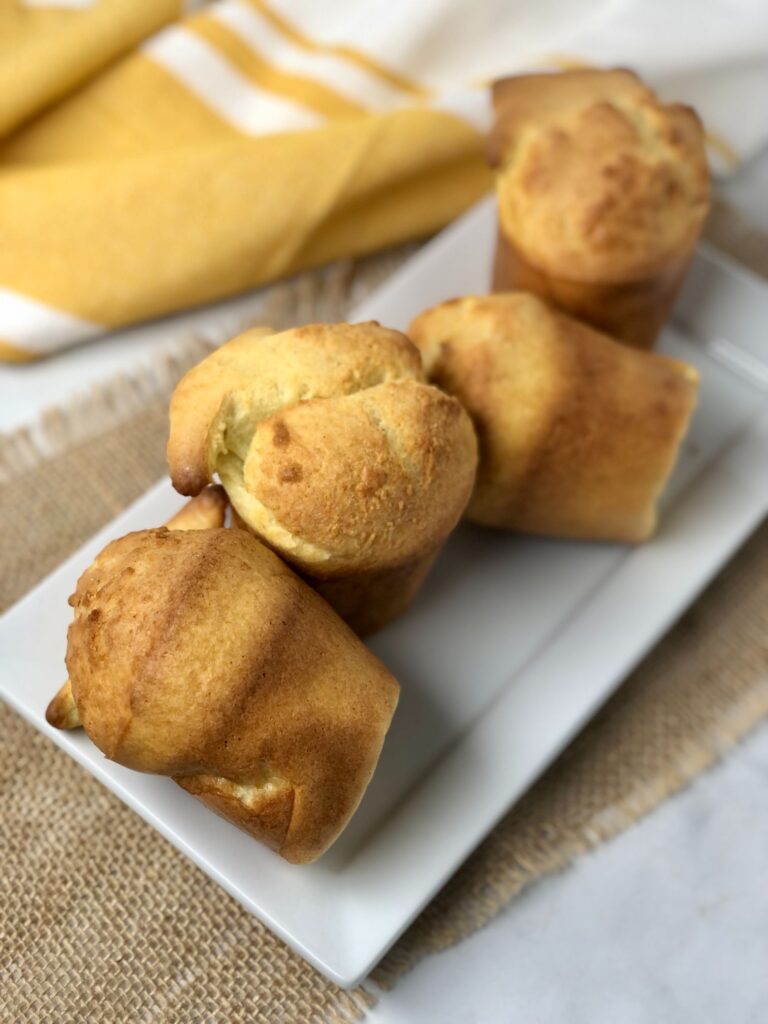
Popovers are a light, fluffy and buttery rolls similar to Yorkshire pudding. They are the perfect complement to hearty stews and soups. This post features my 5-ingredient gluten-free popover recipe and contains affiliate links. This recipe has been revised and improved upon in January 2021. Please see my disclosures.
A popover is a light, hollow roll made from an egg and flour batter. Popovers are basically an Americanized version of Yorkshire pudding.
The popover batter will swell upward and rise tall. In order to make a popover, you need a proper popover pan, which has narrow, tall cavities and straight sides. The steam will become trapped inside the popovers and will push the batter to rise upward, sometimes dramatically!
In contrast, a muffin pan has sides that are short and angled outward. If you use a muffin pan, the popovers won’t rise very high and the batter may even spill over. (I will discuss how to use your muffin pan if you don’t have a popover pan below.)
Here’s how to make these delicious gluten-free popovers:
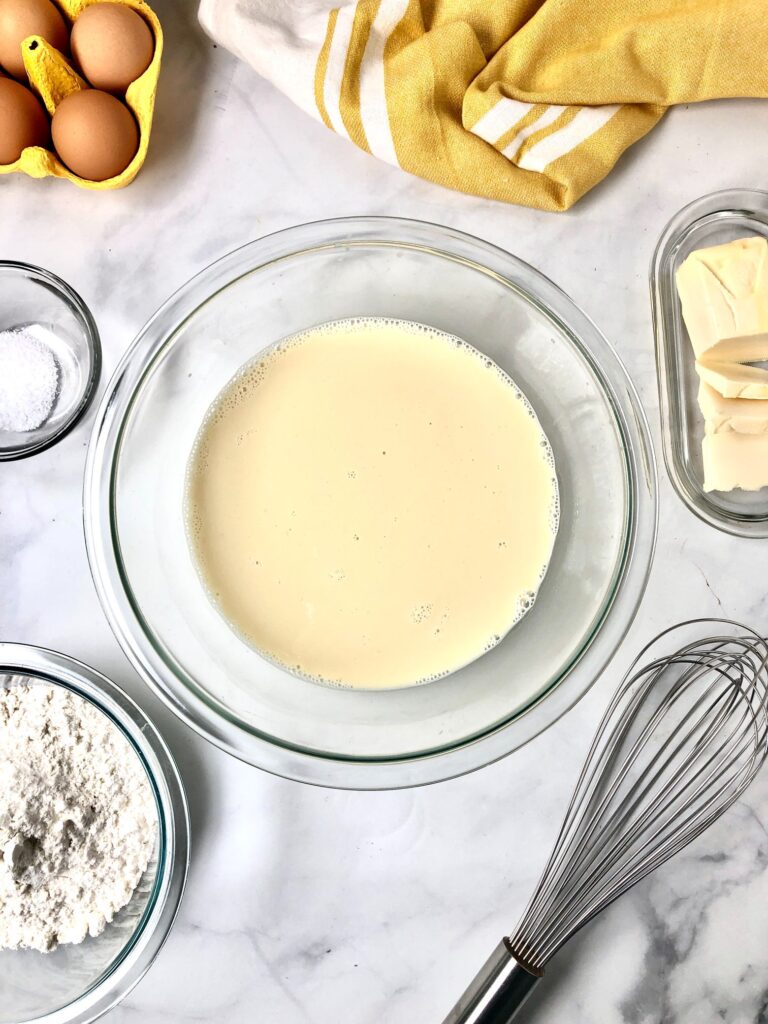
Step #1: Assemble Your Ingredients
To make these fluffy gluten-free popovers, gather all your ingredients. You’ll need:
- 1.5 cups milk lukewarm
- 4 large eggs room temperature
- 1.5 cups Bob’s Red Mill 1-to-1 Gluten-Free Flour Blend (200 grams), spooned and leveled
- 3/4 tsp salt
- 1/2 tsp unsalted butter
Make sure the milk is lukewarm, not too cold and not hot. You also want to work with room temperature eggs.
To bring eggs to room temperature quickly, fill a bowl with hot water from your sink, then place the eggs in the water. Allow them to soak in the hot water for 10 minutes.
I have only tested this recipe with Bob’s Red Mill 1:1 Gluten-Free Flour Blend (in the blue bag). If you use another flour blend, please leave a comment and let me know how it turns out.
Step #2: Heat Popover Pan
You’ll want to preheat your oven to 450º F and place the popover pan in the oven while it’s preheating. Heating the pan is essential because, when the room temperature batters hits the hot popover pans, steam will form immediately. The more steam, the fluffier and higher the popover.
Step #3: Make the Batter
While the oven and pan are heating, you can make your batter.
In a high speed blender or food processor, add milk and eggs and blend on low for about 30 seconds. Next, add flour and salt and continue to blend batter on low until all ingredients are uniformly combined, about 45 seconds.
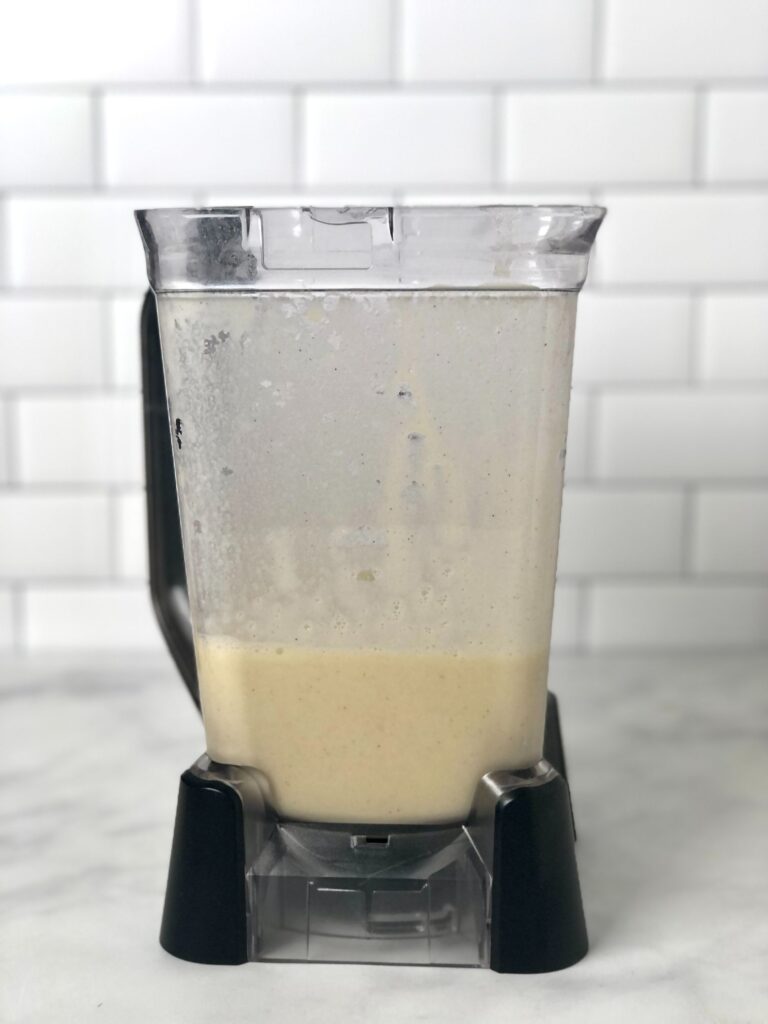
The batter should be a little thinner than a pancake batter, but not as thin as a crepe batter.
Allow the batter to rest at room temperature for 20-30 minutes (longer okay) in order for the flour to hydrate.
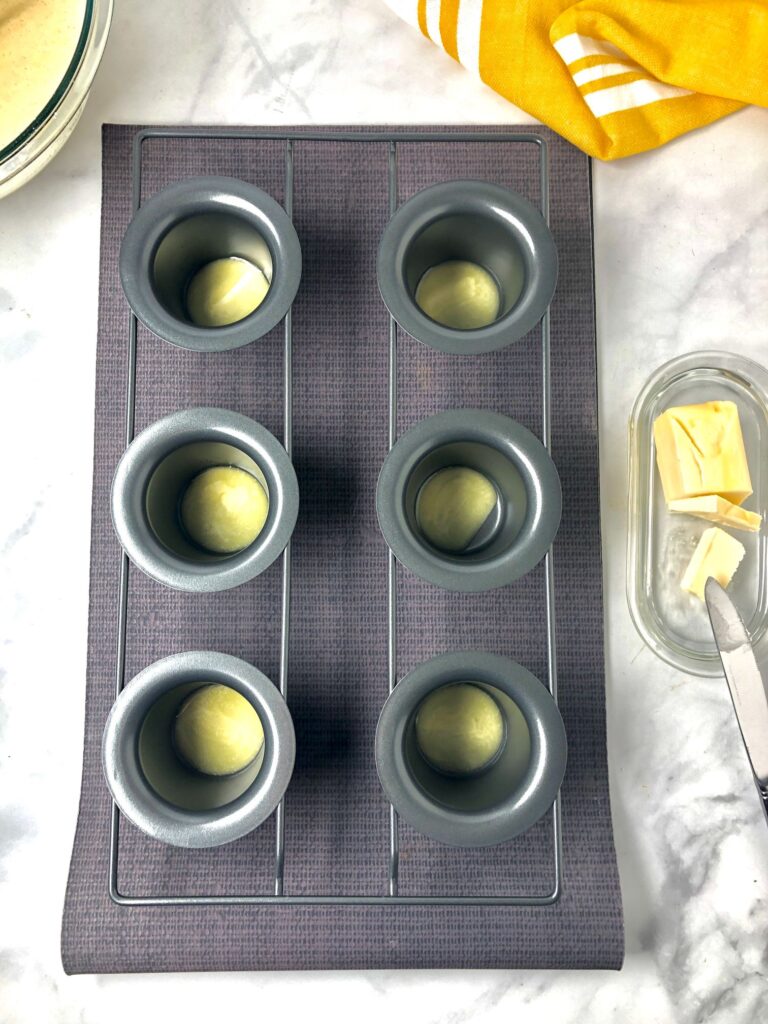
Step #4: Add Butter to Popover Pan
Once the oven is preheated and the batter is rested, remove pan from oven (it will be extremely hot) and place it on a baking sheet.
Add a small 1/2 teaspoon pat of butter into each of the six cavities of your popover pan. The butter will melt in the hot pan and create steam.
Steam is essential for the popovers to rise. The moisture from the batter and the eggs will generate a lot of steam once it hits the hot pan, and the steam will collect inside the popover and push the batter upwards.
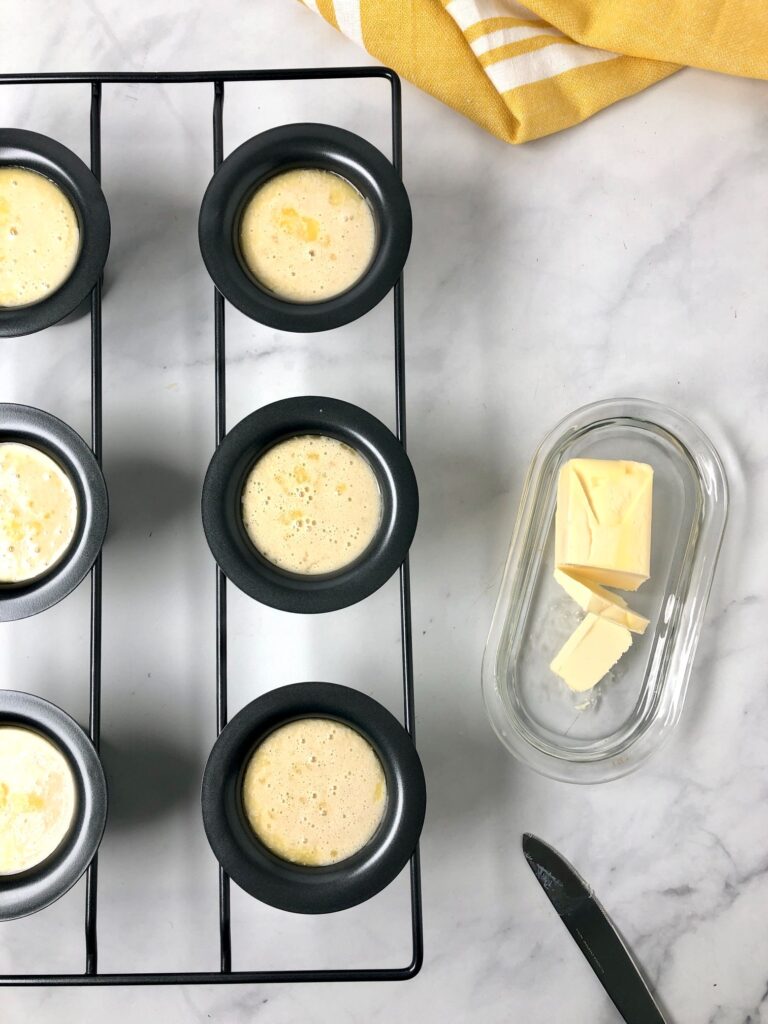
Step #5: Add Batter to Pan
Top the melted butter with the popover batter. You will have enough batter to fill each cavity to the near top.
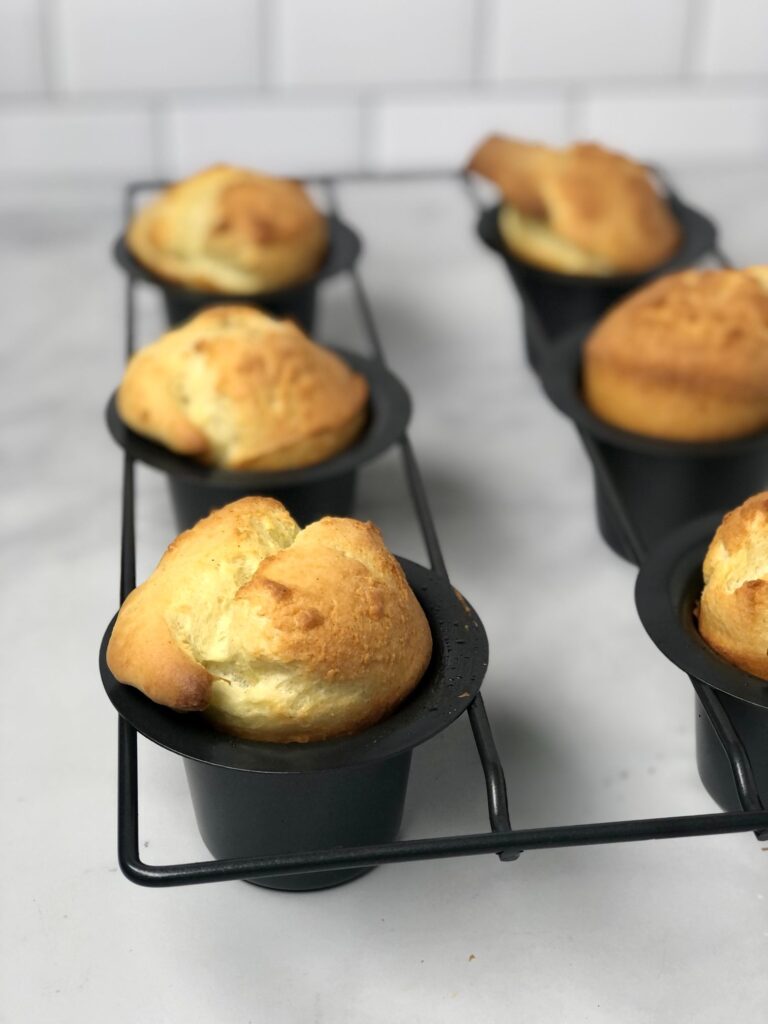
Step #6: Bake Popovers
Place the popover pan on a baking sheet and then place both pans in the oven and bake for 20 minutes at 450º F, then reduce heat to 350º F and bake for 10 minutes longer until golden brown. The rise will be dramatic!
Step #7: Cool Popovers
Once the popovers are golden brown, remove them from the own. Poke a small hole (using a butter knife) into the top of each popover to allow the steam to escape. This will prevent them from collapsing or sinking inward.
Remove the popovers from the pan and onto a wire rack to cool. You’ll want to do this right away as to not trap steam in the popover and thereby create a soggy-bottomed popover.
Popovers are best enjoyed right away, so time them right. If you need to make them ahead of time, they will lose some of their rise as they cool.
Even if your popovers collapse, they still taste incredible, so don’t sweat it. Enjoy eating them and try again next time. Popovers are finicky little things.
How Does It Taste?
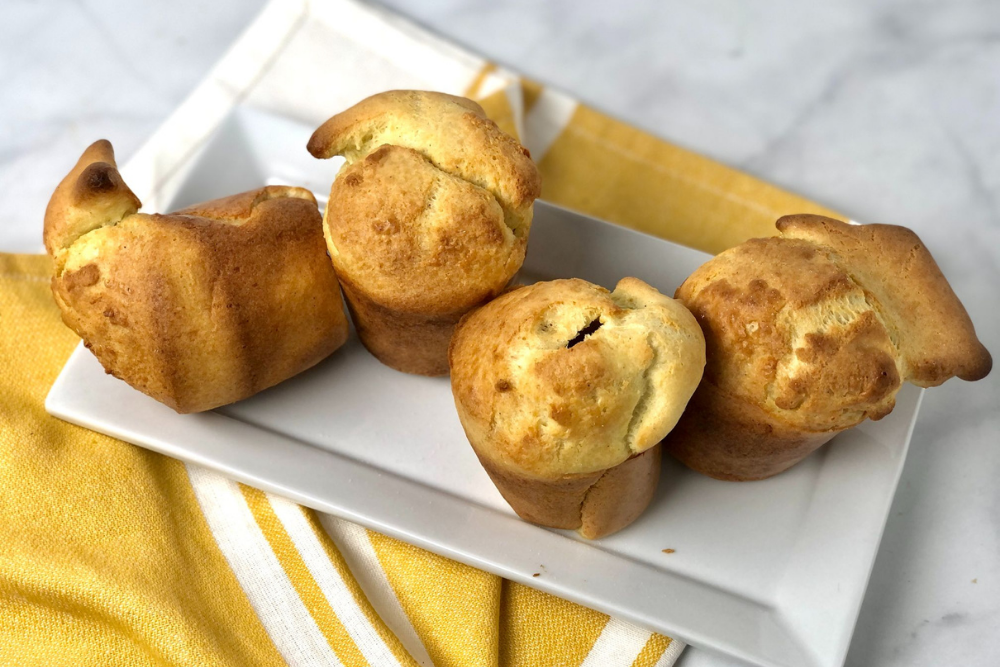
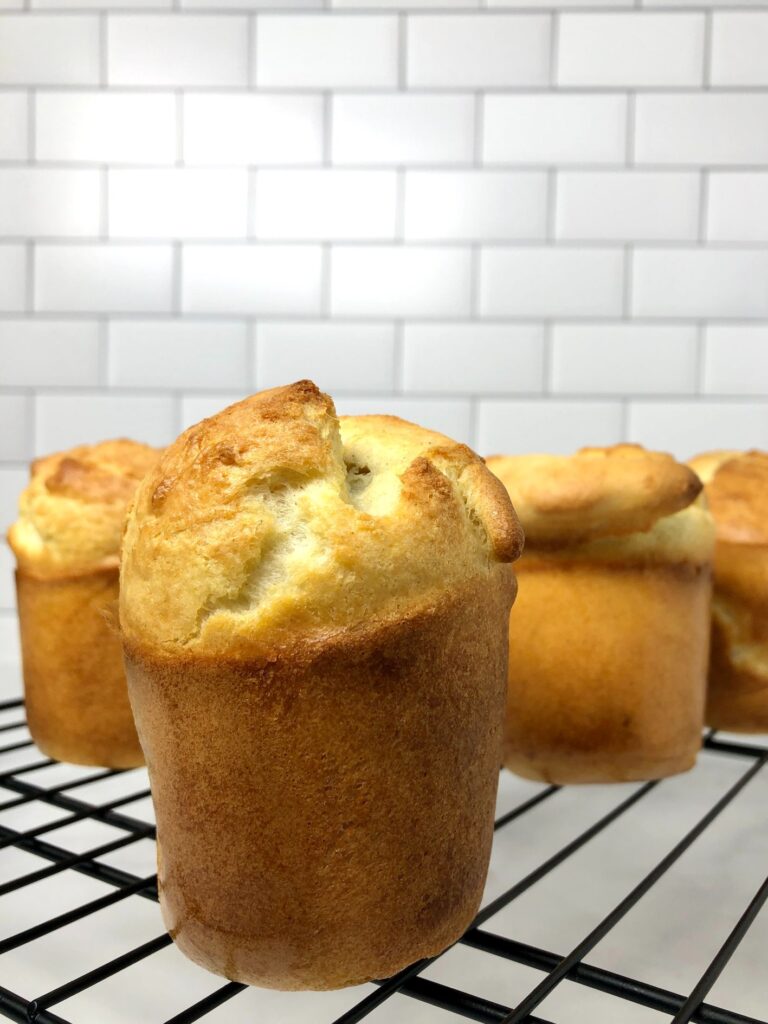
These gluten-free popovers will turn out fluffy, soft and doughy every time. The texture and consistency are spot on, even without the gluten! For someone craving a doughy textured bread or roll, these popovers deliver all the doughy feels.
You’ll notice the popovers are hollow inside. This means you made them perfectly. The trapped steam creates the hollow interior and contributes to the popovers grand rise. You definitely want your popovers hollow on the inside.
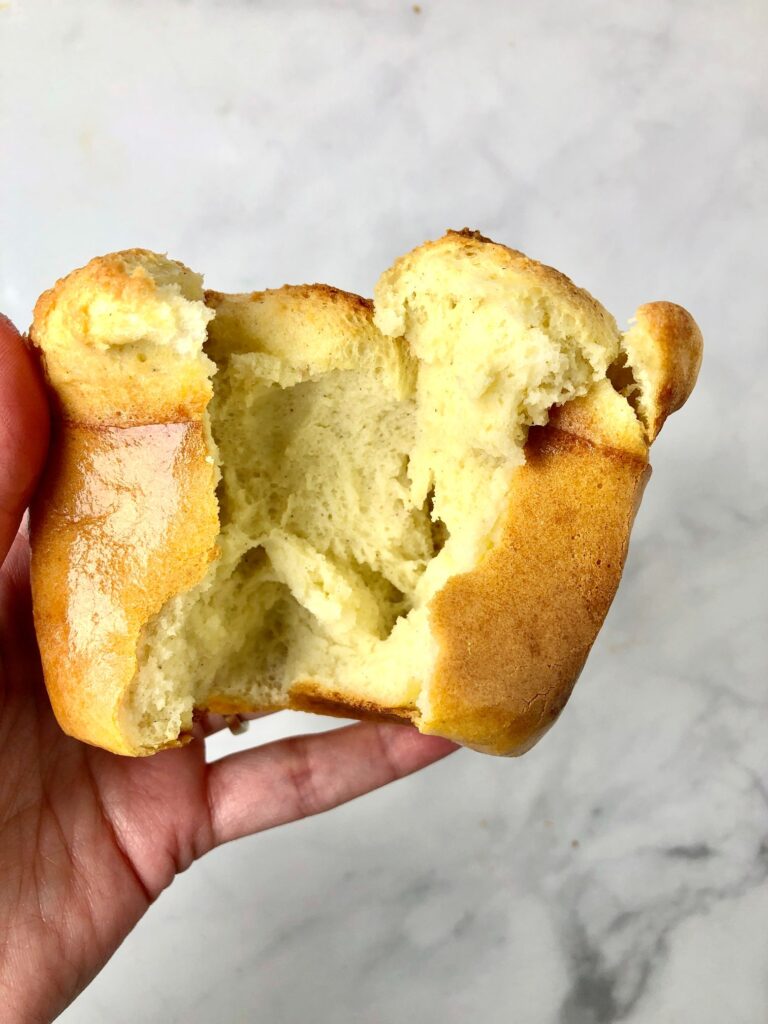
You’ll also notice the popovers have a wonderful buttery taste as is. The pat of butter at the bottom of the pan ensures that the butter fully coats the entire popover so every bite offers up the taste of buttery perfection. The butter also prevents the popovers from sticking to the pan.
I personally couldn’t have asked for a better accompaniment to my delicious slow cooker short ribs, which I had simmering in my slow cooker as I baked these gluten-free popovers in my oven.
Troubleshooting
Here are some commons issues you may run into when making gluten-free popovers:
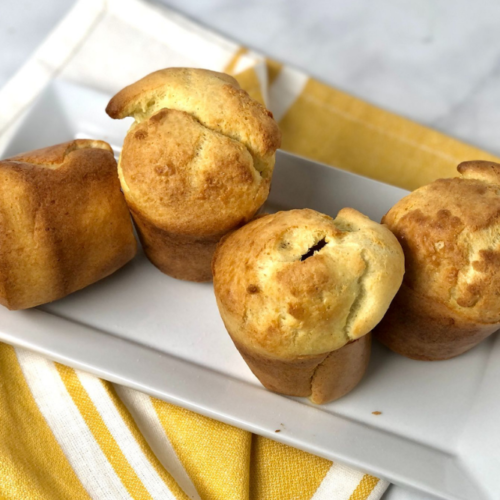
Can I use my muffin pan if I don’t have a popover pan? Yes, you can use a muffin pan or even ramekins, but it will net a shorter popover and beware, the popover may sink after baking. You may also have a more custardy popover. No worries, they still taste great.
Keep in mind that a popover pan has high, straight sides, but a muffin pan has a wider cavity. When the steam is trapped inside, the popover pan encourages the batter to rise upward, while the muffin pan does not. Sometimes the batter can spill over vs. rise upward. Always bake popovers on top of a baking tray to avoid a huge mess in your oven.
You’ll have enough batter to make 12 popover muffins (vs 6 popovers in your popover pan).
What do I serve with my popovers? You can add more butter or jam to your popovers and enjoy them for breakfast, or use them as a dinner roll and serve alongside a hearty dinner dish, like my delicious Slow Cooker Moroccan Chicken Stew or my Slow Cooker Beef Short Ribs.
My popovers didn’t rise? Several things could have prevented your popovers from rising.
- Pan: Be sure to use a proper popover pan, one with high sides. Fill each of the 6 cavities to near full.
- Steam: Make sure you heat your pan before adding the batter. When the batter hits the hot pan, the steam will become trapped inside the popover and contribute to the dramatic rise. Steam will leaven the popovers without any leavening ingredients!
- Oven: Don’t open the oven no matter how tempted you are to look at the beautiful popovers rise. When you open the oven, you’ll reduce the production of steam inside the popover and they won’t rise as dramatically.
Can I use other gluten-free flour blends? I haven’t tested this recipe with other flour blends besides Bob’s Red Mill 1:1 Gluten-Free Flour Blend. If you do, please leave a comment to share how it turned out.
Can I use a dairy-free milk? Yes, try making them with dairy-free milk and vegan butter. They may not brown as much, but they will still taste delicious.
Can I make them egg-free? I haven’t tried making them with an egg substitute, and I can’t seem to find a good egg-free popover recipe on the Internet. Eggs are essential to making the popovers rise and to giving them a custardy texture. If you can’t eat eggs, you might want to try a different recipe altogether.
How do you store leftover popovers? Store them in a zip top bag for 1-2 days. Popovers are best served right away, but leftover gluten-free popovers can be heated for a few seconds in the microwave and served again.
5-Ingredient Gluten-Free Popovers
Equipment
- Popover pan
Ingredients
- 1 1/2 cups milk lukewarm
- 4 large eggs room temperature
- 1 1/2 cups Bob's Red Mill 1-to-1 Gluten-Free Flour Blend 200 grams (spoon and leveled)
- 3/4 tsp salt
- 1/2 tsp unsalted butter
Instructions
- Place 6 cavity popover pan in your oven. Preheat oven to 450º F and allow pan to get hot and oven to fully preheat.
- In a high speed blender or food processor, add milk and eggs and blend on low for about 30 seconds. Add flour and salt and continue to blend batter on low until all ingredients are uniformly combined, about 45-60 seconds. Allow the batter to rest at room temperature for 20-30 minutes (longer okay) in order for the batter to rest and hydrate.
- Remove popover pan from oven (it will be extremely hot) and add a small 1/2 tsp pat of butter into each of the 6 cavities of your popover pan and allow it to melt in the hot pan. Evenly distribute the batter in each cavity (you'll have enough to fill each cavity to the near top).
- Place pan on a baking sheet and then into the oven and bake for 20 minutes at 450º F, then reduce heat to 350º F and bake 10 minutes longer.
- Poke a small hole (using a butter knife) into the top of each popover to allow the steam to escape, then remove the popovers immediately from the popover pan and onto a wire rack to cool. Do not leave them in the pan to cool or the steam will make the bottoms soggy. Serve immediately (popovers are best served warm).
I make these weekly now! So easy and good. Sometimes I add parmesan or Gouda. 5 stars!
These were amazing! I used a muffin pan and cooked them for 20 minutes only. Used coconut oil instead of butter since I am DF as well. I feel like these are company worth and no one will be able to tell that they are GF.
I haven’t tested them with APF. I will revisit this recipe though. If you use AP flour I suggest adding 1 tsp xanthan gum for each 1 cup flour.
Could you comment on any adjustments for using the all purpose GF flour blend – since you mention they are not the exact same. I am going to try with the all purpose since that is what i have right now on hand.
I honestly struggled to get them to rise (and stay that way) without the gluten but they taste terrific. I will make them again one day for sure. It was a bummer to get such a mean comment though, especially on Christmas Eve. I’m not a perfect baker, and making things GF requires a lot of trial and error. Maybe you’re just having a bad day. Merry Christmas.
I think so but am not certain because I haven’t tried it.
Would a non-dairy milk substitute work in this recipe, like almond or rice milk? My gf/df daughter is dying to try these.